Ultimate Guide to Making Delicious Baekkimchi at Home – Tailor to your Taste and Boost your Health
Ingredients for Homemade Baekkimchi
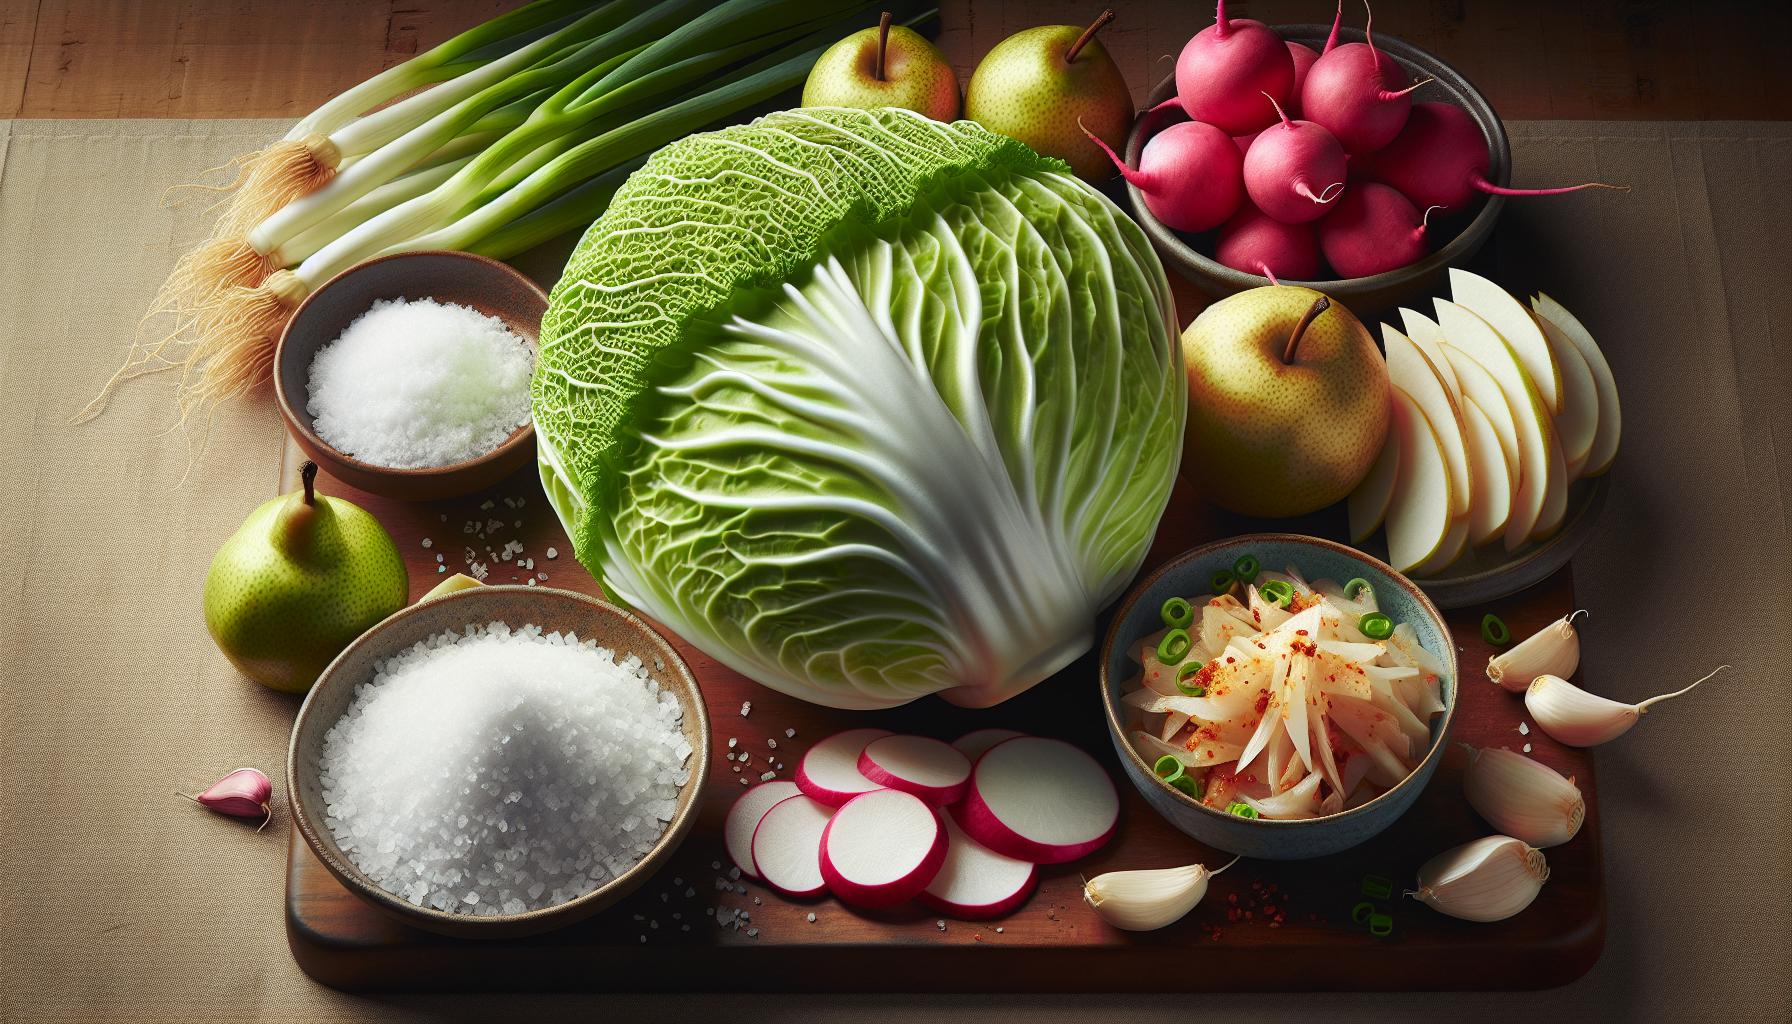
Moving on, let’s dive into the materials for your kitchen experiment. Here’s what you’ll need to bring the authentic taste of Korea to your table.
- Napa cabbage: 2 heads, approximately 4 pounds. The crispiness of Napa cabbage is key for your baekkimchi.
- Kosher salt: 1/2 cup. Salt helps break down the cabbage and gives it the distinct baekkimchi crunch.
- Radishes: 4 pieces, peeled and thinly sliced. These add a fresh, sharp flavor to contrast with the savory cabbage.
- Asian pears: 2 pieces, peeled and pureed. The sweetness of Asian pears complements the overall baekkimchi flavor.
- Fresh cloves of garlic: 8 pieces, minced. It’s not a Korean dish without garlic!
- Fresh ginger: 2-inch piece, peeled and minced. Ginger adds warmth to the dish and helps ease digestion.
- Scallions: 8 stalks, chopped. Adds color and intensity to the dish.
Here’s a tip: You may want to experiment with adding jalapenos or hot chili peppers for an additional flavor kick.
For those keen on knowing the nutritional value, here’s a quick breakdown. Note, these values are approximations and can vary slightly.
| Per Serving | |
|---|---|
| Calories | 38 |
| Fat | 0.2g |
| Protein | 1.1g |
| Carbohydrates | 8.7g |
Having this newfound knowledge in hand your taste buds will surely thank you for the exceptional savor of homemade baekkimchi. Needless to say anyone seeking to add an authentic Korean touch to their meals would want to keep this recipe tucked away in their kitchen archives.
Step-by-Step Guide to Making Baekkimchi
Starting with fresh ingredients is essential. Napa cabbage is your base and 2 whole heads should do the trick. Sprinkle 4 cups of kosher salt evenly over the cabbage. Remember to peek between leaves to get it in each nook and cranny.
Next come the radishes and Asian pears. You’ll want about 1 cup of each. Slice them up thin and set them aside. Now it’s time to prep your spicy mix. Grab a bowl and mix together 1 cup of minced garlic with a cup of finely chopped scallions. Add in 2 tablespoons of grated ginger for a little kick. Tip: For an extra layer of flavor, you could try adding jalapenos or hot chili peppers to your mix.
Once that’s done, you are going to need to let your salted cabbage sit for an hour or two. It’s all about the wait here: let the salt do its job as it absorbs the moisture from the cabbage. This process is what gives your Baekkimchi its distinct crunch and texture.
Once your cabbage is ready, you’ll coat each layer with your spicy mix and radish mixture. Pack it all together in a container. Make sure everything is well coated.
Patience is key here – you need to let your Baekkimchi ferment. About two to three days should do the trick, or until your Baekkimchi is as sour as you like it.
Now that you know the steps, here’s your chance to give it a try. You’ll find that the value in making your own Baekkimchi lies in the customization, the flavor, and the authenticity you can bring to your table.
Fermenting and Storing Baekkimchi
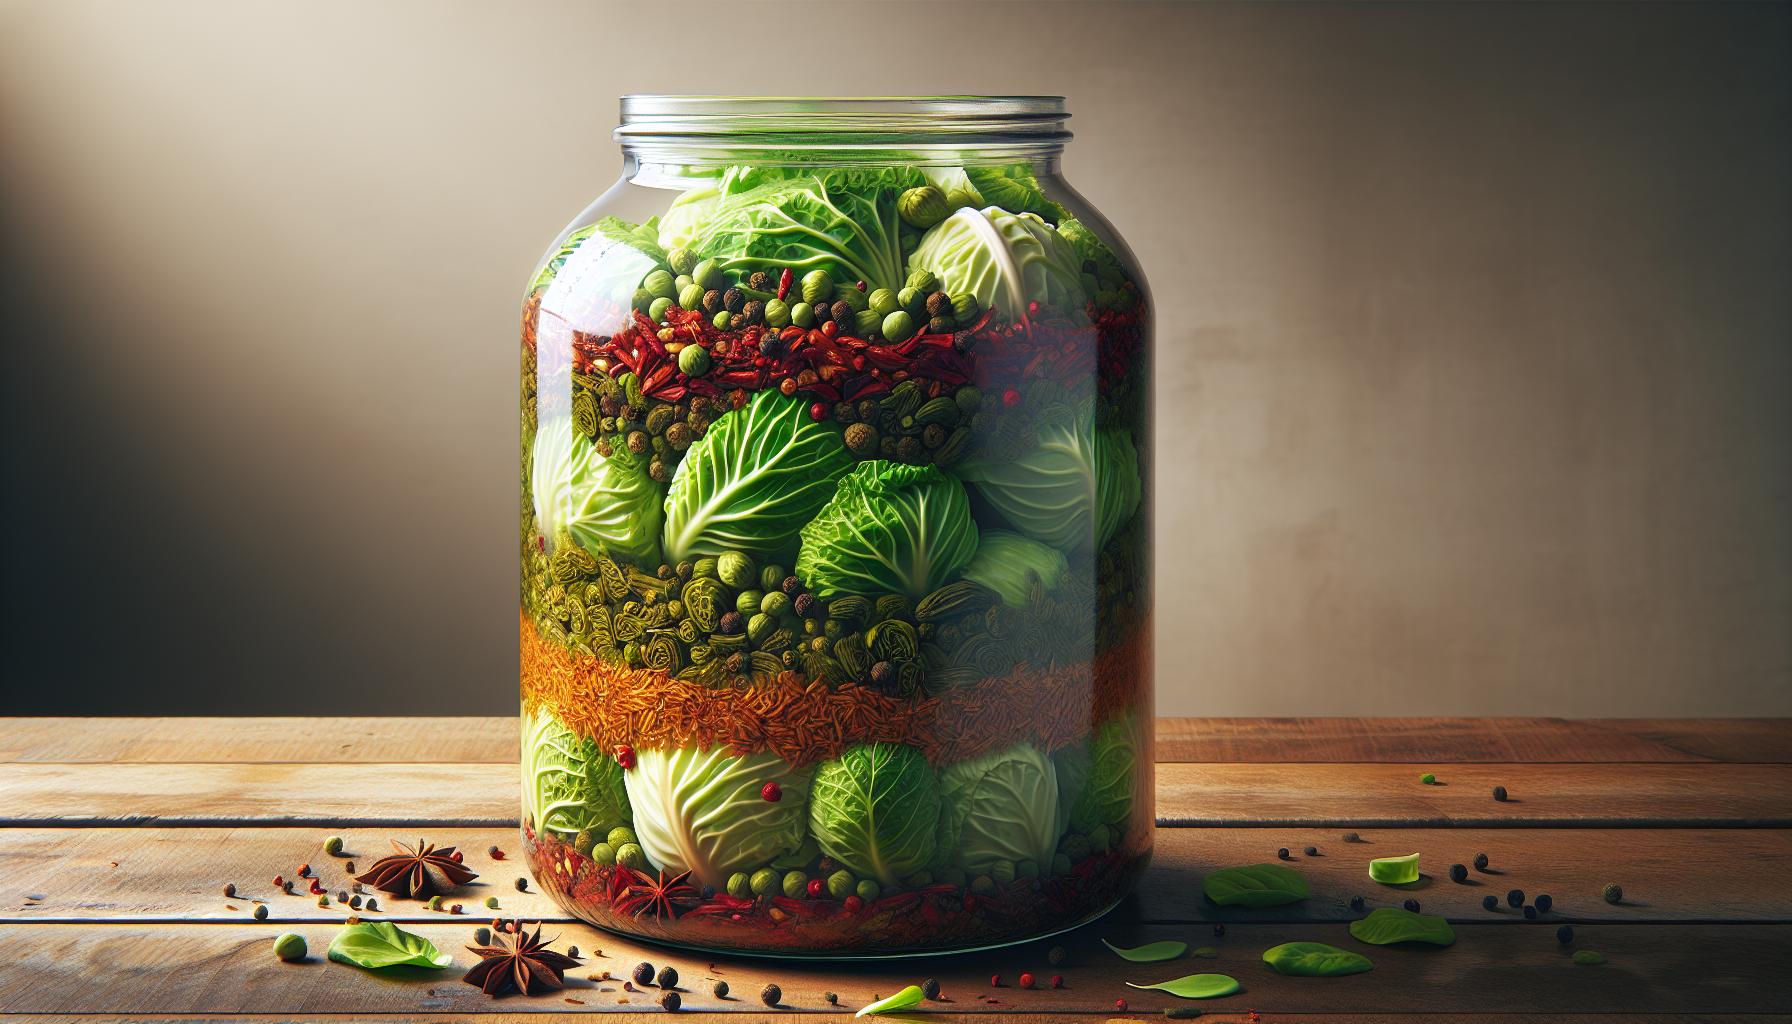
After you’ve meticulously coated each leaf with the spicy mix, it’s now time to let nature work its magic. Fermentation is an essential part of kimchi-making and is responsible for its distinctive taste and aroma.
To start the fermentation process, arrange the cabbage in a clean, air-tight jar. Press it down firmly to remove any air pockets and ensure the cabbage is submerged in its own juice. That’s crucial because the liquid acts as a sealant, keeping the cabbage safe from unwanted molds.
Let the jar stand at room temperature for about 2-3 days. During this period, your Baekkimchi will begin to develop its unique, tangy flavor that’s both complex and deeply satisfying.
| Steps | Time |
|---|---|
| Fermentation | 2-3 days |
If you prefer a stronger taste and aroma, you could let the jar stand for an extra day or two. Bear in mind though, the longer the fermentation, the stronger and more pronounced the flavors become.
Once fermentation is complete, store your Baekkimchi in the refrigerator. Cold temperatures slow down the fermentation, preserving your kimchi at your preferred taste level. Remember, an appropriately stored kimchi can last for months, even a year!
Caring for your Baekkimchi means regularly checking it in the fridge. Make sure the vegetables are fully submerged in the liquid. If they’re not, they could dry out or, worse, spoil. Also, using clean utensils every time you serve your kimchi helps maintain its freshness for longer.
Done right, homemade Baekkimchi can be a fantastic addition to your meals. It’s a beautiful blend of textures and flavors, customized precisely to your taste, and packed full of health benefits. Take joy in the fermentation process and know that like fine wine, your Baekkimchi gets even better with time.
Serving and Pairing Suggestions
Now that you’ve made your homemade Baekkimchi, you’re likely wondering what dishes will complement its flavors most effectively.
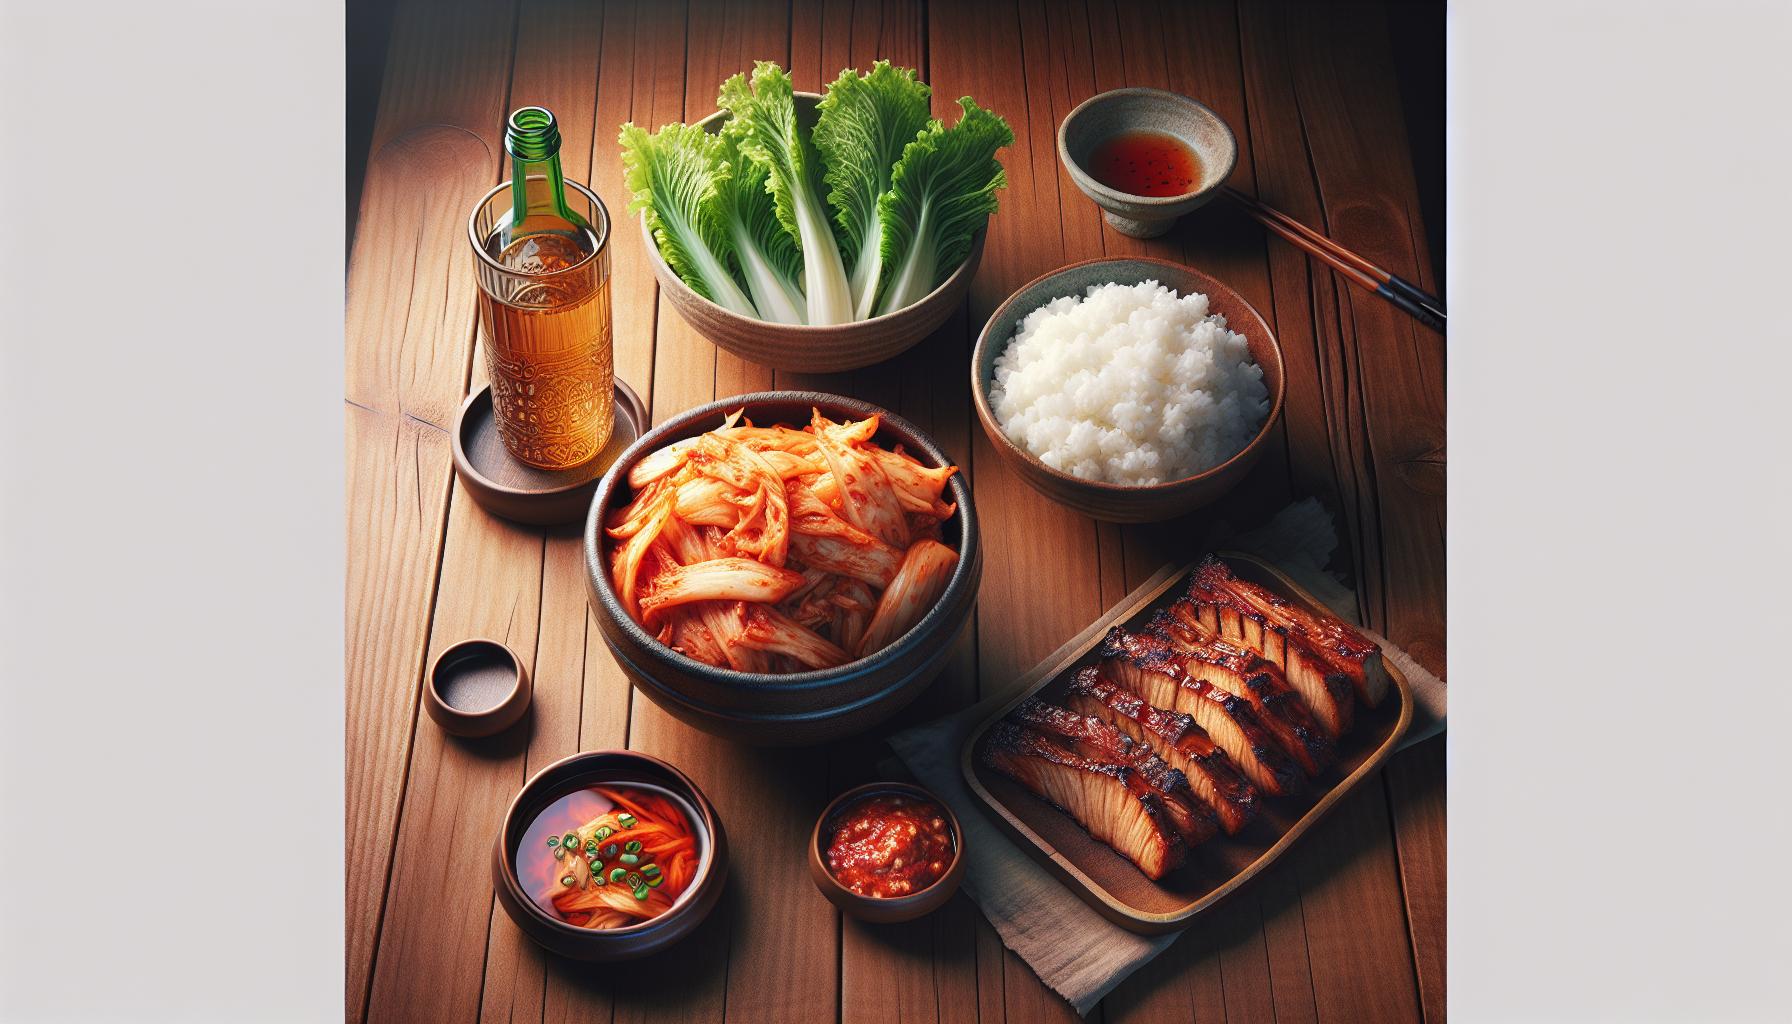
The beauty of Baekkimchi lies in its versatility. You can serve it in numerous ways, and it makes an excellent side dish for a variety of Korean cuisines. A classic option is to accompany Baekkimchi with steamed rice and grilled meats. The rich, creamy notes of Baekkimchi perfectly cut through the meat’s smoky flavors.
Barbecued dishes, like Korean BBQ beef or pork ribs, are greatly enhanced by the tangy taste of Baekkimchi. Consider stuffing it into a lettuce leaf with a slice of grilled meat, a spoon of hot rice, and a dab of ssamjang, a spicy Korean sauce, for a delectable bite-sized wrap.
For vegetarian options, try pairing your Baekkimchi with tofu or grilled vegetables. The spiciness and crisp texture of Baekkimchi make it an excellent partner for the soft and mellow tofu or the sweet, caramelized veggies in Korean stir-fry recipes.
Baekkimchi also finds its way to the breakfast table in traditional Korean cuisine. You’ll love how it jazzes up a bowl of piping hot rice porridge or as a topping on your morning toast.
For drink pairings, soju, a traditional Korean liquor, is a common choice to balance the fermented, spicy notes of Baekkimchi. Sake, a Japanese rice wine, also matches well, offering a sweet contrast. For non-alcoholic options, consider Korean barley tea or a cool cucumber and seaweed soup known as oi naengguk.
And if you’re tracking your health, you’ll be glad to know Baekkimchi packs a nutritional punch. A typical serving contains:
| Nutrient | Amount per Serving |
|---|---|
| Carbohydrates | 3g |
| Protein | 1g |
| Fat | less than 1g |
| Sodium | 149mg |
| Fiber | 1g |
| Vitamin C | 4mg |
Tips and Tricks for Perfect Baekkimchi
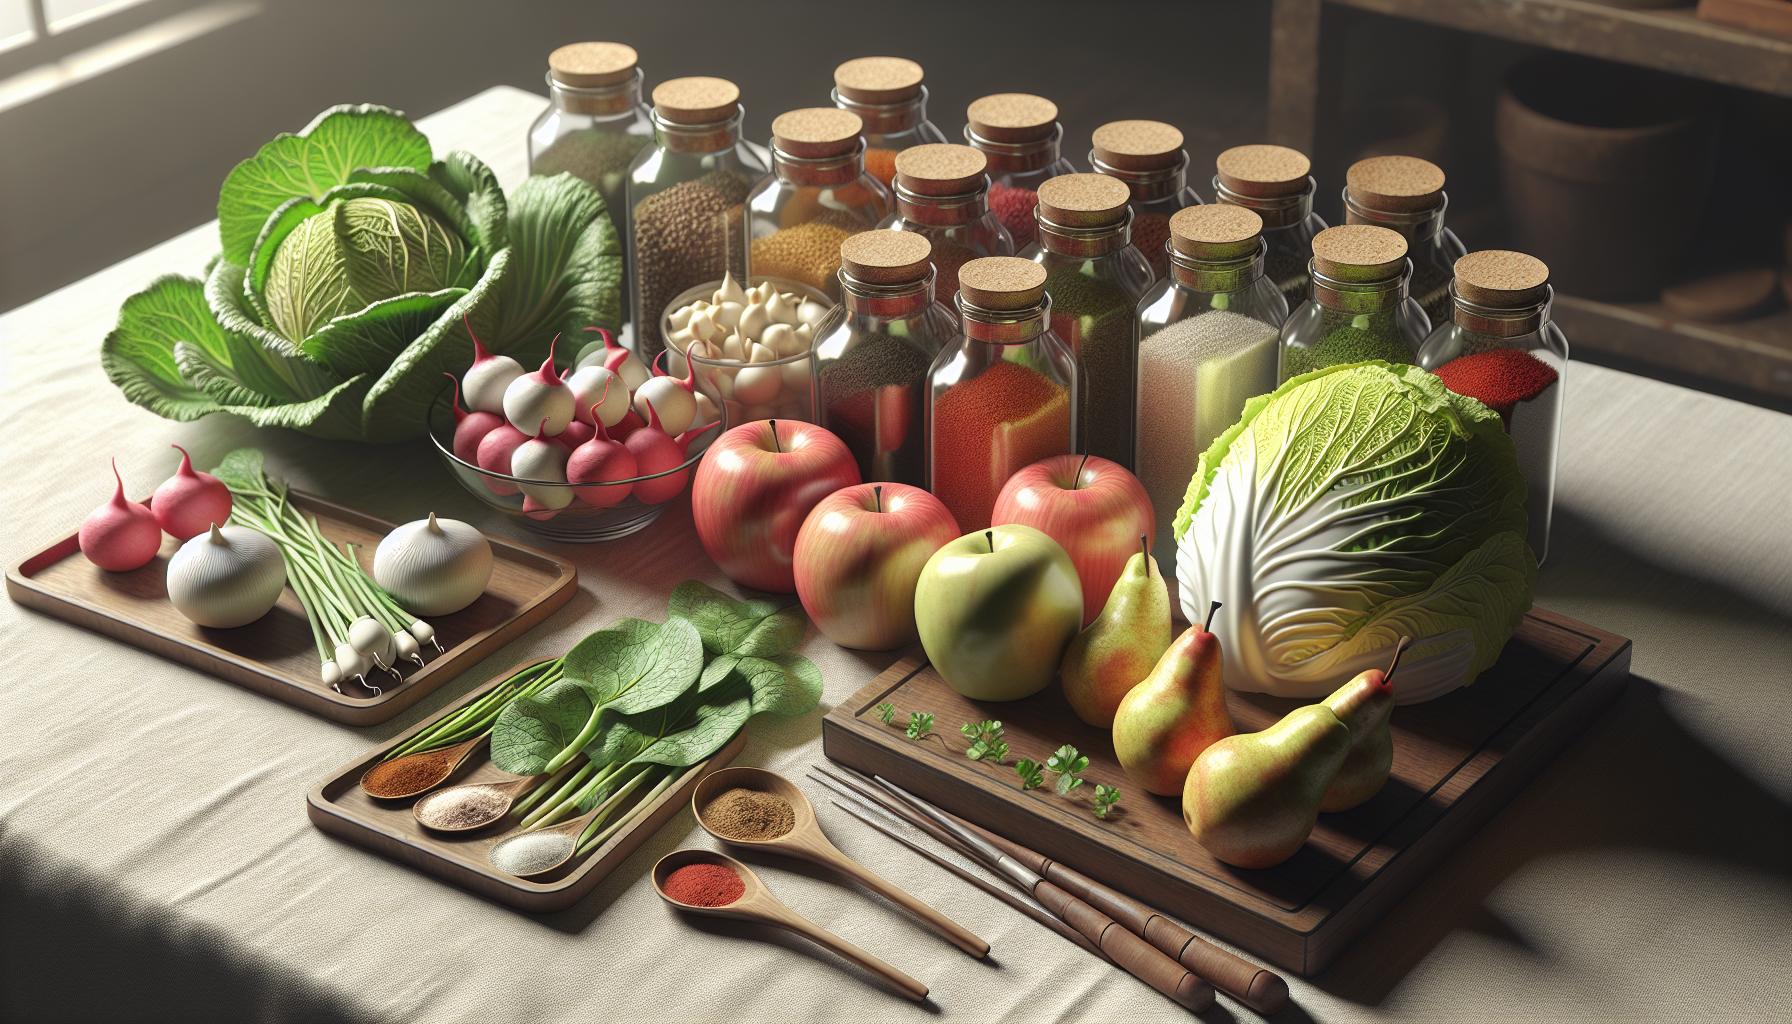
Creating a memorable and unique Baekkimchi at home may seem daunting, but when you know the tips and tricks, it’s a breeze. Fresh ingredients are the key to great Baekkimchi- always opt for fresh napa cabbage and radish.
Here’s a secret: to take your Baekkimchi up a notch, try adding a bit of pear or apple in your chili paste. These fruits offer a sweet counterpoint to the heat and make your homemade Baekkimchi stand out.
Prepare your cabbage correctly. This involves cleaning it thoroughly and brining it. The exact salt to cabbage ratios, numbers that can make or break your dish, are:
| 5 lb Napa Cabbage | 1 cup Sea Salt |
|---|---|
| 10 lb Napa Cabbage | 2 cups Sea Salt |
Also, do not forget to rinse the cabbage multiple times after brining to eliminate excess saltiness – a step most people overlook.
Vary your heat level to suit your tastes. Usually, the red chili flakes or Gochugaru is what provides the heat. You can adjust the quantities depending on how spicy you want your Baekkimchi.
From a nutritional perspective, Baekkimchi is a healthy dish packed with Vitamin A, Vitamin K, and probiotics. For those watching their weight or on specific diets, you’ll be pleased to know that a 100-gram serving of Baekkimchi contains:
| Ingredient | Amount |
|---|---|
| Calories | 15 |
| Carbs | 2g |
| Protein | 1g |
Conclusion
So, you’ve got the inside scoop on crafting the perfect homemade Baekkimchi. You know the importance of using fresh napa cabbage and radish, and the unique twist that pear or apple can bring to your chili paste. You’ve learned how crucial it is to prepare your cabbage correctly, with the right salt ratios and a thorough rinse. You’re ready to adjust those red chili flakes to your own taste, creating a dish that’s truly yours. Plus, you’re aware of the nutritional benefits of this low-calorie, vitamin-rich dish, making it a smart choice for your diet. Now it’s time to put your knowledge into practice and start making your own delicious Baekkimchi at home. Happy cooking!