Easy and Flavorful Homemade Chili Oil Recipe – Guide to Storage and Versatile Uses
Choosing the Right Chili Peppers
The core component of a top-tier chili oil is, unsurprisingly, the chili peppers. They quite literally spice up your life but remember, not all chili peppers are created equal. Let’s ensure you’re picking the peppers that are perfect for your palate and desired level of kick.
When you’re out and about searching for your dream chilies, it’s important to keep two factors in mind: heat level and flavor. The Scoville Scale measures heat: the higher the score, the spicier the pepper. Jalapenos, for example, range from 2500-8000 Scoville Heat Units (SHU), while Habanero peppers soar up to 350,000 SHU. Substantially spicier! Here’s a quick rundown of common chili varieties and their SHU scores:
| Chili Type | Scoville Heat Units (SHU) |
|---|---|
| Bell Pepper | 0 |
| Poblano | 1000 – 1500 |
| Jalapeno | 2500 – 8000 |
| Cayenne | 30000 – 50000 |
| Habanero | 100,000 – 350,000 |
But heat isn’t everything. Consider the flavor profile of your chosen chili. Some offer fruity undertones, while others bring a smoky depth. Experimentation is key.
If you’re looking to add an unconventional punch to your recipe, consider the subtle sweetness of ancho chilies, or the sharp bite of the Thai bird chili. Remember, you can mix and match to create a one-of-a-kind flavor!
Where do you get these flavorful heat bombs? They’re available at most grocery stores and markets, but for a broader range, try a specialized spice shop or international market. You can also find them online.
Your chili selection will define your homemade chili oil’s taste. Be audacious, take the time to explore different chili types and ratios until you find your match made in heaven. A dash of creativity sets your chili oil apart from the rest.
Selecting Quality Oil

To craft a top-notch chili oil, the base oil you select is just as important as your choice of chili peppers. Not only should your oil of choice be of high quality, but it also needs to complement the flavor of the chili. So what oil should you opt for?
Generally, light and neutral oils are the go-to choices. Extra Virgin Olive Oil, a hit among gourmet cooks, holds up well against the robust flavors of chili. Its unique fruity tang perfectly blends with the spicy chili, creating a harmonious blend of flavors. Just like chili peppers, there’s a range of olive oils to choose from – mild, robust, or something in between.
On the other hand, Canola Oil stands out as a neutral, lightweight, and budget-friendly option which allows the chili flavors to fully shine through. This versatile oil is a fantastic choice if you want your chili to be the star of the show.
For an Asian twist, you might want to consider Sesame Oil. Have you ever wondered what oil traditional Sichuan chili oil uses? The answer is sesame oil! It gives the chili oil a distinctive, nutty background against the fiery chili heat. Do note that pure sesame oil has a relatively low smoke point, so it’s typically combined with a high smoke point oil like peanut oil.
Meanwhile, Avocado Oil comes as a healthy, high smoke point oil, with a nutritional profile that may impress you. It’s packed with heart-healthy monounsaturated fats, vitamin E, and antioxidants. Avocado oil subtly enhances the chili’s flavor without overpowering – worth considering if you’re health-conscious.
There are endless choices for base oils, so don’t hesitate to experiment! Much like choosing chili peppers, pick the one that you love. If you jive with the flavor of a particular oil, there’s a good chance it’ll add a special touch to your homemade chili oil.
Remember, the bottom line is to choose a fresh, high-quality oil. Check the manufacturing and expiration dates on the bottle, make sure it’s stored in a cool, dark place, and is packaged in a dark bottle to protect against light damage. Fresh, quality oil makes your homemade chili oil something truly remarkable.
Preparing the Flavors

Making an unforgettable, explosive homemade chili oil means layering flavors that dance on your palate. First up, toast your spices. Using a skillet, heat your pan lightly over medium heat. Add seeds like Szechuan peppercorns, star anise, and coriander seeds.
Here’s what you need:
| Spice | Quantity |
|---|---|
| Szechuan Peppercorns | 2 Tablespoons |
| Star Anise | 2 pods |
| Coriander seeds | 1 Tablespoon |
Toast them lightly until they release a fragrant smell but be careful not to burn them. Toasting enhances the natural flavors of these spices, creating an aromatic base for your chili oil.
Next, melt your chosen base oil in a separate pan. Heat it on a moderate flame for sizeable time. Remember, it’s not about boiling the oil. The key lies in heating it just enough to carry and enhance flavors without breaking them down. You’ll want to monitor this closely.
Now for that unique kick! Throw in an unusual ingredient: a small piece of high-quality dark chocolate. A tiny amount of this can add an underlying depth and complexity to the oil. Also consider adding a hint of dried tangerine peel for a burst of freshness. Look at this as your secret twist, only known to you and now, your guests!
Adding nutritional facts to your recipe can be appealing to health-conscious folks.
| Element | Amount per 100g |
|---|---|
| Calories | 884 Kcal |
| Carbs | 0g |
| Protein | 0g |
| Fat | 100g |
| Omega-3 Fatty Acids | 10g |
Infusing the Oil

Stepping into this key part of creating your homemade chili oil, it’s all about infusing. This process employs heat as the mediator between your aromatic ingredients and the base oil, creating that fiery, flavorful profile chili oil is known for.
First off, put your toasted spices and oil into a heatproof jar. For this, choose a good size vessel, ensuring it’s able to handle the heat. Remember, you’re not using just any oil. This is your carefully chosen base oil, perhaps a mild vegetable oil or tantalizing sesame one.
Can you smell it? That’s the magic starting. The heat begins to tickle out the natural essence of the spices. Now, comes your secret ingredients – the tangerine peel and a sliver of dark chocolate. Sounds odd, right? Just trust the process.
Having these unusual ingredients float in that warm oil will add depth and freshness to your homemade chili oil. It’s those slight tweaks that take a recipe from standard to splendid!
Heat your jar in a water bath. Don’t boil. Keep the heat low and gentle. Remember, patience is the key ingredient here! You want to give your spices and oil enough time to blend.
Resist that urge to stop the process prematurely. The longer the infusion, the bolder the flavors that will dance on your tongue later.
You might wonder about the nutritional aspect of this recipe. Let’s satisfy that curiosity by presenting a simple table which analyzes key indicators such as calories, fat content, and omega-3 profile. Here you go:
| Nutrients | Amount Per Serving |
|---|---|
| Calories | xxx kcal |
| Fat | yyy g |
| Omega-3 | zzz mg |
It’s a delight to have that tangy, spicy, and exuberant homemade chili oil ready! It doesn’t just bring another layer to your meals, but also a sense of accomplishment. After all, you’ve created your very own culinary masterpiece, haven’t you?
Storing and Using Your Homemade Chili Oil

So, you’ve infused your homemade chili oil, added those unique ingredients, and waited patiently for the flavors to blend. Now, let’s talk about storing and utilizing your fiery creation.
Proper storage is paramount. Make sure to store your chili oil in an airtight glass jar. Keep it away from direct sunlight, preferably in a cool, dark cupboard. This way, your oil’s freshness can last for up to six months.
Just like fine wine, your chili oil’s flavor will develop over time. Try to resist the temptation to use it immediately. Instead, let it stand for a few days allowing the ingredients a chance to merge more fully. Sure, the waiting is tough, but it’ll be worth the anticipation in the end.
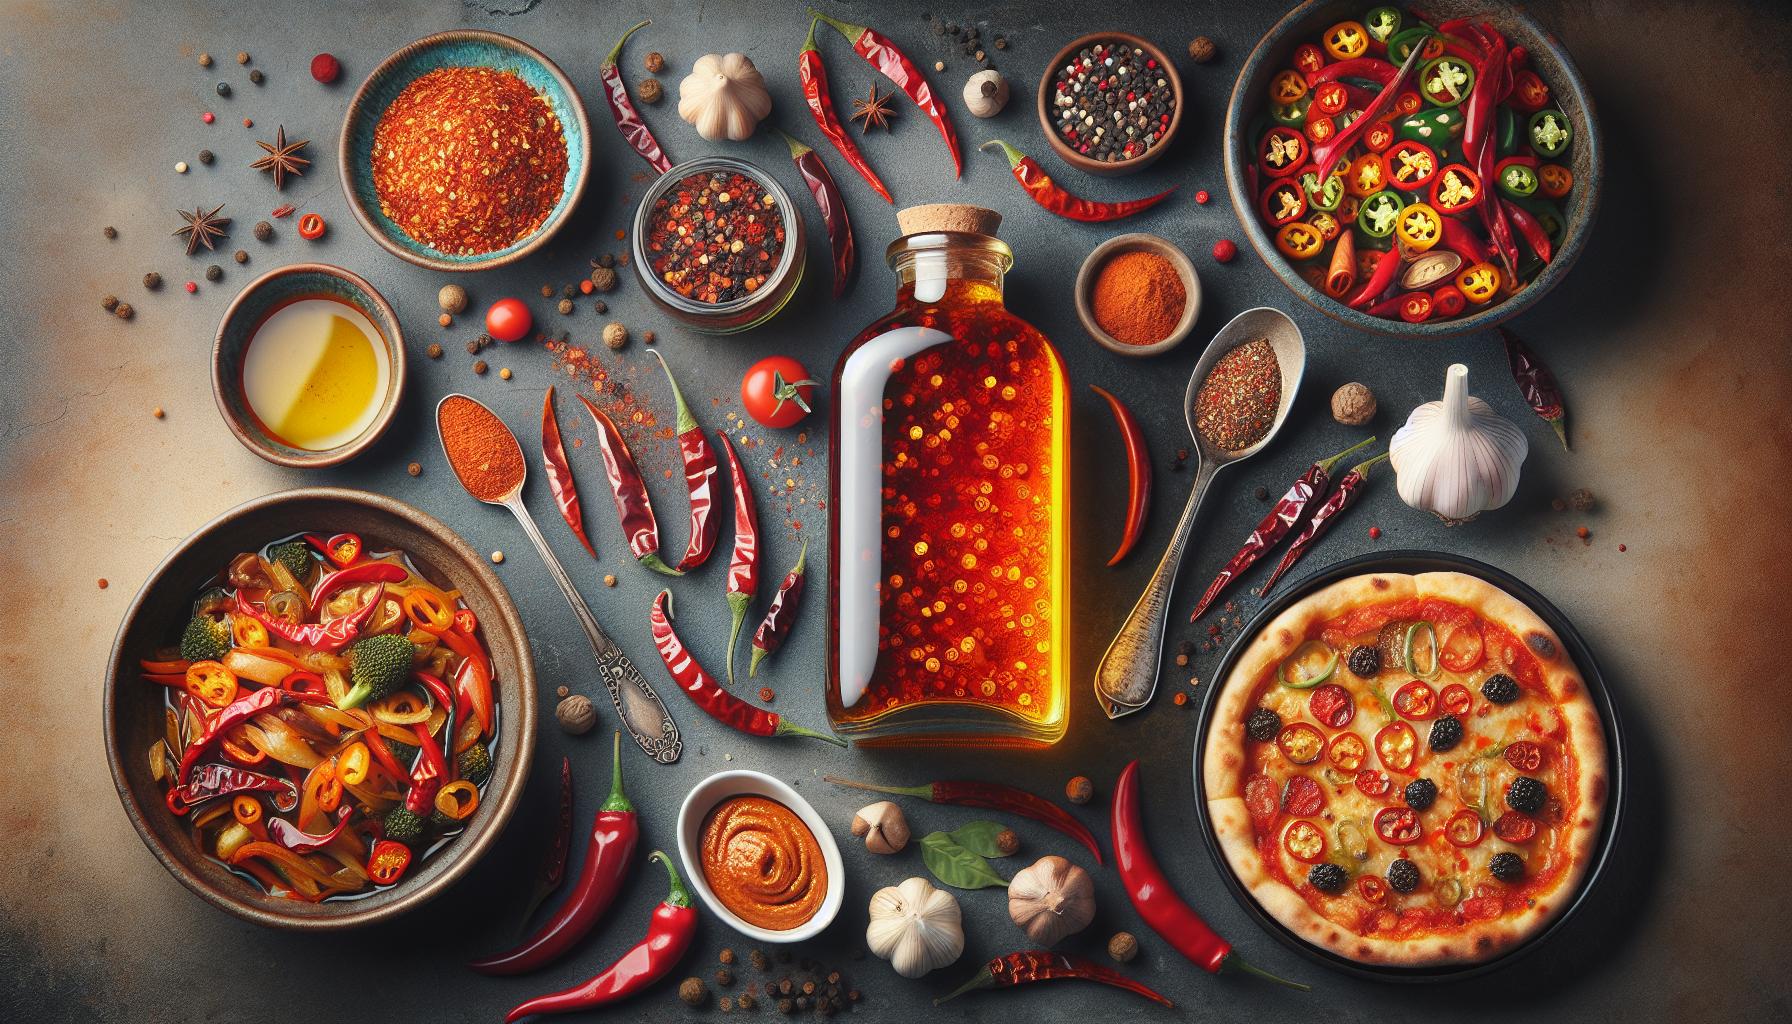
Here’s the exciting part – using your homemade chili oil. It’s a versatile ingredient! Toss a few drops in your stir-fry for a spicy kick, drizzle it over your pizza, or add it to your hummus for an unexpected heat.
But that’s not all; it can even go beyond savory dishes. A dash of chili oil on top of dark chocolate ice cream introduces a hot twist to your cold delight. Just remember, moderation is key. A little goes a long way!
Conclusion
So you’ve learned how to make your own chili oil at home and how to store it properly for long-lasting freshness. You’ve discovered the secret to enhancing its flavors – letting it sit for a few days. You’ve also explored its versatility in the kitchen, from spicing up stir-fries and pizzas to adding a fiery kick to hummus. You’ve even dared to pair it with dark chocolate ice cream, a testament to its adaptability. Remember, the potency of this homemade chili oil calls for moderation in its use. Now it’s time to put this knowledge to the test. Your culinary adventures await with your homemade chili oil. Happy cooking!