Easy Homemade Jangjorim Recipe – Savory Korean Soy Braised Beef with Serving Ideas
Ingredients for Homemade Jangjorim
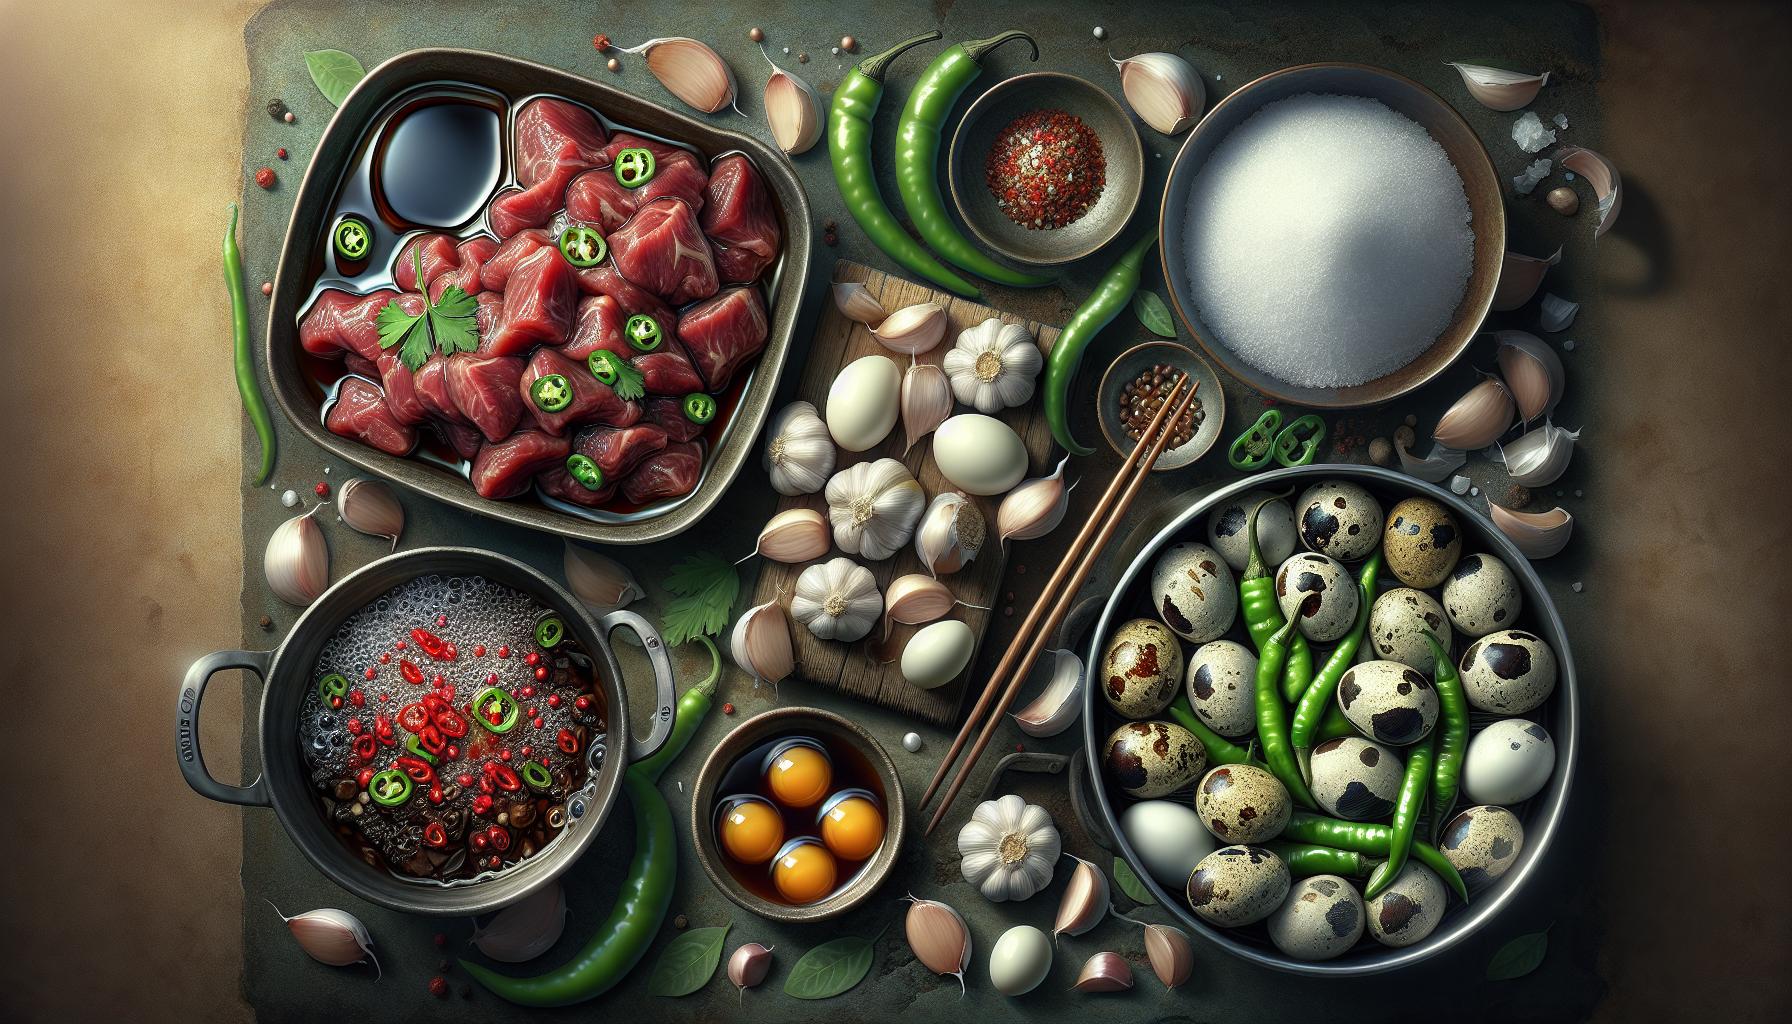
Time to venture into what makes Jangjorim so delightfully savory! With the right kitchen staples, you’ll whip up a dish that’s both a visual and culinary delight.
The key to a flavorful Jangjorim is the Quality of Beef. Using 500 grams of lean beef, like brisket or shank, lets you enjoy a mix of tenderness and robust flavor. But that’s just the beginning.
Your Jangjorim wouldn’t be complete without Soy Sauce. You’ll need 100ml of it. Here’s a tip: go for a low-sodium variant. The result? Enhanced flavors without overpowering saltiness.
The next star is Garlic. Three to four cloves should do the trick. Embrace a garlic press or mincer to extract maximum flavor!
Don’t overlook Sugar. Around 2 tablespoons will balance out the saltiness of the soy sauce, creating a perfect symphony of flavors.
Add depth with Water. A total of 2 liters is the golden rule. Steel yourself for a boiling process that’ll fuse all your ingredients together, creating a rich, mouth-watering broth.
Time for a secret ingredient: Quail Eggs. About 15 will give a unique twist to your homemade Jangjorim. They’ll act as lovely little flavor bombs, absorbing the savory broth and packing an extra punch in every bite.
For a dash of freshness, include Green Chili Peppers. Two should suffice. They add color and a slight kick, making your dish not just tasty, but also visually appealing.
Here’s a glance at your shopping list:
| Ingredient | Quantity |
|---|---|
| Quality Beef | 500 grams |
| Low Sodium Soy Sauce | 100 ml |
| Garlic | 3-4 cloves |
| Sugar | 2 tablespoons |
| Water | 2 litres |
| Quail Eggs | 15 |
| Green Chili Peppers | 2 |
Before the cooking kicks off, make sure you’ve prepped all your ingredients. Carefully chop your garlic, lightly rinse your quail eggs, and slice your peppers. Doing so will ensure your cooking time is smooth, efficient, and fun!
Step-by-Step Cooking Instructions
Now you’ve got your ingredients measured and in place, so it’s time to get cooking!
Preparation
Start by marinating your beef. It’s a simple process that doesn’t take long, but it can make a major difference in your final dish. Take your quality beef and combine it with your low-sodium soy sauce, garlic, and sugar in a bowl. Mix it all together until the beef is well coated. Let it sit for at least 30 minutes while you prepare the rest of the ingredients.
Quail Eggs and Chili Peppers
While your beef is marinating, bring a pot of water to a boil. Once boiling, add your quail eggs and let them cook for about 4 minutes. Afterward, plunge them in cold water and peel them. Set them aside for now. If spiciness is your thing, slice your green chili peppers.
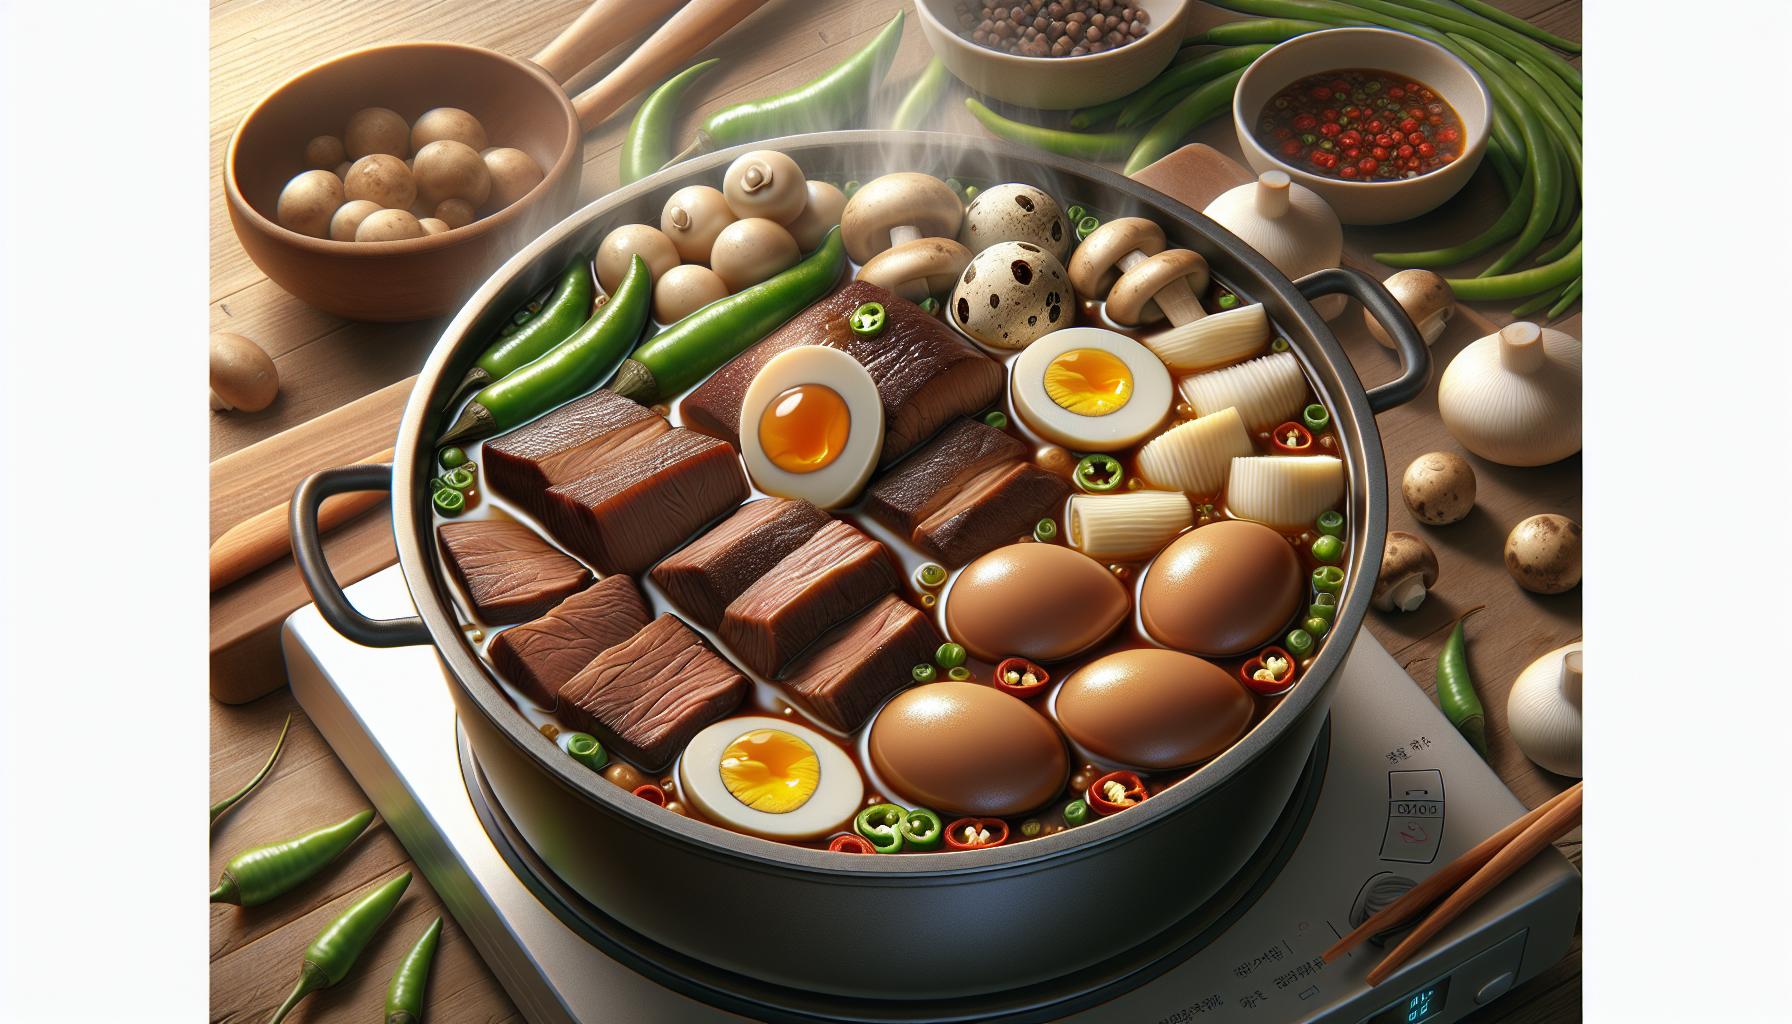
Braising the Beef
In a large pot over medium-high heat, add some cooking oil. Once it’s hot, put in your marinated beef. Stir gently until it is browned and then cover it with water. Bring it to a boil. After it started boiling, reduce the heat, cover the pot, and let it simmer.
Be prepared to let it sit for a good 2 hours. It may seem like a long time, but this is how your beef gets that deep soy flavor and becomes incredibly tender.
While the beef is simmering, add your boiled quail eggs and green chili peppers if desired.
Modifications
If you prefer a vegetarian option, try using mushroom or tofu instead of beef. Just make sure to adjust your cooking times as these ingredients will not need as much time as beef.
Moreover, you can customize your jangjorim! How about a sweeter variant? Add more sugar. Craving for something spicier? Put more green chili peppers.
Those are the primary steps for making homemade Jangjorim. Feel free to tweak it to suit your preferences. Who knows, your version might become a new family favorite!
Tips for Perfecting Your Jangjorim
Choice of Beef Matters
For optimal texture and flavor, your choice of beef matters. Although you can use any beef cut the most recommended cut is brisket. It’s lean yet flavorful and achieves the perfect tenderness when slow-cooked.
Slow Cooking is Key
Jangjorim is not a dish you want to rush. It’s like a masterpiece that demands your time and patience. Let it simmer gently for about 2-3 hours to attain that depth of flavor and melt-in-your-mouth texture.
Be Mindful of Your Soy Sauce
The star of this dish is the soy sauce. It’s advisable to use a premium low-sodium version. Reducing the soya sauce allows for more control over the salt levels plus it gives your Jangjorim a cleaner taste.
Get Creative with Your Add-ins
Standard Jangjorim includes quail eggs and green chilies but who says you can’t shake things up? Consider adding mushrooms for an earthy touch. Or perhaps slices of tofu which soak up the savory sauce brilliantly.
Adjust to Your Preference
Jangjorim is a versatile dish. Feel free to adjust the levels of sweetness or spiciness according to your palate. Want it sweeter? Increase the sugar levels. Desire a kick? Add more chilies. You’re the artist and Jangjorim, your canvas.
Nutritional Prospects of Your Dish
This dish is quite balanced nutritionally. With high-quality proteins from the beef and the quail eggs, beneficial fats, essential minerals, and vitamins from the garlic and chillies, Jangjorim is a meal that ticks not only the deliciousness box but also, the nutritious one.
Keep these tips in mind as you cook up your Jangjorim. Remember, it’s all about experimenting and personalizing it so don’t be afraid to tweak the recipe. You never know, your version might just end up being the new family favorite!
Make sure to share your homemade Jangjorim experiences and your unique twists.
Serving and Enjoying Jangjorim
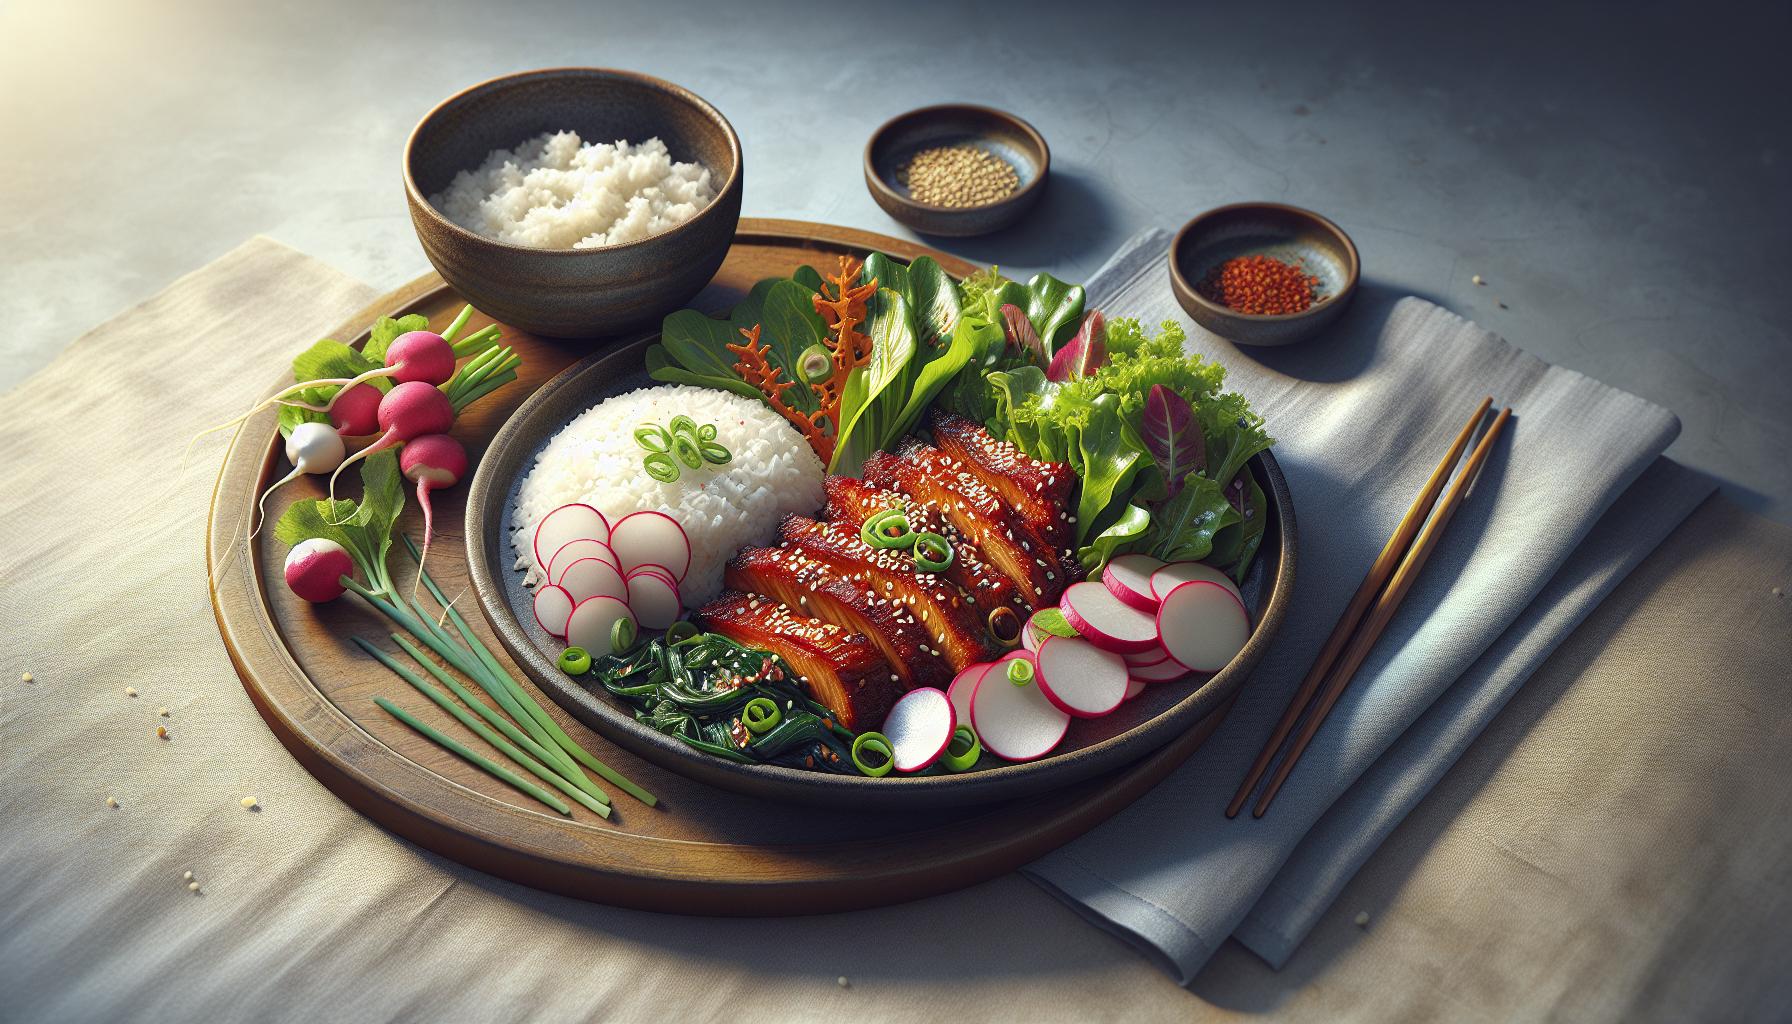
Nailing the delicious flavors of Jangjorim is only half the journey. How you serve and enjoy it is equally significant.
One of the most versatile dishes, Jangjorim pairs well with white or brown rice and is a standout protein addition to your Bibimbap. But have you thought of using it in between slices of bread for an Asian-inspired sandwich? It’s these creative and unique ways that make Jangjorim an excellent staple dish.
Unique Serving Ideas
Below are some innovative ways to serve:
- Refreshing Salad: Toss together mixed greens, sliced radish, and cucumber, then top it off with slices of Jangjorim instead of your regular protein. This delicious twist can add more excitement to your meals.
- Jangjorim Pasta: Stir-fried pasta with a generous amount of Jangjorim can deliver a strong umami punch with a Korean-Italian fusion flair that your family will love.
Sides and Garnish
Jangjorim doesn’t have to stand alone. Complement it with the right sides and garnish like:
- Korean pickled radishes or kimchi for the tangy contrast to Jangjorim’s savory taste.
- Sesame seeds and chopped green onions will add a nutty flavor and a pop of vibrant color.
In the midst of the variety, remember that Jangjorim is not just versatile but carries a considerable amount of nutritional value. Gluten-free, packed with protein, and low in fat because of the trimmed brisket, it’s good for diets with high protein requirements.
Got more unique ways to serve and enjoy Jangjorim? Let’s keep the ideas stirring and stretching the potential of this savory dish. Share your creative Jangjorim meals on your social channels. You never know who might need a fresh and innovative dining inspiration.
Conclusion
So there you have it! With this guide, you’re now fully equipped to whip up homemade Jangjorim and serve it in a myriad of creative ways. From traditional Korean rice accompaniments to innovative Asian-inspired sandwiches or fusion pastas, the options are limitless. Don’t forget those tangy sides and garnishes that add an extra layer of flavor. Remember, it’s not just about the taste, but also the nutritional benefits of this gluten-free, protein-packed, low-fat dish. Now it’s your turn to get cooking and share your Jangjorim creations on social media. Who knows? You might just inspire someone else to try this versatile dish. Happy cooking!