Mastering Your Homemade Bibimbap Recipe – Easy Tips and Ingredient Guide
Selecting the Right Ingredients
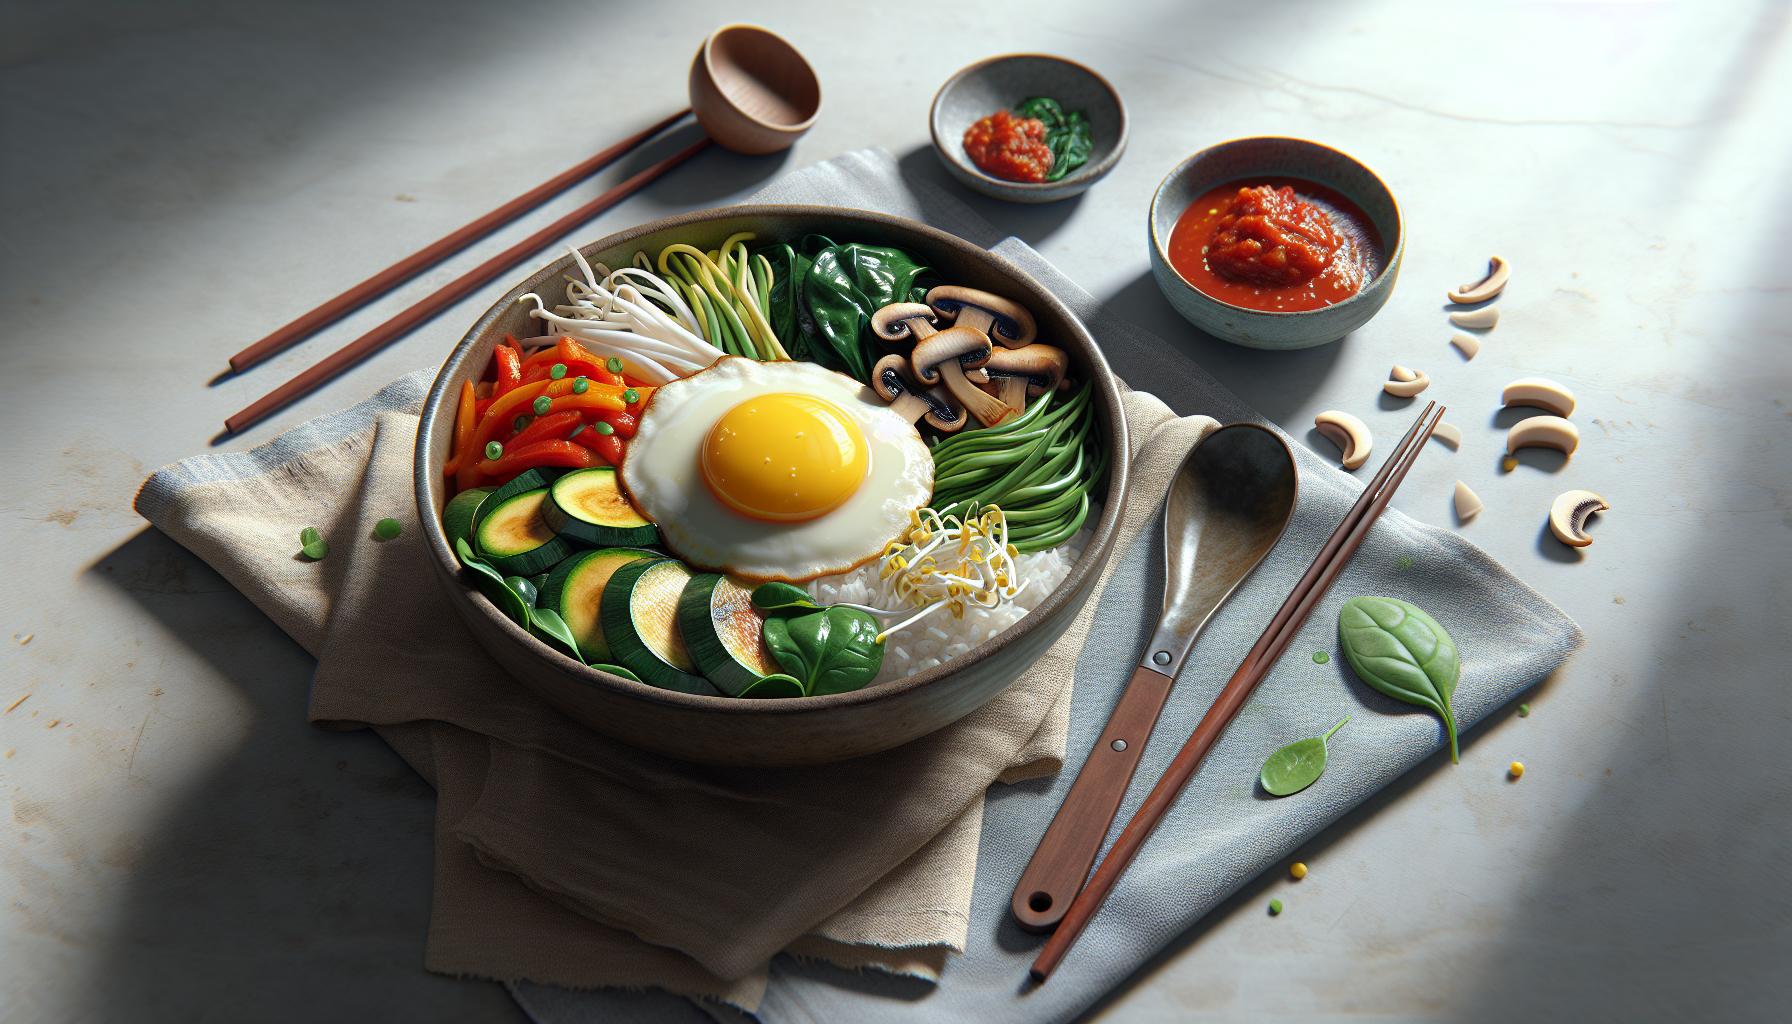
Embarking on your homemade bibimbap journey begins with selecting the right ingredients. The array of components in this dish is what creates its depth of flavor and vibrant presentation.
Your primary ingredient is rice. Short-grain white rice is a common choice and lends itself well to the thickness of the other ingredients. You’ll need about a cup per serving. If you’re watching your carbs, a swap for brown rice or even cauliflower rice, can give your bibimbap a health-conscious twist.
You’ll also need mixed vegetables. Traditional bibimbap includes ingredients like zucchini, mushrooms, spinach, and bean sprouts – but feel free to mix it up! Aim for about a handful of each vegetable, thinly sliced for easy eating. Your bibimbap, your rules!
Tables aren’t just great for dining on, they’re also perfect for listing your ingredients.
| Ingredient | Amount per serving |
|---|---|
| Rice | 1 cup |
| Each vegetable | 1 handful |
Choice of meat is important, too. Sliced beef marinated in bulgogi sauce is a crowd-pleaser. Spam has made a recent comeback, offering a unique twist. If you prefer meatless, tofu makes an excellent alternative. Not only does this variation reduce the fat content, it also increases the protein!
Your egg should ideally be cooked sunny-side-up. The creaminess of the runny yolk adds to the overall mouthfeel.
Finally, let’s not forget the bibimbap’s signature sauce. Gochujang, a Korean hot pepper paste, is key. It adds that much-needed punch of heat and sweetness.
Preparation and Cooking Steps
Now that you’ve got your ingredients ready, let’s dive into the cooking process of bibimbap.
First, it’s all about the rice. Rinse short-grain white rice under cold water till the water runs clear. For an alternative, brown rice or cauliflower rice works well too. Cook as per your preference or package instructions. Remember to keep the rice a bit underdone, as it will finish cooking in the hot stone bowl.
Next up, you’ve got to prep your veggies. Thinly slice your zucchini, mushrooms, spinach, and bean sprouts. Lightly sauté each vegetable separately with a bit of oil, ensuring that they retain their vibrant colors.
For your proteins, the sky’s the limit. If you’re using beef, marinate it in bulgogi sauce and pan-sear it till cooked. Crisp up your Spam to get a bit of crunch. Or if you’re opting for a meatless version, pan-sear tofu till it’s golden brown.
Don’t forget the egg! For the perfect bibimbap, your egg has to be sunny-side-up. It’s the yolk running into the rice that creates a unique creamy texture!
Finally, it’s time to assemble your bibimbap.
- In a hot stone bowl, add a layer of rice at the bottom.
- Arrange your sautéed vegetables and protein aesthetically over the rice.
- Place your sunny-side-up egg in the center.
- Last but not least, add a dollop of Gochujang. Don’t skimp on this delightful Korean hot pepper paste as it’s what gives bibimbap its signature heat and sweetness.
For those concerned about nutritional value, a standard serving of bibimbap boasts quite a few health benefits:
| Nutrient | Amount |
|---|---|
| Calories | 550 Kcal |
| Carbs | 80g |
| Protein | 25g |
| Fat | 15g |
Assembling Your Homemade Bibimbap
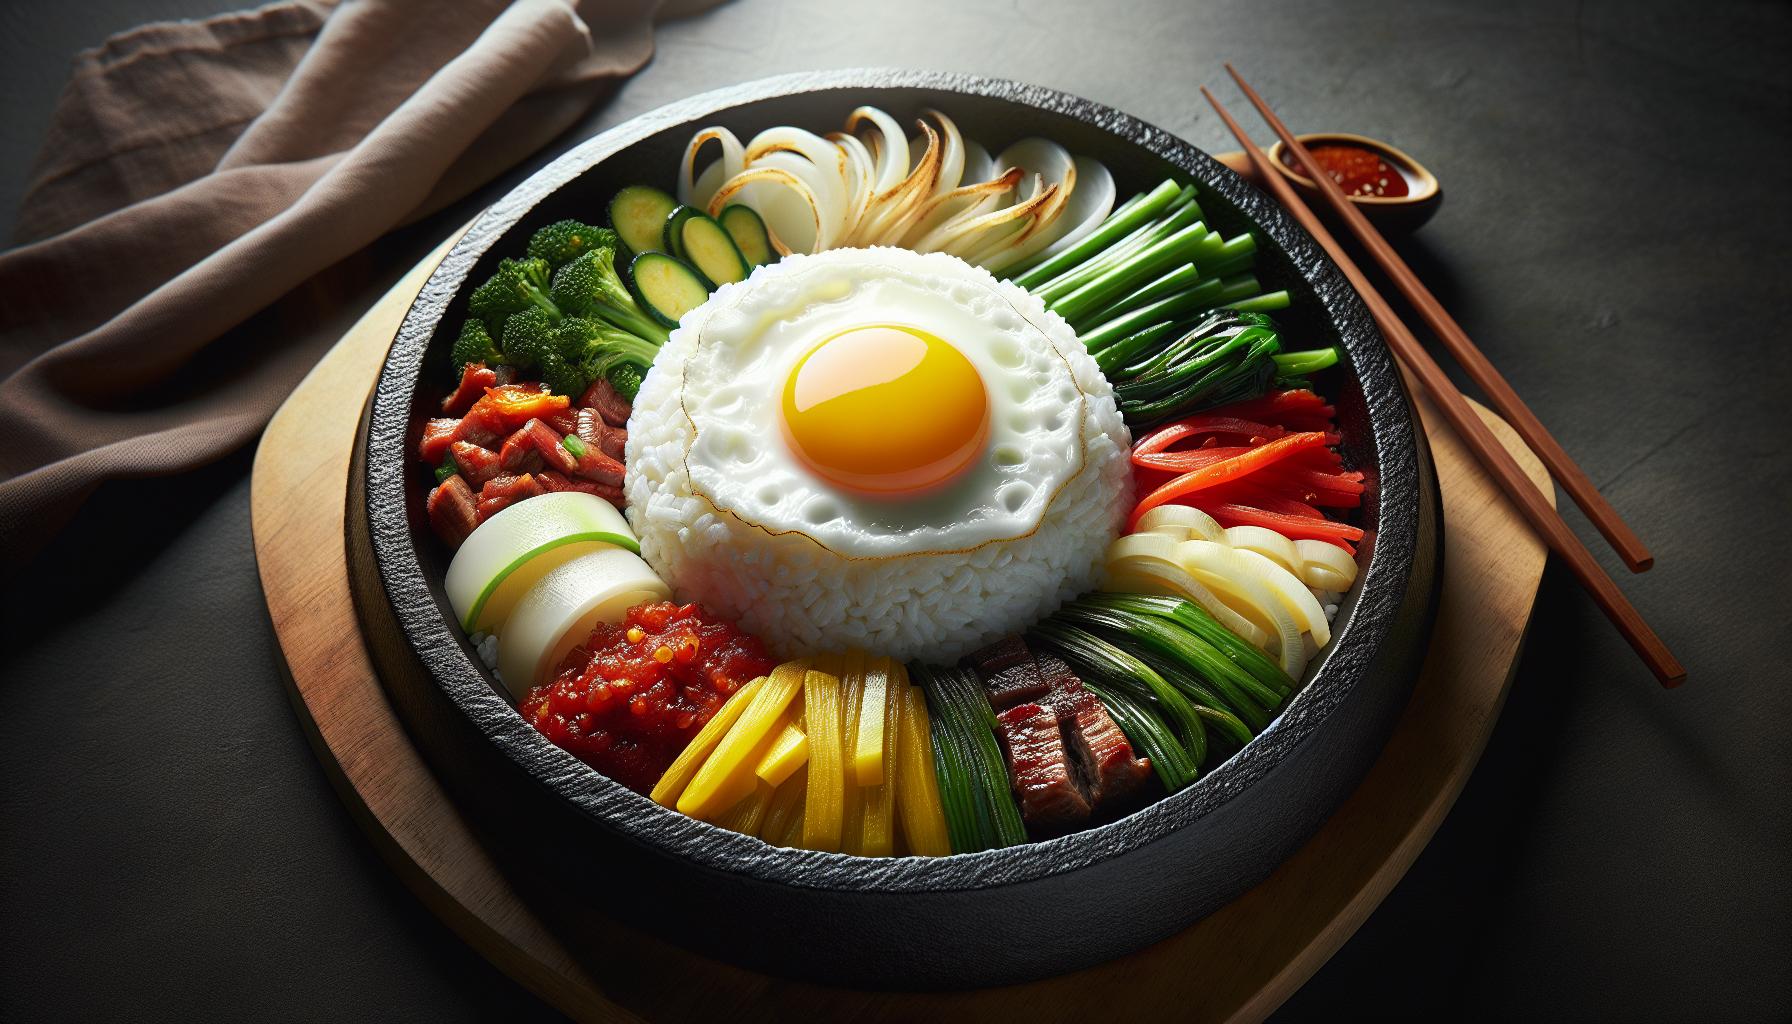
Let’s dive right into the fun part—assembling your homemade bibimbap. Doing so is both an art and a science, and luckily, you’ve got all the building blocks at your fingertips.
Place your cooked rice in the base of a hot stone bowl or a large serving bowl. Remember, it’s crucial that the bowl is hot—it helps sizzle the rice, giving it that desired, delicious crispy texture.
Next, distribute your prepared vegetables and proteins on top of the rice—those fresh, vibrant colors gyrating against the stark white rice, creating an inviting visual feast. Add them in separate sections to create a sort of mosaic with your ingredients. In this way, every bite you take will be a unique blend of flavors.
Delicately place your sunny-side-up egg in the middle. The yolk’s golden color will immediately demand your guests’ attention. And who can resist breaking into it, letting that runny yolk create a rich sauce for the rest of the ingredients?
To kick the flavor up a notch, don’t forget that dollop of Gochujang—it’s an instant taste bud teaser.
As you assemble, consider the balance of tastes, colors, and textures. This isn’t just a recipe; it’s freedom on a plate—a chance to play, experiment, and get in touch with your inner culinary maestro.
| Ingredients | Quantity |
|---|---|
| Cooked Rice | 2 Cups |
| Fresh Vegetables and Proteins | As needed |
| Sunny-Side-Up Egg | 1 |
| Gochujang | 1 Dollop |
For those interested in the nutritional value, a regular serving of your homemade bibimbap will land around 550 Kcal with approximately 80g of carbs, 25g of protein, and 15g of fat.
Keep in mind the nutritional content can vary based on your exact ingredients chosen. Here’s an opportunity to customize this dish to fit any dietary requirement or preference.
Regardless, Bibimbap is a satisfying, nutrient-dense meal—a perfect answer when your body craves comfort food, but your mind insists on something nutritious.
Making the Flavorful Bibimbap Sauce

Now that you’ve got your ingredients ready, let’s get started on the star of the show: the bibimbap sauce. This signature sauce, known for its distinctive punch, amplifies the overall taste of your homemade bibimbap. It’s a blend of fiery, sweet, and savory flavors.
To make this sauce, you’ll need the following:
| No. | Ingredient | Quantity |
|---|---|---|
| 1 | Gochujang | 3 Tbsp |
| 2 | Sesame oil | 1 Tbsp |
| 3 | Sugar | 1 Tbsp |
| 4 | Water | 1 Tbsp |
| 5 | Garlic | 2 cloves |
Following the Korean way, prefer using Gochujang. This Korean chili paste sets the base for your sauce. Not only does it bring the required spiciness, but it’s also packed with a mild sweetness that adds depth.
Make sure your sesame oil is toasted. Toasted sesame oil differs from regular, it imparts a nuttier aroma and flavor to your sauce.
For the sugar, consider using brown sugar over white. It gives your sauce a richer flavor. But if you prefer less sweetness, go easy on the sugar or skip it altogether.
Next up is water. Though not compulsory, adding water to the sauce makes it a bit more pourable, ensuring it gets to every corner of your bowl.
Finally, mince your garlic to maximize its flavor potential.
Mix these ingredients with a whisk until smooth and utterly blended. Check for consistency and adjust as needed. And voila! Your homemade bibimbap sauce is ready to take that dish from good to finger-licking good!
Remember, tasting is key during all of this. Adjust the quantities to suit your palate. Feel like it needs a little more kick? Try adding some grated ginger or a dash of soy sauce. Celebrate the fact that you’re not tied to any fixed formula – it’s your bibimbap after all! Get creative, and have fun with it.
Tips and Tricks for a Perfect Homemade Bibimbap

Perfecting your homemade bibimbap starts with understanding the ingredients. Know what each brings to the table. For instance, Gochujang imparts a fiery yet slightly sweet element, essential to the authenticity of the dish. If you can’t find this Korean chili paste, consider a blend of ketchup and cayenne pepper as a makeshift alternative. It’s not quite as rich or deeply nuanced but it can achieve a pinch of the punchiness needed.
In the spirit of customization, toasted sesame oil reigns supreme when it comes to boosting flavor profiles. It adds a layer of nutty goodness. Bear in mind, this is an ingredient where quality really matters. So splurge a bit on a good brand, it’ll make a world of difference.
When it comes to your grain base, bibimbap is typically served with short-grain white rice. Try out brown rice, quinoa, or even cauliflower rice for a modern twist and added nutrition. Don’t be afraid to think outside the box!
As for your veggies, they’re your playground. Bibimbap is a fantastic way to use up leftover veggies in your kitchen. Just ensure they’re julienned into matchstick-size pieces for even and quick cooking, or, if raw, that they’re fresh and crispy.
Lastly, remember the element of heat. The traditional way to serve bibimbap is in a dolsot, or Korean stone bowl. This gives you that deliciously crispy rice bottom and keeps your meal piping hot for longer periods. Feel free to use an oven-proof earthenware or cast-iron skillet if it’s difficult to find a dolsot.
Stay mindful of the balance in flavors – spicy, sweet, salty, and sour – and you’re well on your way to crafting a perfect homemade Bibimbap. Your biggest secret weapon? Patience. Take your time, savor the process, and enjoy the art of creating this personalized rice bowl masterpiece. Enjoy the journey without rushing towards a finished product.
Note: Experimenting within your comfort zone is absolutely fine. Tailoring this dish to your personal taste is key! With practice, you’ll be whipping up this Korean delicacy like a pro in no time. The beauty of bibimbap is that it’s wildly adaptable and welcoming to creativity in the kitchen.
Conclusion
So you’ve journeyed through the world of homemade bibimbap. You’ve learned the essentials, from the importance of Gochujang to the delicate balance of flavors. You’ve discovered how toasted sesame oil can elevate your dish and how swapping out ingredients can keep things fresh. You’ve seen how patience pays off in the kitchen, and how personal touches can make your bibimbap uniquely yours. Now it’s time to put your knowledge to the test. Grab your apron, heat up that pan, and let your creativity shine. Remember, the beauty of bibimbap lies in its versatility. So don’t be afraid to experiment and make it your own. With all you’ve learned, you’re ready to master the art of homemade bibimbap. Get cooking! Your taste buds are in for a treat.