Easy Guide to Perfect Homemade Kimchi Jeon Pancake Recipe
Choosing the Right Kimchi
Like every great recipe, the key to delicious kimchi jeon lies in the quality of your ingredients. Kimchi is the heart and soul of this Korean pancake. Let’s dive right into understanding how to pick the right kimchi for your homemade feast.
First, you must decide between store-bought kimchi or homemade kimchi. Store-bought options offer convenience and a consistent flavor. But if you’re one for a culinary adventure, you could try your hand at creating your own kimchi. This allows you to control the levels of tanginess, spice, and fermentation for a truly customized flavor experience.
Secondly, you should pay attention to the fermentation stage. Overly fermented kimchi tends to be sour and works well for kimchi soup. But for jeon, you want a moderate fermentation stage. Early-stage kimchi might not impart enough flavor to your pancake but a moderate fermentation stage will give a good balance of flavor ensuring every bite is packed with the savory tanginess.
Moving to the vegetable component of kimchi. Made mainly out of cabbage, radish, spring onion, or cucumber, each variant comes with its distinct crunch and taste. For a classic Kimchi jeon, look for the napa cabbage kimchi or baechu-kimchi. Its balance of texture and natural sweetness complements the batter and creates a palatable experience.
Consider using matured or aged kimchi for a bold touch. The flavorful brine or kimchi juice of matured kimchi adds an extra kick to the pancake’s taste. You’d be impressed by how differently elevating the dish feels!
Now that you are aware of what to look for while selecting kimchi here’s a summarized list to keep handy:
- Store-bought or homemade Kimchi
- Moderate fermentation stage for a balanced flavor profile
- Napa cabbage Kimchi for classic Kimchi jeon
- Matured kimchi for an extra depth of flavors
Next up, let’s get into the details of the pancake mix, and understand how you can make it ready for the kimchi to make its grand entry.
Gathering Ingredients
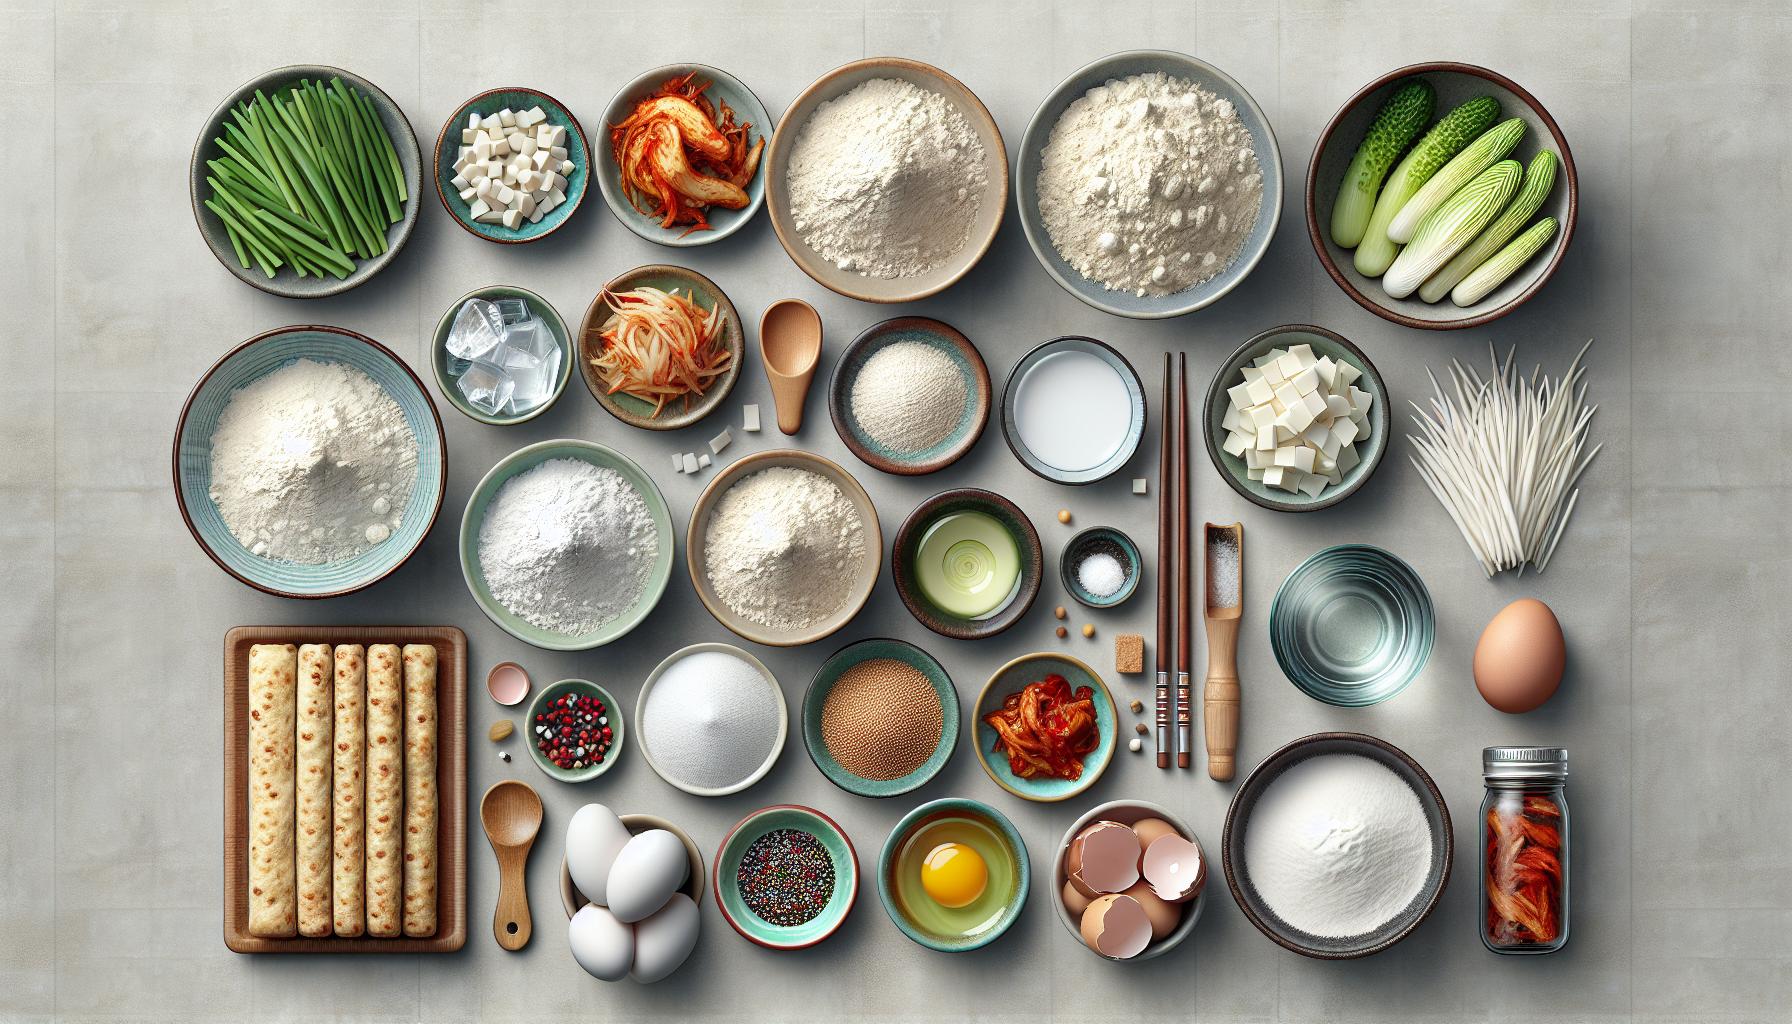
Now that you’ve picked out your savory kimchi, let’s get down to business. You’ll need to gather the rest of the essential elements that’ll all come together to create that perfect kimchi jeon pancake. But keep in mind, it’s not just about what goes into your dish, it’s the quality of ingredients you choose.
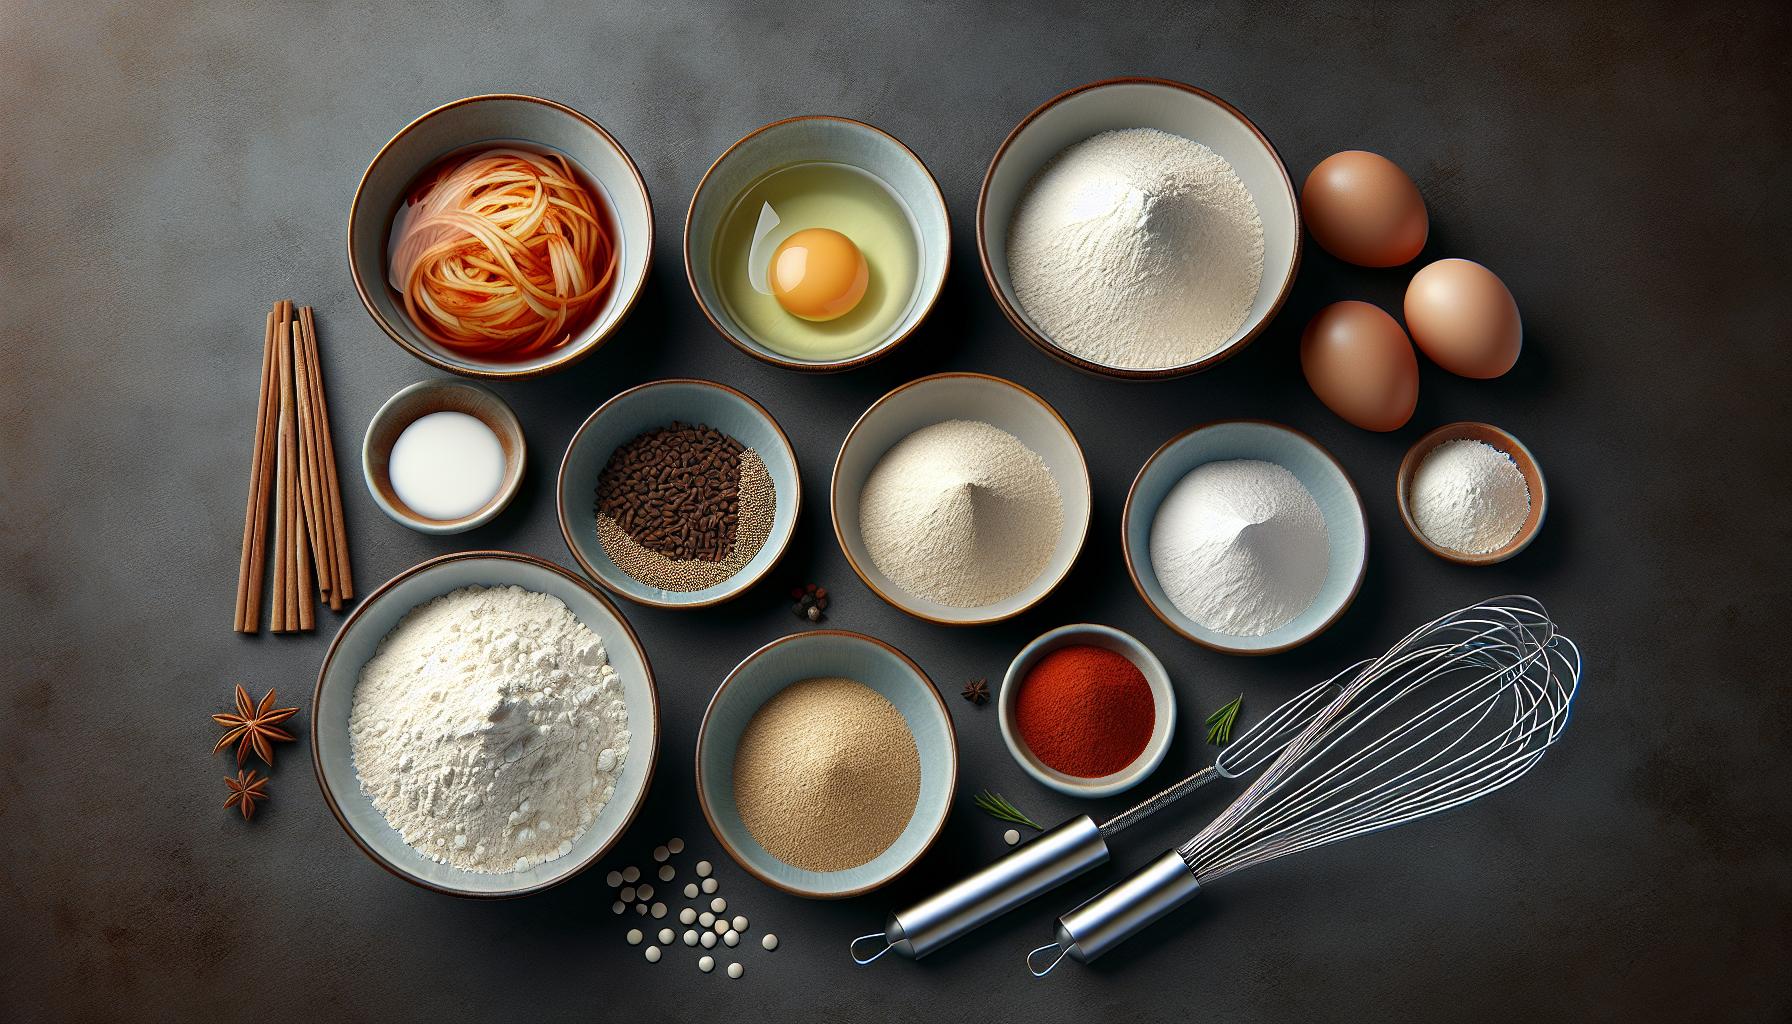
Don’t worry, no need to scour a dozen stores. Most of these can be found right in your local supermarket or Asian grocery store. For the pancake mix, you’ll need:
- All-purpose flour: 1 cup
- Rice flour: 1/2 cup
- Cold water: 1 1/2 cups
- One large egg
- Salt: 1 teaspoon
- Sugar: 2 teaspoons
Let’s get a little creative with our ingredients. Add a dash of some lesser-known ingredients like doenjang (Korean soybean paste) or Gochugaru (Korean chili flakes). Trust me on this, these give a uniquely authentic taste to the kimchi jeon that will make your dish stand out amongst others. Make sure to adjust according to your spice preferences!
| Ingredient | Quantity |
|---|---|
| Flour | 1 cup |
| Rice Flour | 1/2 cup |
| Cold water | 1 1/2 cups |
| Egg | 1 large |
| Salt | 1 tsp |
| Sugar | 2 tsp |
Let’s not lose sight of the nutritional aspect amidst all the tasty goodness. For the health-conscious, bear in mind that a single serving of this dish can approximately contain:
| Nutrient | Quantity |
|---|---|
| Calories | 250 |
| Carbs | 35g |
| Protein | 6g |
| Fat | 9g |
Remember, the quality of ingredients you choose can significantly impact these numbers. Now buckle up, it’s time to hit the kitchen and start whipping up the pancake mix. You’re one step closer to biting into your beautifully golden, crispy kimchi jeon.
Preparing the Batter
Next up, let’s master the art of batter preparation. It’s all about achieving the precise consistency that will have your kimchi jeon puffing up and getting nice and crispy around the edges.
Step One: In a large bowl, pour 1 cup each of all-purpose flour and rice flour. Why rice flour? Because it’s the secret behind every crispy, heavenly bite of kimchi jeon.
Step Two: To the bowl, add 1 1/2 cups of cold water. Remember, it has to be cold. Warm or room temperature water won’t produce the same level of crispiness.
Step Three: Crack open an egg into the mixture, adding in half a teaspoon each of salt and sugar. Stir everything together until it’s well-mixed.
Here’s a tip to boost flavor: Add a spoonful of doenjang (Korean soybean paste) and a sprinkle of Gochugaru (Korean chili powder). These aren’t typical additions, but trust me, they enhance the savoriness and spice in the final pancake.
Nutrition is a big reason you might be opting for a homemade recipe. So let’s check out what your savory pancake delivers. In terms of nutritional value, each serving of kimchi jeon you make with this recipe will contain approximately:
| Nutrition | Amount |
|---|---|
| Calories | 200 Kcal |
| Carbs | 35 grams |
| Protein | 7 grams |
| Fat | 4 grams |
Don’t you just love how easy this is turning out to be? In the next section, we’ll move on to incorporating your high-quality kimchi into the batter. You’ll see, it’s the best part and where all the magic happens.
Mixing Kimchi with the Batter
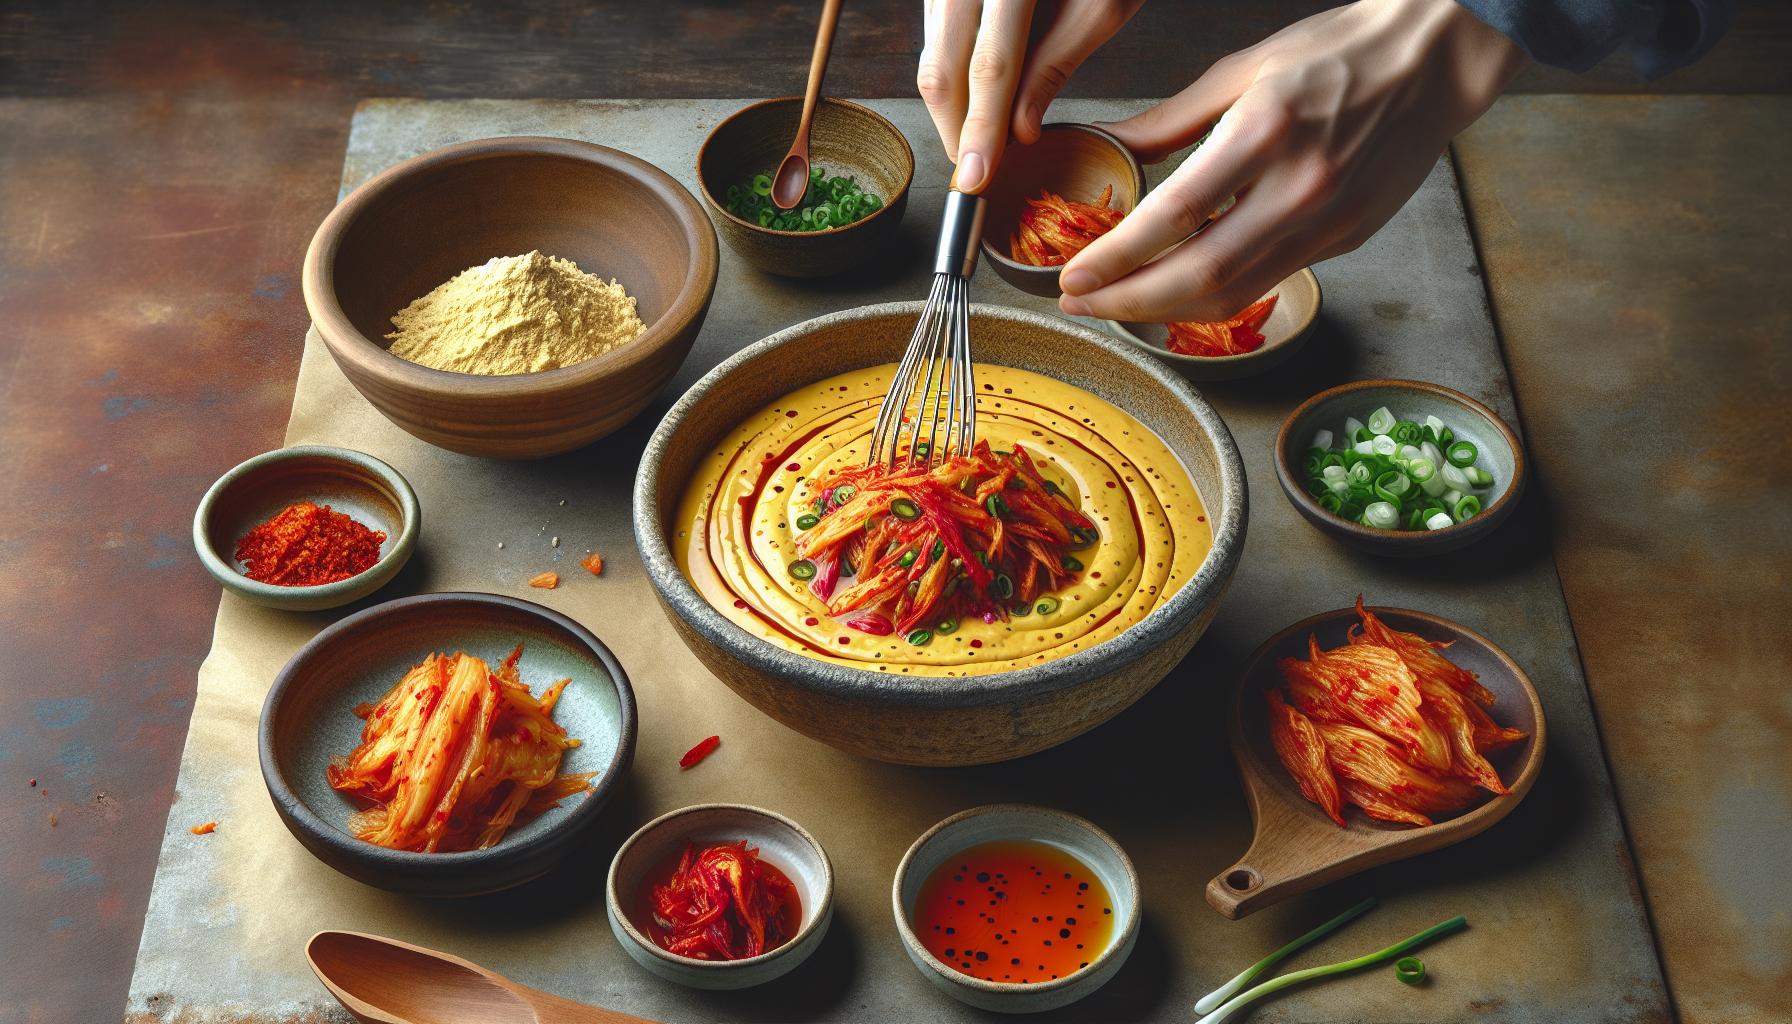
With your batter at perfect consistency, you’re all set to combine it with your kimchi. Remember, the quality of your kimchi is crucial to the outcome of your pancake. That said, let’s dive into how to integrate your kimchi into the batter effectively.
Firstly, drain the kimchi well before you begin. You don’t need the extra liquids interfering with the consistency of the batter. Once drained, finely chop the kimchi into small pieces. You’re aiming for pieces that are small but still chunky enough to offer some texture.
In this recipe, you’ll need about 1.5 cups of chopped kimchi. To enhance the bold kimchi flavor, consider adding about 2 tablespoons of kimchi juice. Just enough to punch up the pancake’s tanginess, not drench it! Don’t hesitate to dial this up or down based on your personal preference.
Once chopped, gently fold the kimchi into the batter. Keep in mind that you’re not stirring, but folding. This simple technique helps keep the batter light and airy, perfect for achieving that coveted crispiness when we get to the frying stage.
Pro tip: Toss in some chopped green onions for an extra crunch!
| Ingredient |
Quantity
|————-|
| Kimchi |
1.5 cups
| Kimchi juice|
2 tablespoons
| Green onions|
Optional
This newly created kimchi batter won’t just result in fabulous pancakes – it’s great for your health too. Just one serving offers approximately 200 calories, 35g of carbs, 7g of protein, and 4g of fat, contributing to a well-rounded meal.
Capitalizing on the right mix of batter to kimchi not only creates a delightfully crispy finish but brings the authentic flavor of homemade kimchi jeon to your table.
Cooking Kimchi Jeon
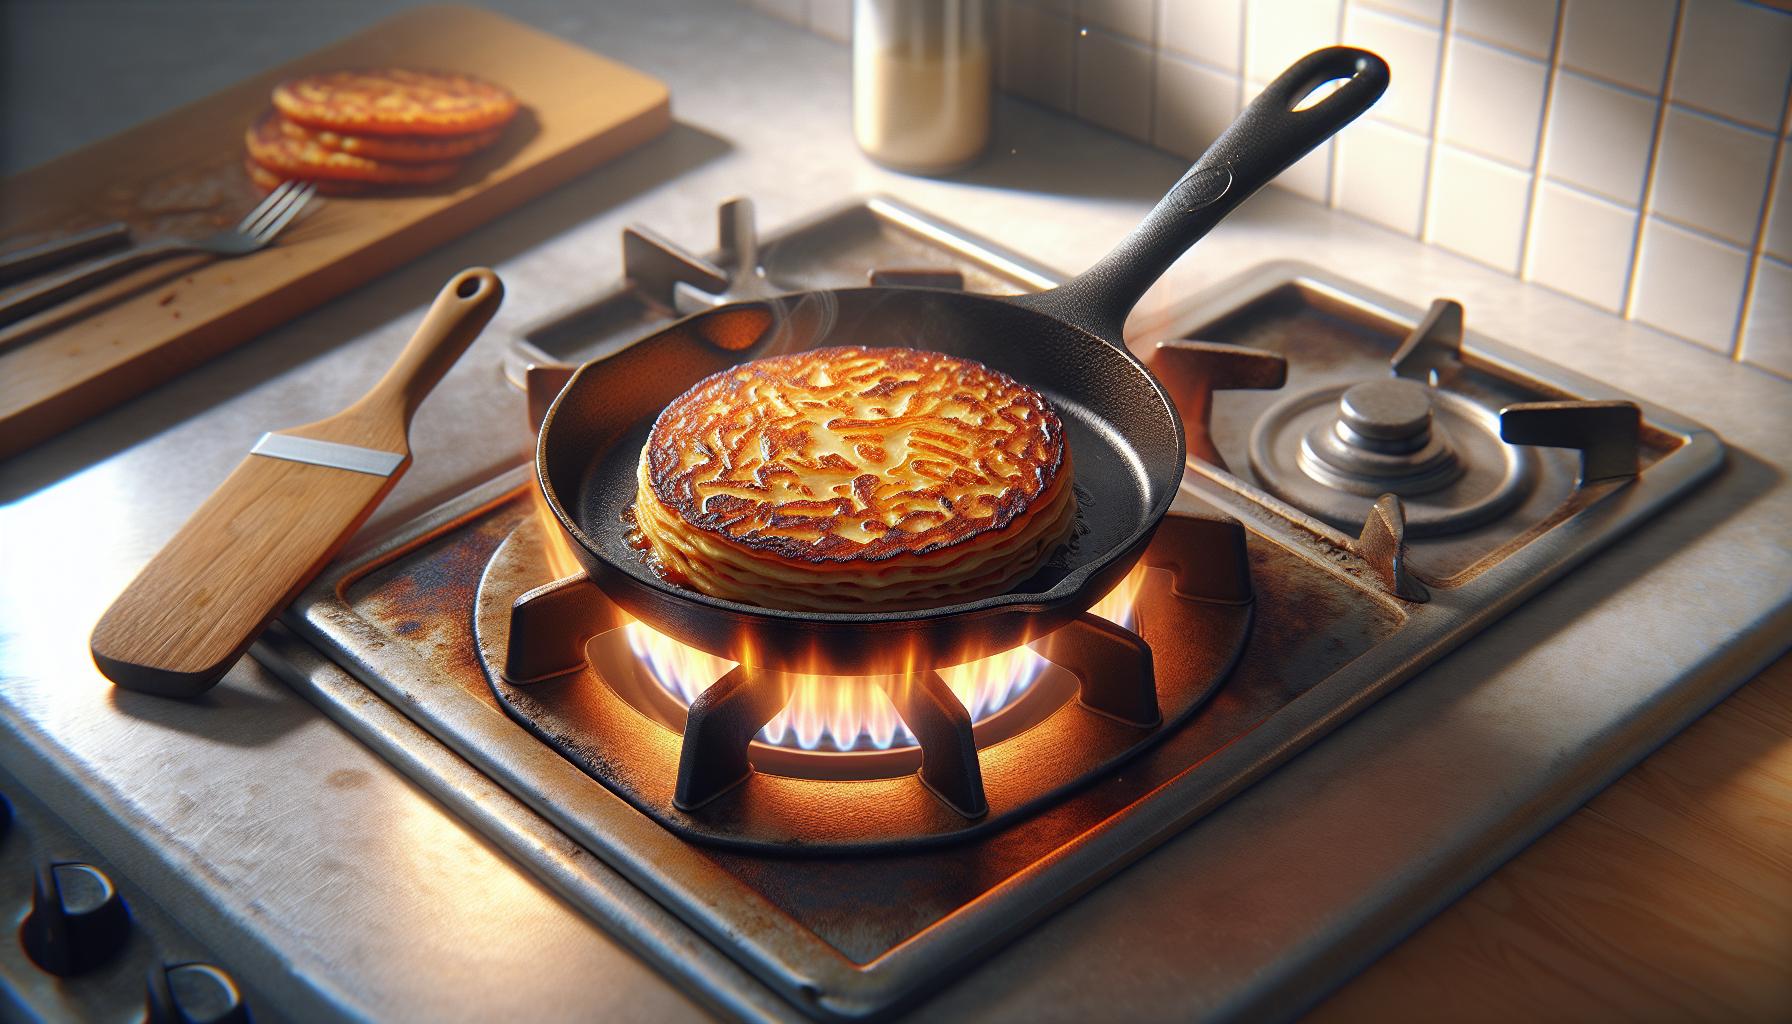
You’ve got your batter ready to go, your kimchi is chopped and folded in, and you’re all set. Now, it’s time to dive into the cooking process. Just as the preparation was, the cooking process is simple yet key to achieving that savory, crispy pancake.
Start with heating up your pan. You’ll want a large flat pan, a griddle if you have one. Add a generous amount of oil and heat it over medium-high flame. A well-oiled and properly heated pan is vital to prevent sticking and facilitate even cooking for a **crispy, golden-brown texture.
Once your oil is hot enough, pour in your batter using a ladle. Remember, you want your pancakes approximately ¼ inch thick. Too thin and you’ll lose that satisfying mouthfeel, too thick and you might end up with a doughy middle.
After that, it’s all about timing. You’ll need to cook each side for about ** 3 – 4 minutes** or until it’s a beautiful golden brown. Be patient here. Flipping too early can create a mess or tear your pancake.
If you’re feeling adventurous, try adding a slice of mozzarella on top just before flipping. This small tweak can elevate your pancake’s taste, giving it a ** creamy texture ** that contrasts nicely with the crispiness.
Watch out for the heat – if the pancakes are browning too quickly, turn down the heat. Too low and they won’t crisp up as desired.
Here is a quick summary:
| Step | Ingredient | Amount | Time |
|---|---|---|---|
| 1 | Oil | Generous amount | Heat until well heated |
| 2 | Batter | Ladleful | Cook 3-4 min per side |
| 3 | Optional: Mozzarella | Slice | Add before flipping |
Conclusion
So there you have it – the secret to making the perfect homemade Kimchi Jeon pancakes. The key takeaway? It’s all about the pan’s heat and oil levels, the batter’s thickness, and the cooking time. Don’t forget that slice of mozzarella to take it up a notch with a creamy twist. Remember, adjusting the heat is crucial to avoid over-browning or undercooking. With these tips at your disposal, you’re well-equipped to whip up a batch of these delicious pancakes. So why wait? Get your apron on and let’s get cooking. Here’s to a scrumptious, home-cooked Kimchi Jeon pancake feast!