Simple Homemade Mak Kimchi Recipe with Expert Storage Tips
Benefits of Homemade Mak Kimchi
You may wonder, “Why should I bother making my own mak kimchi?” The answer lies in the multitude of health and flavor perks that come packed in this fermented dish.
When you make your own kimchi at home, you’re in control of all the ingredients. That means you can make sure you’re using only the freshest and highest quality components. You’re able to avoid the artificial preservatives often found in store-bought versions of kimchi. A kitchen full of aroma from natural spices screams sincerity and the love of cooking, doesn’t it?
Kimchi is a probiotic powerhouse. It’s rich in beneficial bacteria that promotes gut health. Fermented foods like kimchi are a great source of probiotics, and play a significant role in boosting your immune system and improving digestion. Healthy gut equals a healthy body.
The flavors of homemade mak kimchi are also unrivaled. The freshness of the ingredients yields a taste that’s tangy and complex, with just the right amount of heat. You’ll get to marvel at how subtly different ingredients harmonize to form that unique zesty burst. It’s a palate adventure right in your kitchen!
Moreover, kimchi is not just about cabbage. you can experiment with a variety of additions such as radish, cucumber, or even fruits like apple and pear. With homemade mak kimchi, every batch offers an opportunity for you to fine-tune and perfect your recipe. After you’ve mastered how to make this classic Korean staple, you can twist and turn this recipe to make it uniquely yours.
So, the journey to making your own mak kimchi is definitely worth the effort. Healthy, tasty, and adaptable to your dietary preferences, homemade mak kimchi is an addition to your meals that’s both nutritious and delicious.
Moving ahead, let’s get to know the basic steps and ingredients for making your very own homemade mak kimchi. Get ready, your kitchen adventure awaits.
Understanding the Ingredients

Making mak kimchi at home can be an absolute delight, as you get to be in control of what goes into your fermenting jars. Each ingredient you add gives a distinctive flair to your kimchi recipe.
You’ll surely be familiar with the core ingredients of most kimchi recipes, as these are common and readily available. They’re cabbage, chili powder, garlic, scallion, and ginger. However, for an extra kick, you can explore the less common ones like radish, cucumber, pear, or even apple.
Cabbage: The Base
The primary ingredient of mak kimchi is napa cabbage. While selecting cabbage, pick firm ones with deep green outer leaves. The size doesn’t matter as much, but remember that denser cabbages typically offer more crunch.
Chili Powder: The Flame
Generally, coarsely ground chili powder is favored in mak kimchi as it provides a delightful texture. But do consider your own spice tolerance. If you’re not a big fan of heat, you can reduce the quantity.
Garlic and Ginger: The Flavor Enhancers
These two often go hand in hand in providing that distinctive Asian flavor. Fresh is best! Avoid using processed or powdered versions if possible.
Scallion: The Zing
Scallions impart a light onion flavor that does not dominate but subtly complements the overall kimchi taste.
Other Ingredients
While these are the fundamentals, it’s your kitchen, and there are no unwanted surprises. Love cucumbers? Toss ’em in. Fancy bit of sugar on top to balance the flavors? Go for it.
When it comes to fermented foods like kimchi, the options are endless. Use this as an opportunity to get creative in your kitchen and cater to your particular palate.
Overall, understanding the ingredients that go into your mak kimchi and altering things to fit your own preference can make a world of difference. Try out different variations to see what works best for you. You might just find your new favorite blend.
Step-by-Step Guide to Making Mak Kimchi

First, start by preparing your ingredients:
- 1 medium-sized napa cabbage (5-6 pounds)
- 1 cup of coarse sea salt
- 2 bunches of scallions
- 2 tablespoons of minced ginger
- 7 cloves of garlic
Tip: Try incorporating unconventional ingredients like pear or apple for a unique, added flavor.
Second, chop your cabbage into bite-sized pieces and soak them in water. Sprinkle in the coarse sea salt, ensuring full coverage. Let the cabbage soak for 2 hours – this will soften it and start the fermentation process.
Once your cabbage is ready, it’s time to make the kimchi paste. Start by combining the minced ginger, garlic, scallions, and Korean chili powder in a bowl. Then, adjust the seasoning according to your preference. Some prefer it more fiery while others prefer a milder taste. Remember, kimchi is versatile! Feel free to be creative with the chili paste recipe.
With the paste ready, apply it generously to the cabbage pieces. Make sure that all pieces are coated evenly. After that, place your mak kimchi in jars or other airtight containers and let it ferment.
Not many people know that unripe, fresh kimchi has its own charm. Have a taste after a few hours. You might just love the crunch and refreshing tanginess. If not, let it ferment until you reach your preferred sourness level.
Now it’s all about waiting and sampling until you find your ideal fermentation level. Throughout the process, always remember to store your kimchi in a cool, dark place.
Nutritional value is always important, so here’s a table for reference:
| Nutrient | Amount per serving |
|---|---|
| Calories | 40 |
| Protein | 1g |
| Carbs | 9g |
| Fat | 1g |
Tips for Perfecting Your Mak Kimchi

Diving into the intricate cuisine of kimchi making, especially the mak kimchi variant, is a fun and rewarding gastronomic adventure. In this section, we’re gonna share some practical tricks to perfect your homemade mak kimchi.
Mind Your Cabbage Cut. The cutting size of your Napa cabbage has a profound effect on how your kimchi tastes. When you cut the cabbage into smaller pieces, you’re allowing more surface area for the kimchi paste to seep. Hence, for a robust, full-bodied kimchi flavor, go for smaller cuts.
Alternatively, if you prefer a subtle, mild kimchi blend, larger cabbage cuts might suit you best. Just remember, the cut size will reflect directly on your final kimchi taste. So, experiment until you find your perfect cabbage cutting size.
Embrace Ingredient Alternatives. Reinvent your kimchi’s flavor profile by embracing unconventional ingredients. Adding fruits like apple or pear to your kimchi paste can elevate the concoction, boosting its rich flavor dimensions while giving it a delightful hint of natural sweetness. And who knows, your experimental kimchi recipe might just become the talk of the town.
Play with Fermentation Time. The beauty of making kimchi lies in the fermentation process. It’s where the magic happens. By altering your fermentation time, you can adjust your kimchi’s sourness level, tailor-fitting it to your palate’s liking. Want a bold, sour kimchi kick? Extend your fermentation period. If you’re on the hunt for mildly sour kimchi, a shorter fermentation time should do the trick.
Remember to taste your kimchi at various stages of fermentation. This not only helps you gauge when it’s hit your preferred sourness level but also makes you a more seasoned kimchi maker over time. So, don’t shy away from a little taste test!
Store Correctly for Optimum Fermentation. Storing the kimchi properly during fermentation is of utmost importance, and it isn’t as complicated as it sounds. Invest in a clean, air-tight, and non-metallic container to keep your kimchi mixture. This will ensure that the fermenting process continues undisturbed. What’s more? It also promises you perfectly fermented, tangy homemade kimchi in the end.
Serving and Storing Your Homemade Kimchi

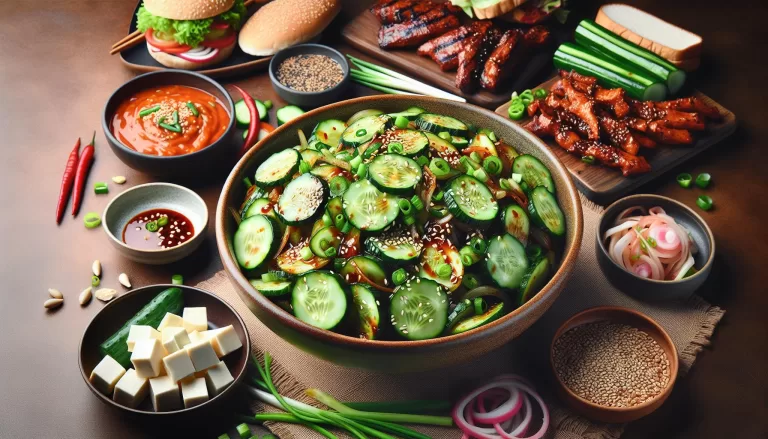
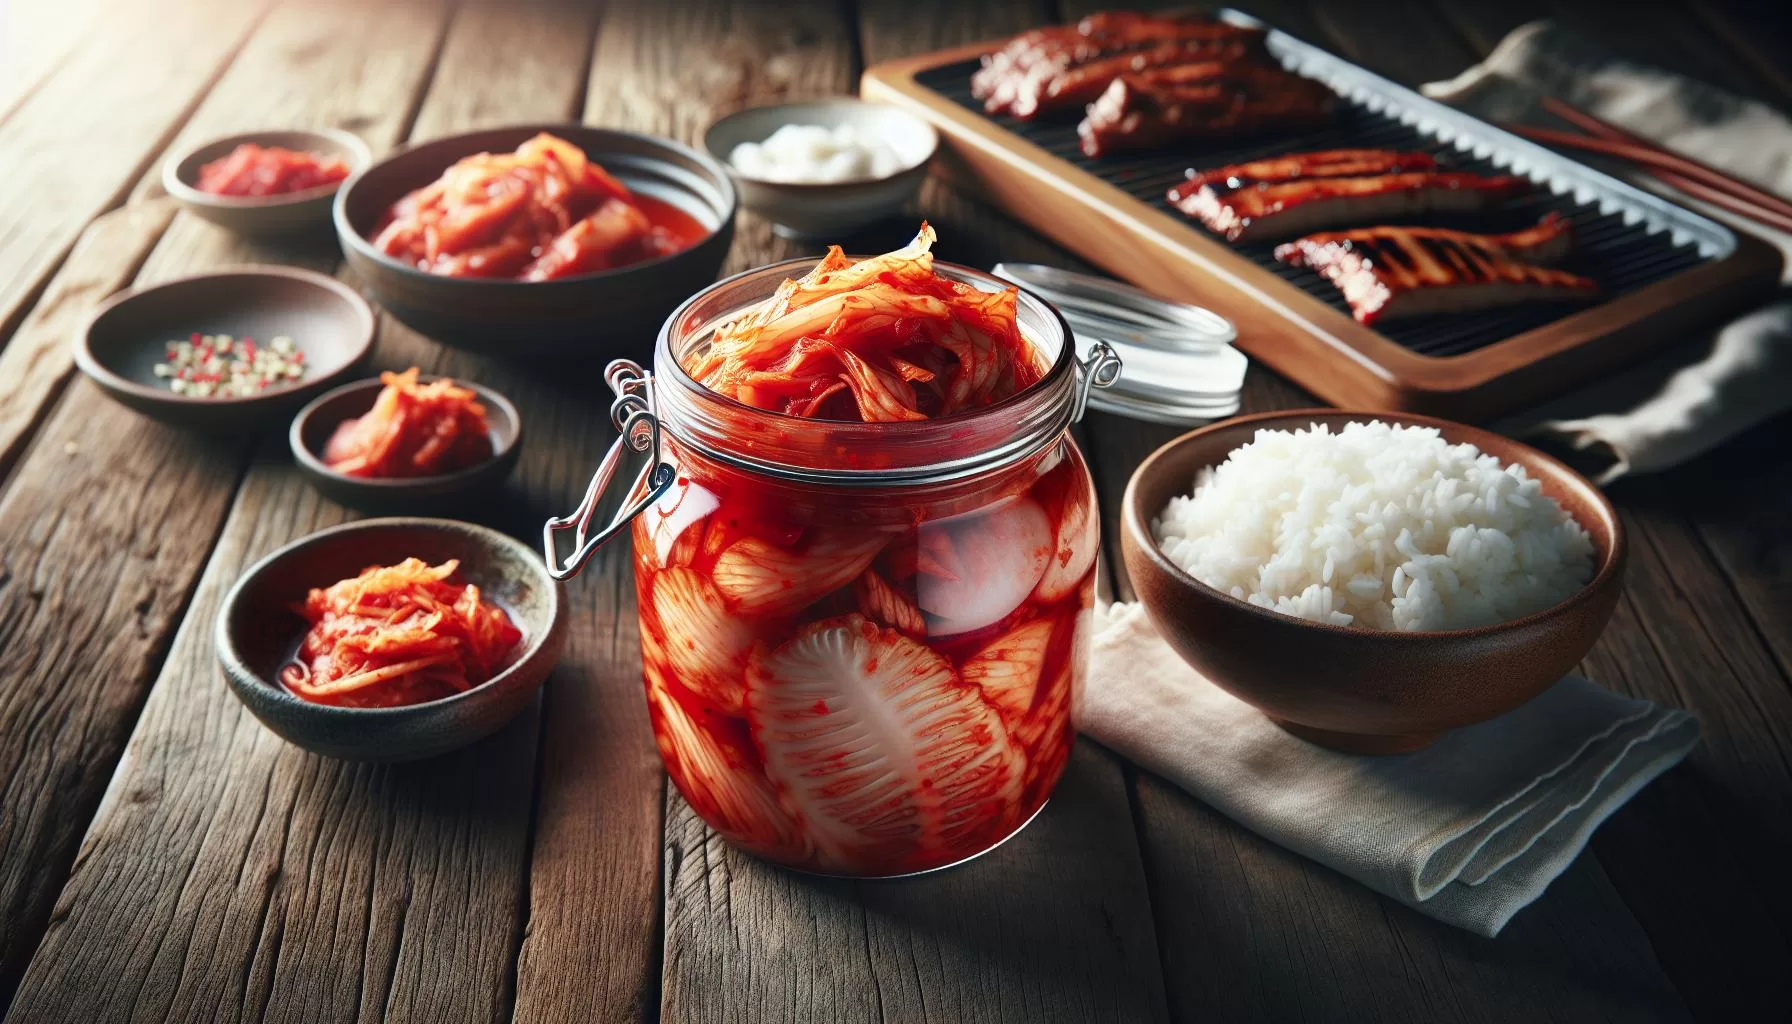
Now that you’ve made your batch of mak kimchi, you’ll need to serve it right to appreciate its full, robust flavor. Pairing it with steamed rice is a classic choice, but let’s not forget it also makes a delicious side for BBQ meat, tofu, or even egg dishes. Feel free to kick up the flavor quotient with some green onions for a bright, fresh contrast!
But perhaps you’re wondering, “how do I store homemade kimchi?” Proper storage is an absolute must to ensure your kimchi stays tasty and safe.
Once the initial fermentation is over – place your kimchi in the fridge. This step works to effectively slow down the fermentation process. An important tip to remember is to always use a clean spoon when scooping out your kimchi. Cross-contamination can introduce unwanted bacteria, potentially spoiling your kimchi.
What’s the best container for storing kimchi? The answer lies in glass jars. Not only are they non-reactive to the kimchi’s potent aroma and acidity, but they also allow you to visually monitor the kimchi’s color transformation as it continues to ferment. Mind your kimchi! Don’t pack the stuff too tightly – it needs some room to breathe.
A critical point on the storage timeline – the sweet spot is the “mature” stage at 2 to 3 weeks. Some might prefer a fresher, milder flavor around the 1-week mark, while others love a more pronounced, sour taste as it crosses the 4-week threshold. Experiment and discover where your kimchi preference lies.
Monitoring the state of your kimchi can also be beneficial. If you notice a fizzy, tangy sensation on the tongue upon tasting, it indicates that your kimchi has reached that highly sought after “well-fermented” state. Yet, if a foul smell or mold occurs, throw it out, as that kimchi is past its prime.
Hey! Did you know you could also freeze kimchi? Indeed, it’s a clever workaround for those who make kimchi in bulk and want to maintain its optimal flavor for longer periods.
In all, proper storage of your homemade kimchi will ensure it remains a versatile, tantalizing treat for your meals.
Conclusion
So, you’ve now got the lowdown on how to serve and store your homemade mak kimchi. Remember, the right pairings can elevate your meal, whether it’s BBQ meat or tofu. And don’t forget, clean utensils and a glass jar are your best friends when it comes to storing your kimchi. They’ll help you avoid contamination and keep an eye on the fermentation process. Depending on your taste preference, you can enjoy your kimchi after 1 week for a milder flavor or wait until 4 weeks for a sour punch. If you’re planning for the long haul, freezing is an option, but always stay vigilant for signs of spoilage. With proper storage, your homemade kimchi will stay a flavorful addition to your dishes. So, go ahead, savor the tangy goodness of your homemade kimchi and let it jazz up your meals!
