Easy and Tasty Homemade Nian Gao Recipe with Unique Serving and Storage Tips
Ingredients for Homemade Nian Gao
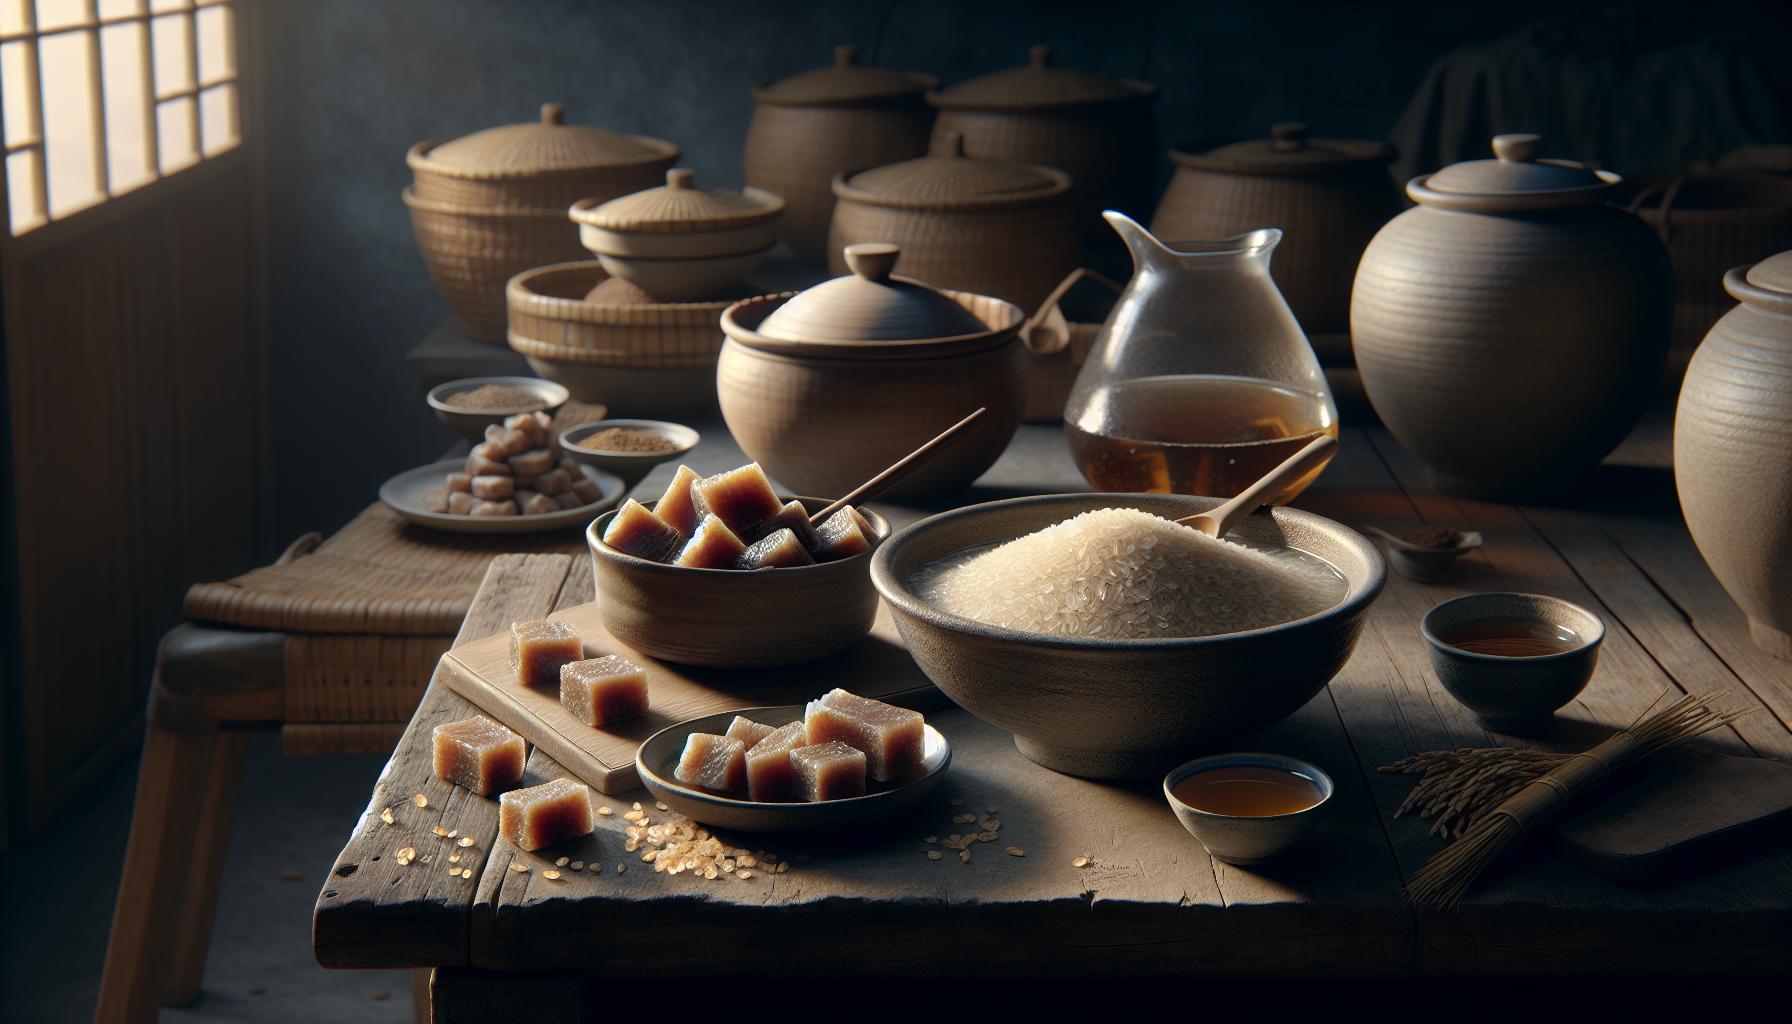
The beauty of homemade desserts is that you control the quality of what goes in. Kickstart your culinary journey with top-notch ingredients for this traditional Chinese treat.
First up – sticky rice flour. You’ll need about 400 g for a standard-sized Nian Gao. This amazing ingredient is the backbone of the dessert giving it its distinctive sticky texture.
Sweetness is key. To achieve the perfect balance, use 250 g of light brown sugar. This variety gives the dessert its characteristic rich hue while keeping the sweetness subtle and not overpowering.
Next in line is water – a simple element that binds the ingredients together. Around 300 ml should do the trick. It aids in dissolving the sugar and helps create a batter for the sticky rice flour.
A unique twist to your Nian Gao could be the addition of some Chinese red dates. Not the usual ingredient found in the traditional recipe but certainly a welcome one. It introduces a fruity note to the sweet treat and enhances its nutritional value.
Here’s a simplified list of what you need:
| Ingredient | Quantity |
|---|---|
| Sticky rice flour | 400g |
| Light brown sugar | 250g |
| Water | 300ml |
| Chinese red dates | optional |
There’s not much to it. Ingredients for Nian Gao are mostly straightforward, easily accessible, and have significant roles in the recipe.
Remember that cooking is an art, and experimentation is part of the process. Feel free to swap any ingredient, but keep the essence of Nian Gao intact.
Equipment Needed
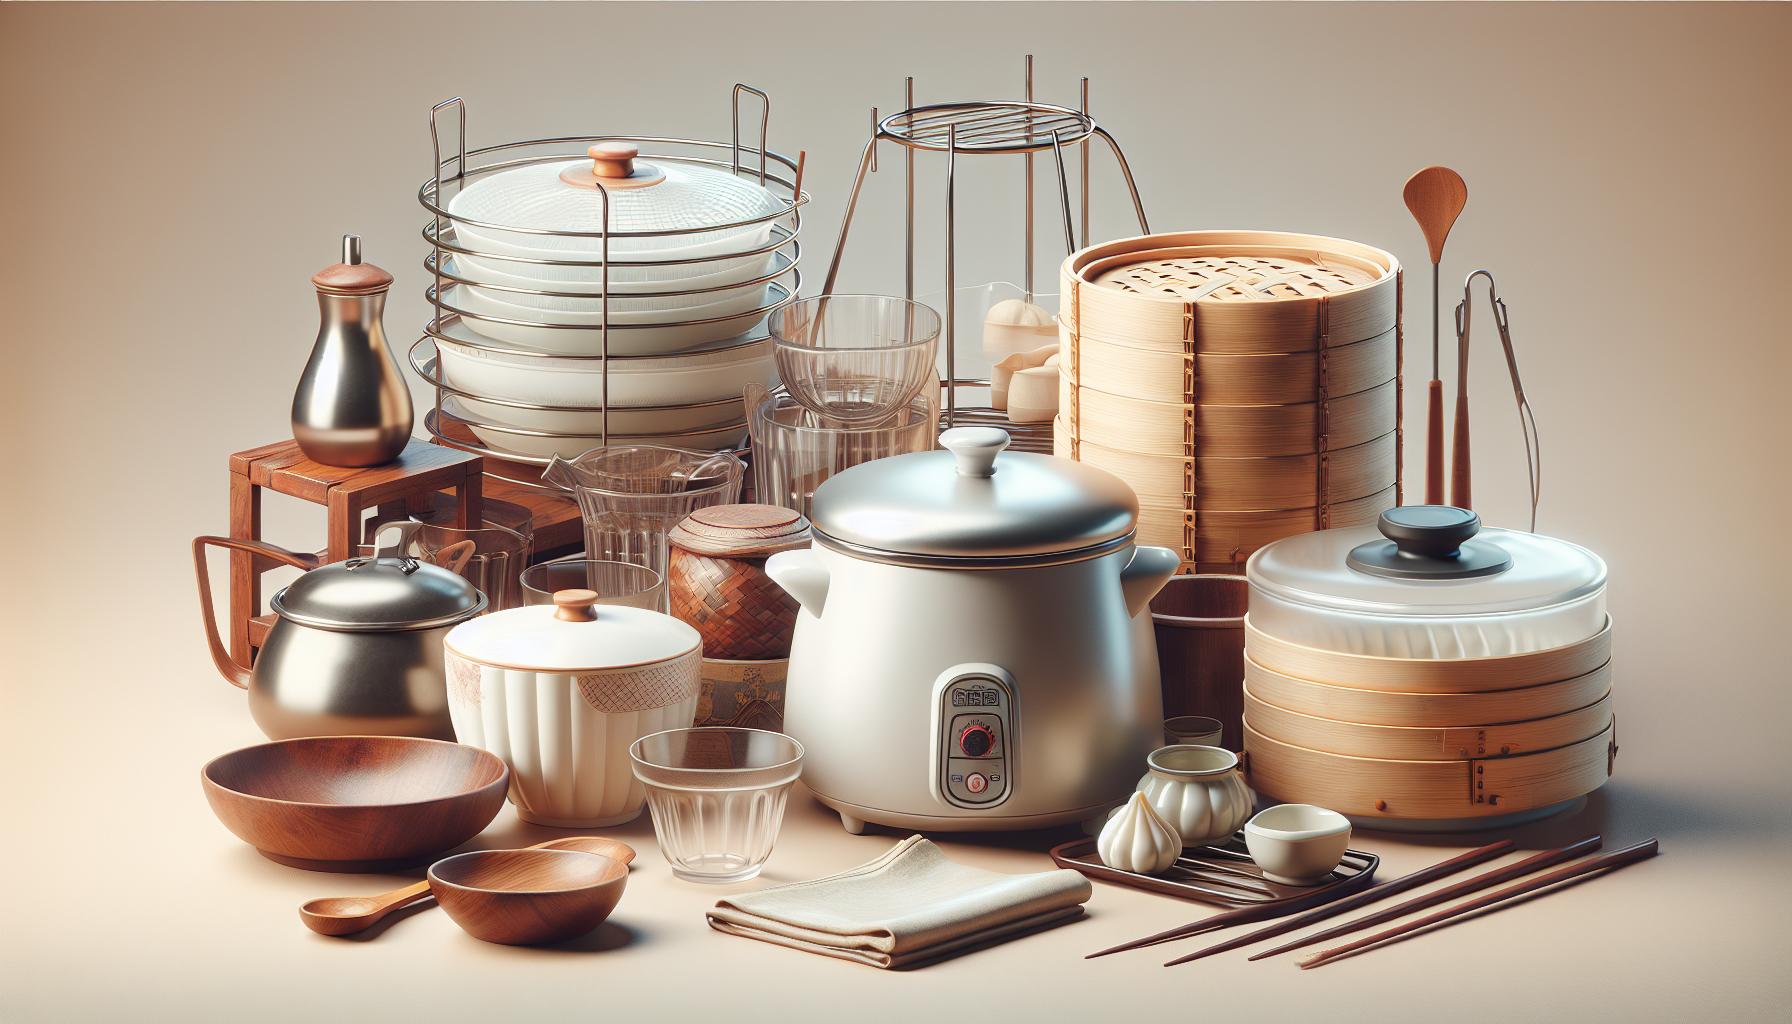
Now that you’re familiar with the ingredients to make Nian Gao, let’s move onto the equally important topic. What equipment is necessary for this Chinese culinary journey?
First and foremost, you’ll need a rice cooker. While Nian Gao can technically be made without a rice cooker, having one will greatly simplify the process and ensure consistent results. But remember, it doesn’t need to be fancy – a basic model will do just fine.
Next up on your kitchen check-list is a steam rack or trivet. This piece of equipment allows for even cooking and prevents your Nian Gao from getting soggy, which could ruin the distinct texture we strive for. Don’t have a steam rack or trivet handy? A DIY trick is to use a pair of chopsticks crisscrossed at the bottom of your rice cooker or pot.
A high-quality metal or glass mixing bowl is another must-have. Remember to choose one large enough to fit all your ingredients, so you have plenty of room for mixing. You’ll be doing a good amount of stirring – so this isn’t the time for undersized bowls.
You’ll also want to get your hands on a traditional Chinese pudding mold. These molds give Nian Gao its traditional round shape, a symbol of unity and completeness in Chinese culture. However, if you can’t find one, any round mold will work.
Finally, you’ll need some parchment paper. It helps prevent the sticky dough from adhering to your cooking utensils and kitchenware, ensures simple clean-up, and ultimately, contributes to the overall positive experience of making Nian Gao.
From the rice cooker to the pudding mold, getting your equipment ready before starting on your homemade Nian Gao will ensure smooth sailing in the kitchen. Just imagine the delightful aroma of Nian Gao permeating your home as you perfectly steam this dessert with your well-prepared set of tools.
Remember – the cooking process isn’t solely about the end product; it’s a labour of love and tradition, woven into every aromatic whiff and delicate morsel. This list of equipment will get you ready for your Nian Gao-making adventure. So let’s get that gear ready and dive into the next crucial step, the recipe instructions.
Step-by-Step Instructions
First, gather all the ingredients and tools needed for your Homemade Nian Gao. By doing so, you will have everything within reach, ensuring a smoother cooking process. Let’s begin!
Step One: Rinse the Rice
Start by thoroughly rinsing your 2 cups of glutinous rice under cold water. This step removes the excess starch and is critical for achieving that sticky consistency characteristic of Nian Gao.
Step Two: Soak the Rice
Next, soak the rinsed rice in enough water to cover it completely for about 8 hours or overnight. Soaking allows the grains to absorb water, resulting in a smoother batter when ground.
Step Three: Grind Soaked Rice
After soaking, drain the rice and place it in a blender or food processor. Add approximately 1/2 cup water and blend until you have a smooth batter.
Step Four: Adding Sweetness
Mix your 1 cup of brown sugar in a small bowl with 3 tablespoons of warm water till thoroughly dissolved. Stir this sweet solution into the rice batter. This is your chance to control the sweetness level of your Nian Gao.
Step Five: Pour and Steam
Lay out your parchment-lined Chinese pudding mold and pour in the batter. Ensure your pot is steaming hot before placing the mold onto your steam rack or trivet. Cover and steam over high heat for about 2 hours.
A quick tip: Keep a watchful eye on your water level throughout the steaming process so it does not run dry. Regularly top it off with boiling water. While most traditional Nian Gao recipes call for regular white sugar, the use of brown sugar here lends a unique, earthy sweetness to the final product.
| Nutritional Value | Per Serving |
|---|---|
| Calories | 305 |
| Carbs | 60g |
| Protein | 5g |
| Fat | 4g |
How about upgrading your dessert? Try adding a few thinly sliced dates or nuts to enhance both flavor and nutritional value.
Tips for Success
When you’re whipping up this Homemade Nian Gao, there are a few pointers that boost your success rate. Remember, with any recipe, your willingness to experiment and tweak to your taste can take the end product a notch higher.
Fresh Ingredients: Always opt for fresh, high-quality ingredients. Your glutinous rice and brown sugar should be top-shelf. It adds a distinct, rich taste to the Nian Gao.
Soaking Time: Don’t rush the soaking time of the glutinous rice. It should be adequately soaked to give your batter the right consistency.
Experiment with Flavors: While dates and nuts are traditional add-ons, don’t stop there. Why not try matcha for a unique spin? Or perhaps some raisins; these little tweaks can make your Nian Gao stand out.
Taking note of the nutritional value is equally vital. Nian Gao is a fairly nutritious dessert though not exactly low-calorie. For a single serving:
| Nutrient | Amount |
|---|---|
| Calories | 300 |
| Carbs | 37 g |
| Protein | 7 g |
| Fat | 3 g |
| Vitamins | Vitamin B1,B2 |
But don’t let that stop you. The joy of biting into a Homemade Nian Gao makes it worth every calorie, carb, or gram of fat.
Lastly, remember to keep an eye on your steam levels while cooking. Maintain enough water in the steamer to ensure your Nian Gao gets thoroughly cooked.
Now that you’ve got these tips under your belt, let’s delve into the techniques that’ll help nail that perfect texture and flavor for your Homemade Nian Gao. Trust us, following these tips and instructions will make this sweet treat a hit.
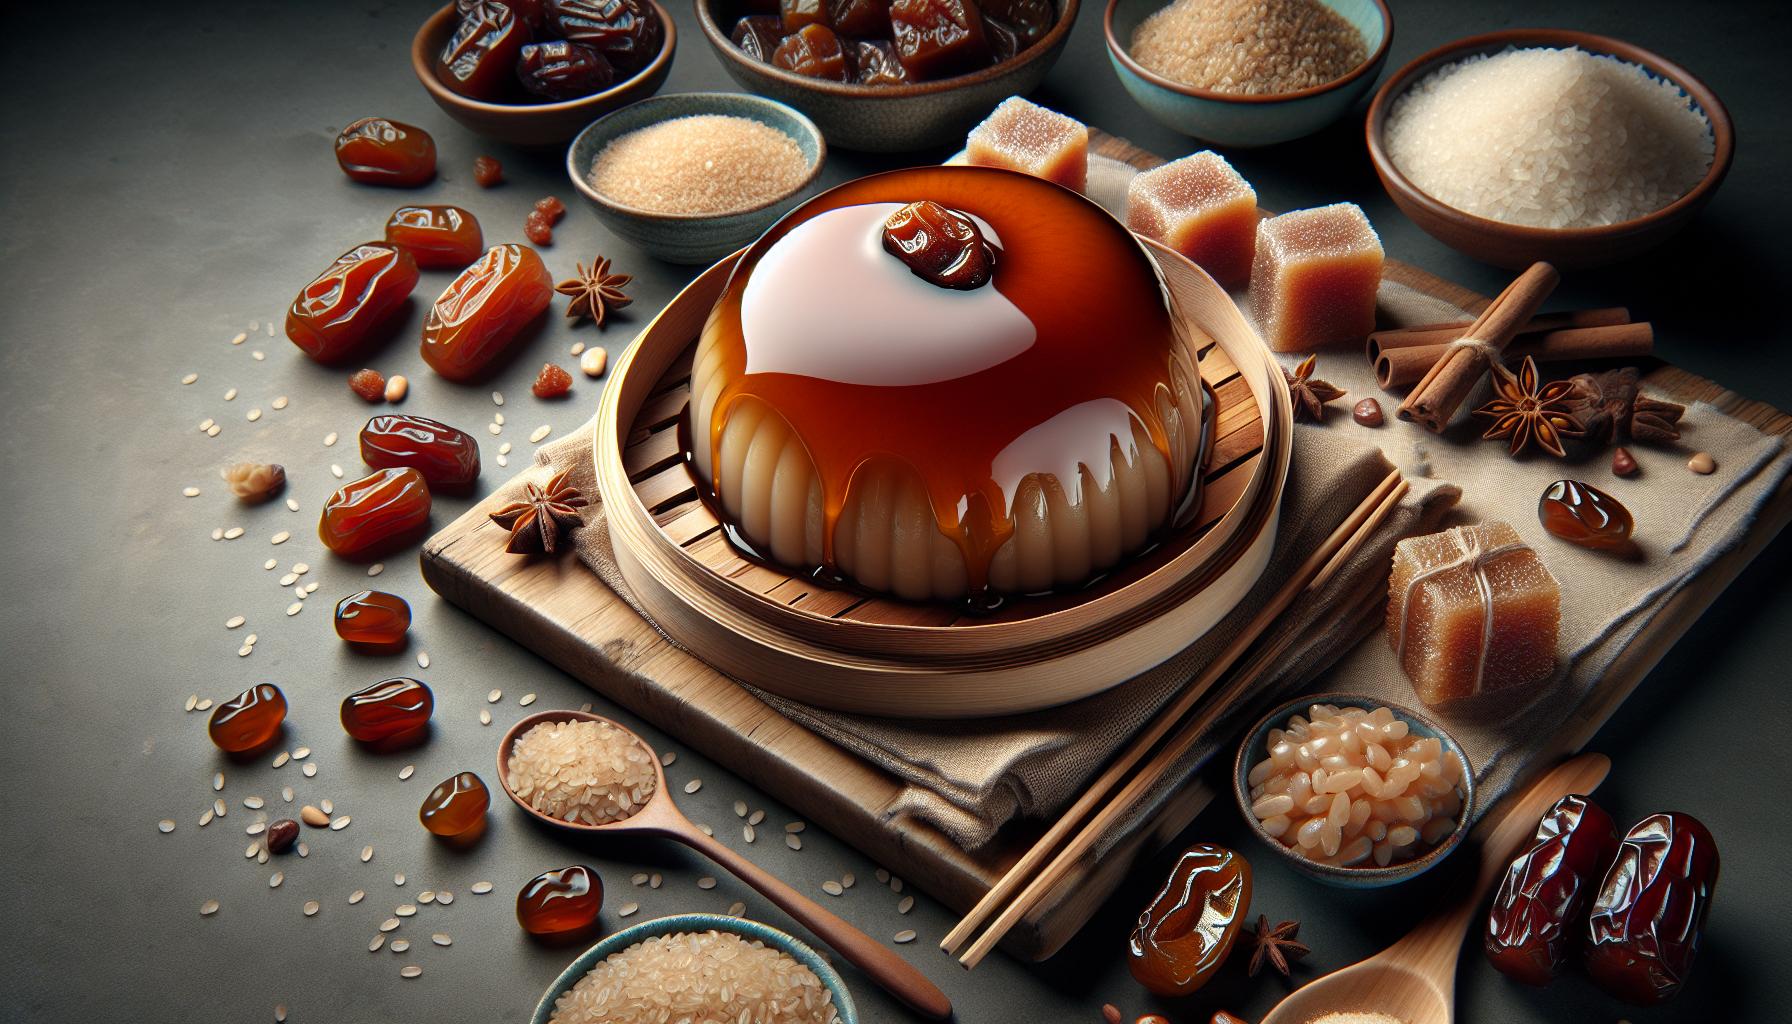
Serving and Storage

The real joy of homemade Nian Gao not only resides in its making but also in its serving and storage. Presentation can alter the eating experience, significantly. With Nian Gao, you needn’t hold back. Serve it as a snack or dessert, it fits both descriptions perfectly.
When you consider elements for serving Nian Gao, think about texture. You’ll want elements that contrast. A dusting of desiccated coconut is a popular choice. Others prefer a drizzle of condensed milk for added creaminess while some enjoy their Nian Gao plain. Remember, the choice is entirely up to you.
But what happens when you’ve cooked a batch and there’s leftover Nian Gao? Storing it properly is vital.
Store your Nian Gao at room temperature for 2-3 days in a sealed container. Beyond that, refrigeration becomes necessary.
While it’s true, storing Nian Gao in a fridge will cause it to harden, there’s no need to panic. To enjoy it again, simply steam for a few minutes until it softens. You could also try pan-frying it. Thin slices of Nian Gao dipped in egg, then pan-fried until golden brown, offer an exciting twist on the traditional serving.
Regardless of how you serve or store your homemade Nian Gao, you’re bound to enjoy this labor of love. Rich in flavor and steeped in tradition, Nian Gao is a dessert that invites not only pleasure but also an exploration of cultural heritage.
Conclusion
So, you’ve journeyed through the art of homemade Nian Gao. You’ve seen how it’s more than just a recipe – it’s a tradition, a symbol of prosperity and a delightful treat. You’ve learned how to serve it in creative ways and how to store it properly. You’ve even picked up tips on how to revive it once it’s been refrigerated. Now, it’s time to roll up your sleeves and dive into the process. Whether you’re making it for a festive occasion or just to satisfy your sweet tooth, this homemade Nian Gao recipe is sure to impress. Remember, the joy of cooking is in the journey as much as the destination. So, don’t just enjoy the Nian Gao, enjoy the process of making it too. Happy cooking!