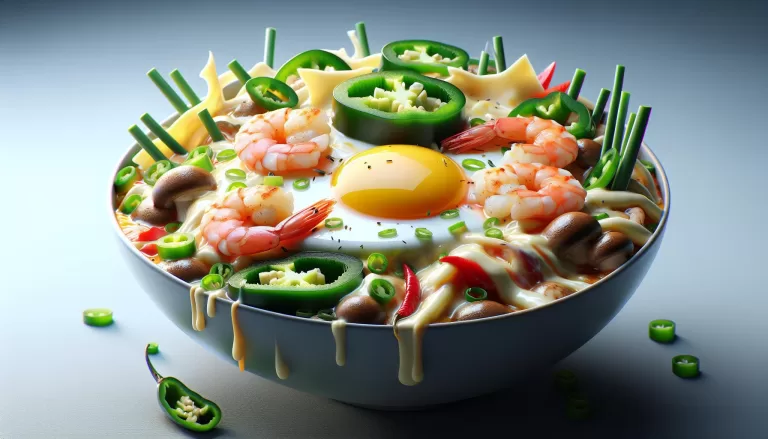
Easy Homemade Baechu Kimchi Recipe and Tips for Best Storage and Serving
Ingredients for Homemade Baechu Kimchi
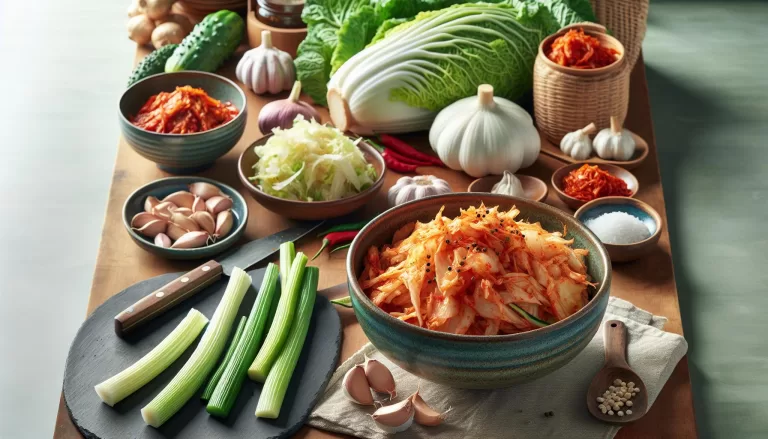
Embarking on the delightful journey of making Baechu Kimchi, you’ll need specific ingredients in precise amounts. Here is your essential shopping list:
- 2 heads of Napa cabbage – This is the backbone of your kimchi, providing the structure for the dish.
- 1 cup of Korean red chili pepper flakes (gochugaru) – Intense in color and flavor, this gives kimchi its trademark heat.
- 1 cup of fish sauce – It imparts a rich, umami flavor that’s hard to get with any other ingredient.
- 1 cup of crushed garlic – Fermented garlic adds a lovely, mellow taste.
- 1/2 cup of grated ginger – For that extra zing.
- 2 cups of Korean radish – It offers a refreshing, crunchy texture.
- 1/2 cup of salt – To properly brine the cabbage and encourage fermentation.
- 1 cup of glutinous rice paste – This helps tie all the flavors together.
- 1 bunch of green onions – They add a wonderful bite to balance the dish.
- 1 cup of carrot juliennes – For added crunch and color.
Now on to the secret ingredients that will give your homemade Baechu Kimchi that extra kick and memorable flavor.
- 1 Asian Pear grated: Many traditional recipes don’t typically include this ingredient, but it adds a much-welcomed hint of sweetness that helps tame the heat of gochugaru.
- 2 tablespoons of oysters (optional): This ingredient is not for everyone but it is another way to enhance the flavor profile and truly make your Kimchi stand out.
Examine your shopping list, prepare yourself for a culinary adventure and let’s get kimchi-making!
Lastly, if you’re curious about the nutritional value of your homemade Kimchi, here is a brief overview:
| Nutrient | Value per Serving |
|---|---|
| Calories | 30 kcal |
| Carbs | 4 g |
| Protein | 2 g |
| Fat | 1 g |
| Vitamin C | 60% daily value |
Bear in mind that these values may alter slightly based on the specific ingredients you utilize.
Preparation Steps
Embarking on the journey to create your homemade Baechu Kimchi, consistency in following these preparation steps is of paramount importance. Let’s take you through the process.
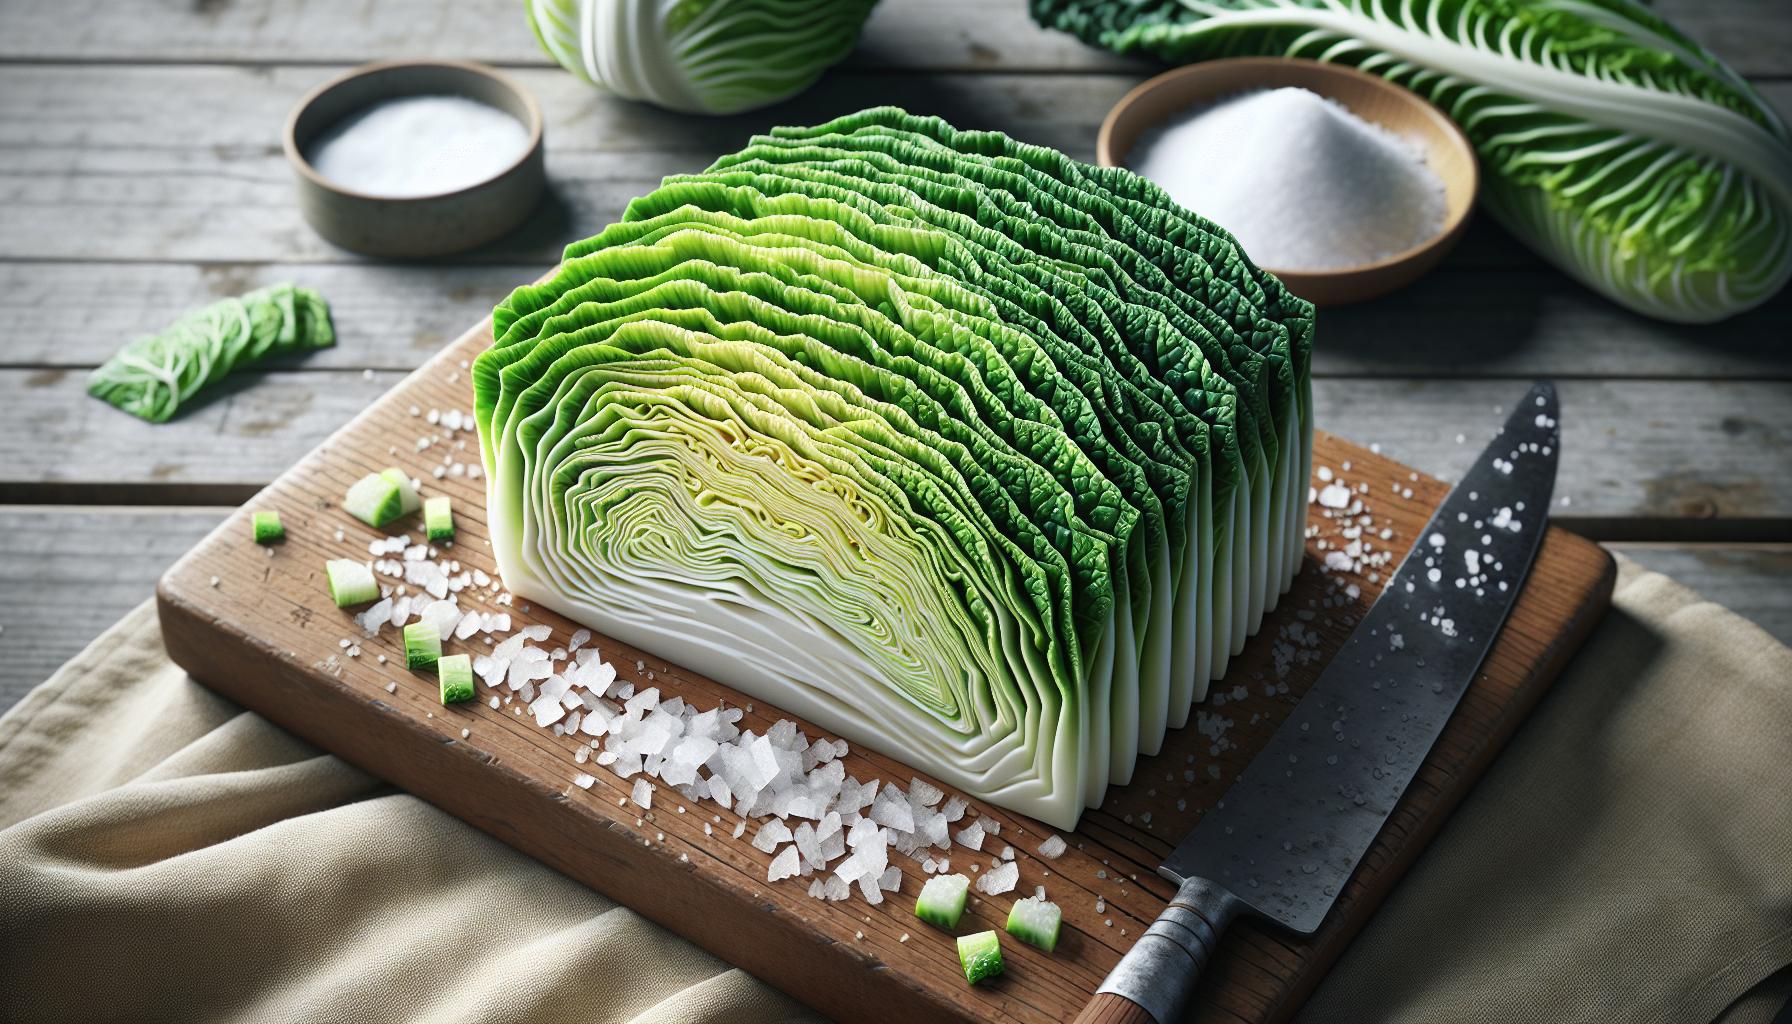
First off, you’ll need to get your Napa cabbage ready. Split your cabbage into quarters, lengthwise, and remove the cores. Following that, meticulously sprinkle salt between the leaves – you want to make sure each leaf gets some. You’re aiming for around 600g of salt for four heads of cabbage.
While your cabbage is being salted and set aside for about 2 hours, it’s time to turn your attention to the Kimchi paste. For this, Korean radish and carrot should be julienned, a sum total of 2 cups will do. You’ll want to chop up the green onions, garlic, and ginger as well, approximating about 5 chopped green onions, 24 garlic cloves, and a thumb-sized piece of ginger.
Now comes the fun part – or rather, the kick. Secret ingredient alert! One pear and two to three oysters will be your wild cards here. Remember, you can always opt-in or out – your Kimchi, your rules. But if you’re after that extra burst of flavor, blending them into your mix will make for an interesting taste palate.
Turn your glutinous rice paste, fish sauce, and Korean red chili pepper flakes into a bowlful of zest! Make it a 1/2 cup of paste, 1.5 cups of sauce, and 1.5 cups of flakes. Time to stir these power players in. Toss all other prepared ingredients in there, integrating everything thoroughly ensuring even coverage.
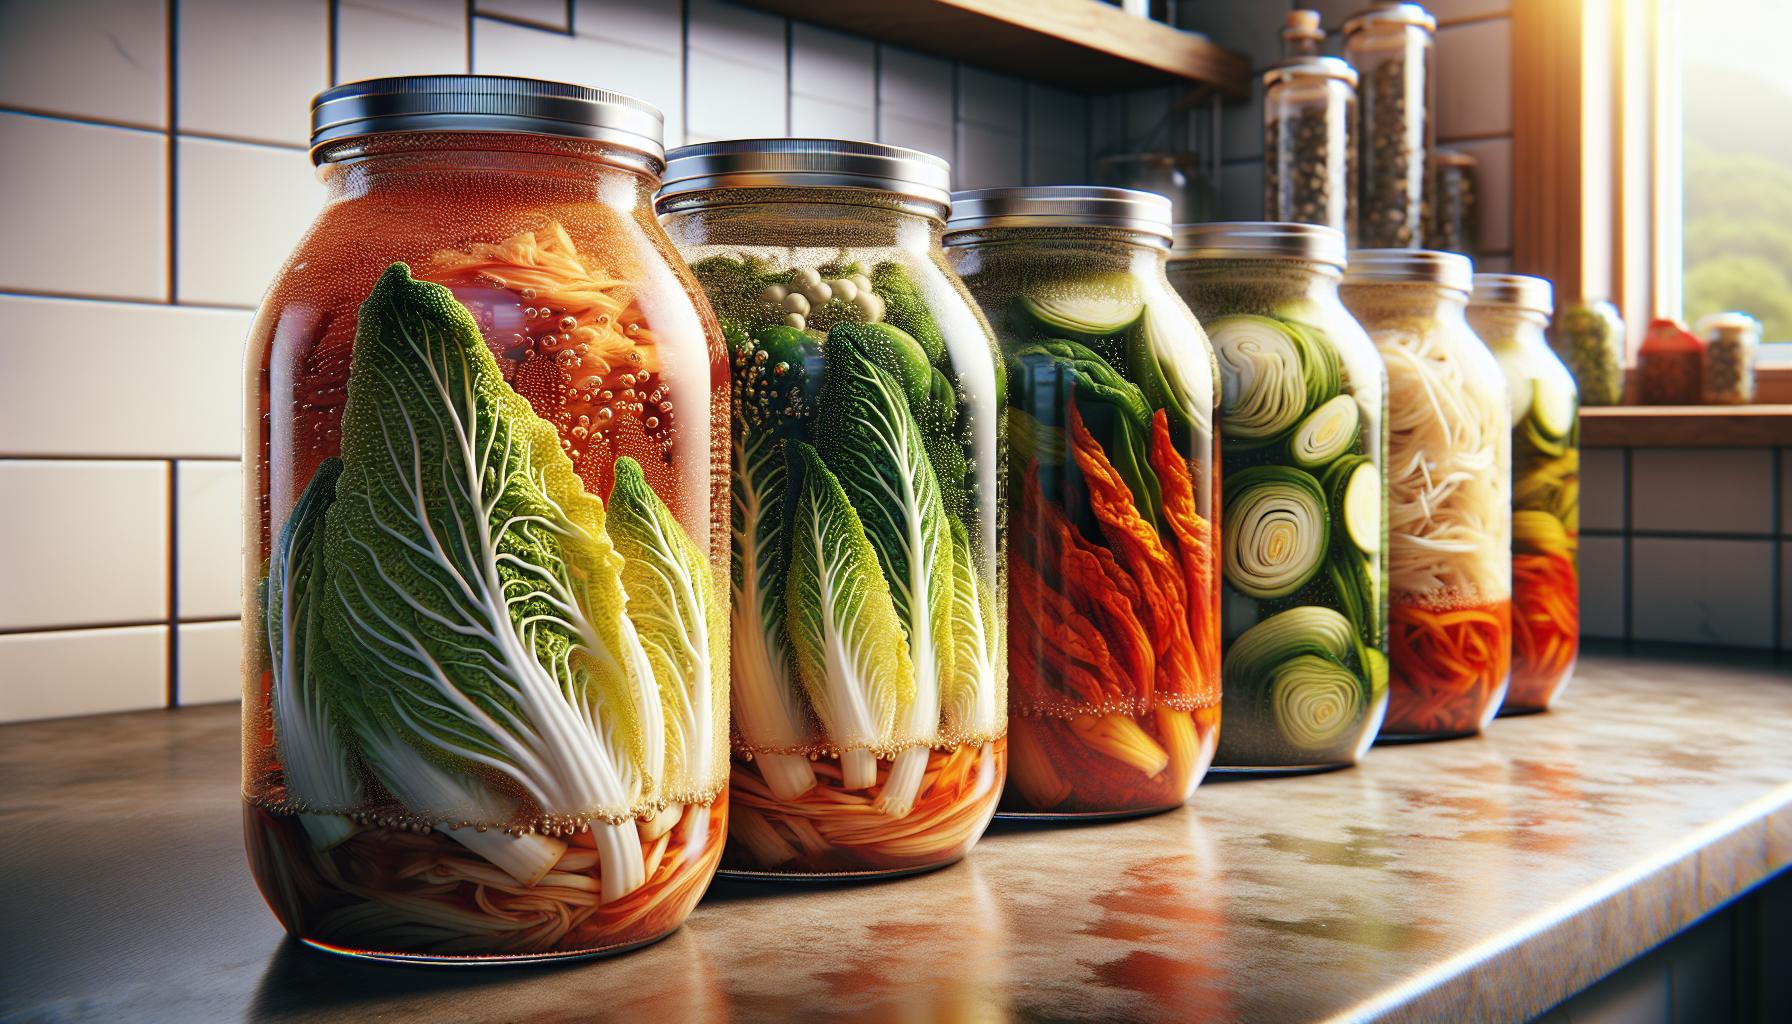
With that done, your cabbage patiently awaits its transformation. Rub your Kimchi paste on each leaf. Make sure no leaf feels left out! Then, fold the cabbage quarters neatly into a sizeable jar or container.
Here lies the test of patience. The magic of Kimchi happens during fermentation. Let it master its art at room temperature for about two days. After the initial ferment, pop it in your refrigerator.
Fermentation Process
You’ve prepared and assembled your ingredients, now it’s time to focus on the crucial peculiarity of kimchi – the fermentation!
As a budding home cook, you just can’t understate the wonder that is fermentation. It’s this process that takes your ordinary cabbage and transforms it into the sour, crisp, tangy delight that is kimchi.
We’ll start by storing the kimchi at room temperature. Your kitchen counter offers the optimum conditions for the microbes to begin their work. Day 1 and Day 2 are pivotal here. Ensure you don’t disrupt the fermenting process. The kimchi must not be touched, and especially not refrigerated just yet.
You’ll observe that after the first couple of days, the kimchi begins to change. A natural bubbling occurs revealing that our tiny microbial friends are punching in overtime! The colors darken and the flavors deepen. The familiar pungent aroma of kimchi fills the kitchen. This sight and scent are your cues that it’s time to transfer the kimchi to the refrigerator.
If you’re contemplating the question, “Why the refrigerator?” here’s the deal. The fridge slows down the fermentation, helping contain the flavors while still allowing them to develop. This slower fermentation aid extends the shelf life of your homemade kimchi, because once the fermentation hits its sweet spot, we want to keep it there for as long as possible!
Finally, let’s talk about nutrition. The fermentation process not only enhances the flavors but also boosts the nutritional content of the kimchi. It becomes richer in vitamins and probiotics, perfect for a healthful, tasty treat.
Storing Baechu Kimchi
Storing your homemade Baechu kimchi properly is key to getting the most out of the fermentation process. Get it wrong and you might just end up with an undesired flavor or waste your hard work on spoiled Baechu kimchi. Let’s ensure that this doesn’t happen.
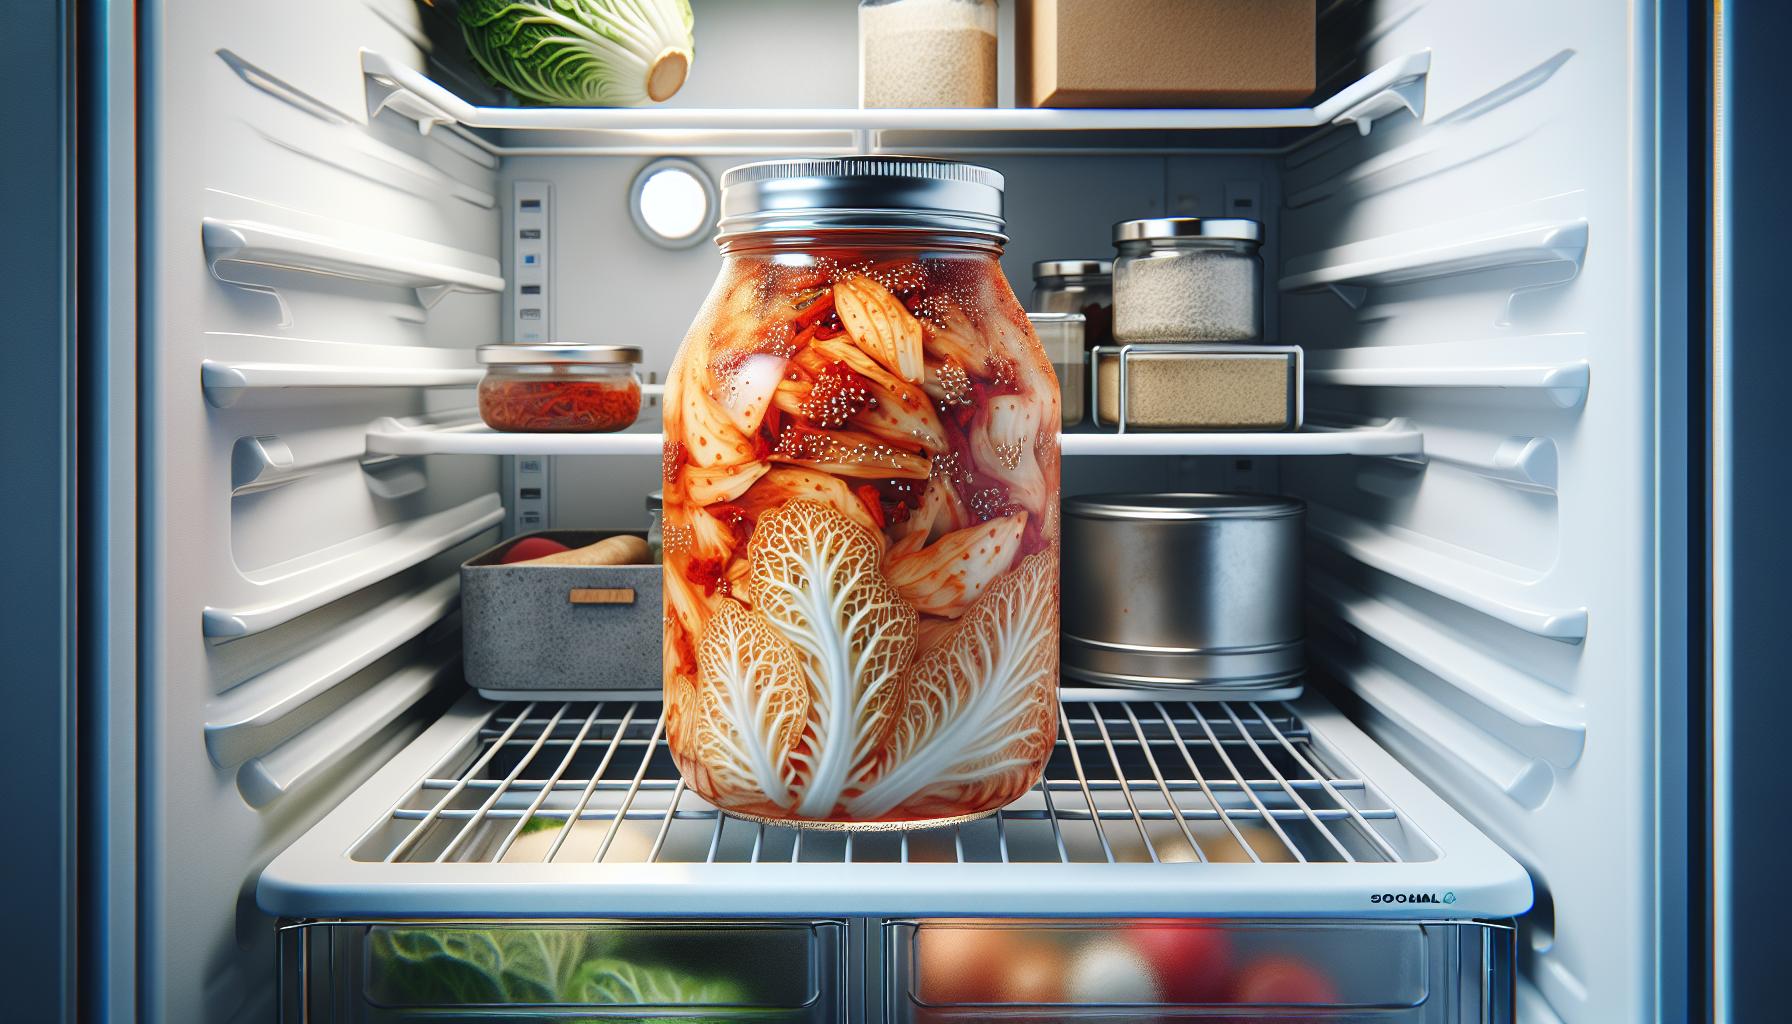
Your first few days of fermentation happen at room temperature. But what then? It’s crucial to understand that minimal contact with air slows down the fermentation process. The ideal storage place is, you guessed it, your refrigerator. Not too cold, not too warm—somewhere around 34 to 40°F (1 to 4°C) is optimal.
Make sure the cabbage stays submerged under the spicy mix, as staying submerged reduces the chance of contamination. Always use clean utensils when serving kimchi and remember to pack it back down after taking some out. This helps to keep the cabbage submerged and away from air contact.
In the fridge, your Baechu kimchi will continue to ferment, just at a slower pace. Some people prefer their Kimchi after a few weeks in the fridge, because it simply gets more flavorful over time.
While this might seem like a lot of ‘no-no’s, the benefits of keeping kimchi are numerous. It’s full of probiotics, which help with gut health; its shelf life is remarkably extended; and the flavor only gets richer as each day passes.
And guess what! You’re not limited to your fridge. If you have a basement or root cellar that stays cool all year round, in containers, your Baechu kimchi will be just fine.
Continue your kimchi journey knowing you’re employing optimum storage practices for its lifeline. Consider experimenting with times, temperatures, and maybe even containers. Remember, your kimchi storage mission is a journey of discovering the richest flavor, and there’s so much to explore!
Serving and Enjoying Baechu Kimchi
Once your homemade Baechu Kimchi is fermented to perfection, it’s all set to add a punch of flavor to your meals. Whether you’re adjusting to this vibrant Korean cuisine or you’re a long-time lover, here’s how to get the most out of your Baechu Kimchi.
For starters, give it a good stir. As your kimchi ferments, the flavors may settle at the bottom. A quick mix ensures you’re tasting all the spicy, tangy goodness in every bite. Use clean utensils each time to avoid introducing any potential contamination.
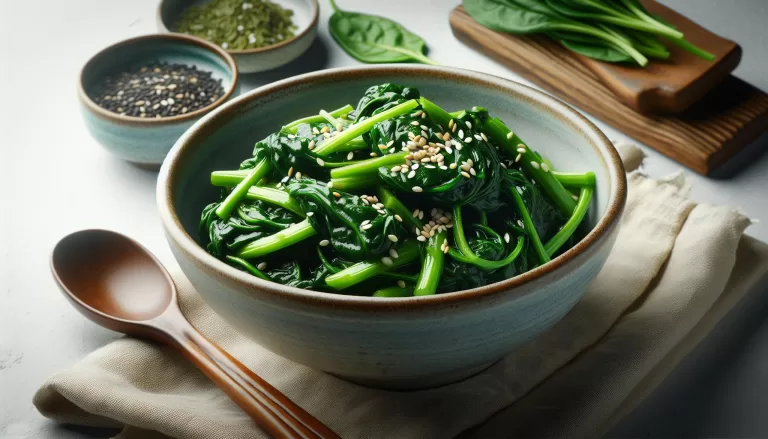
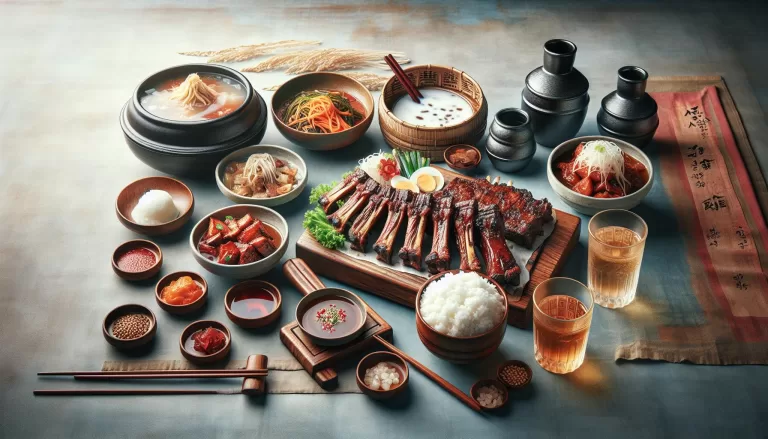
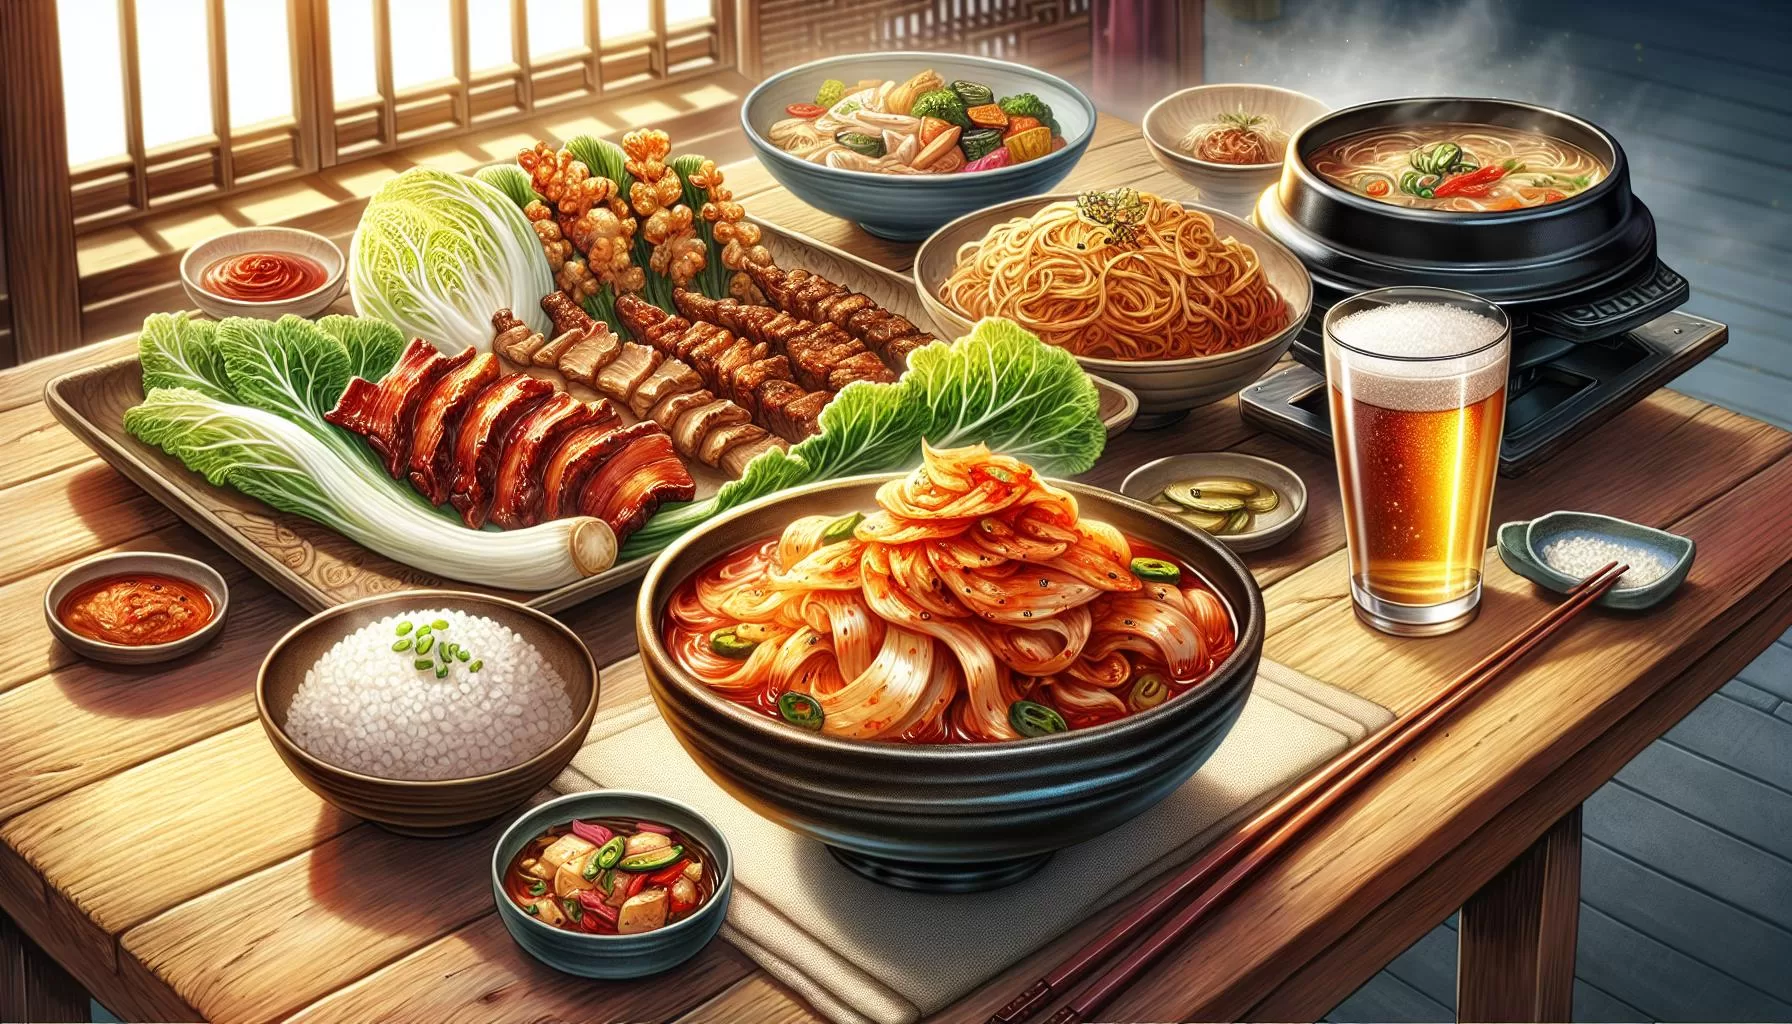
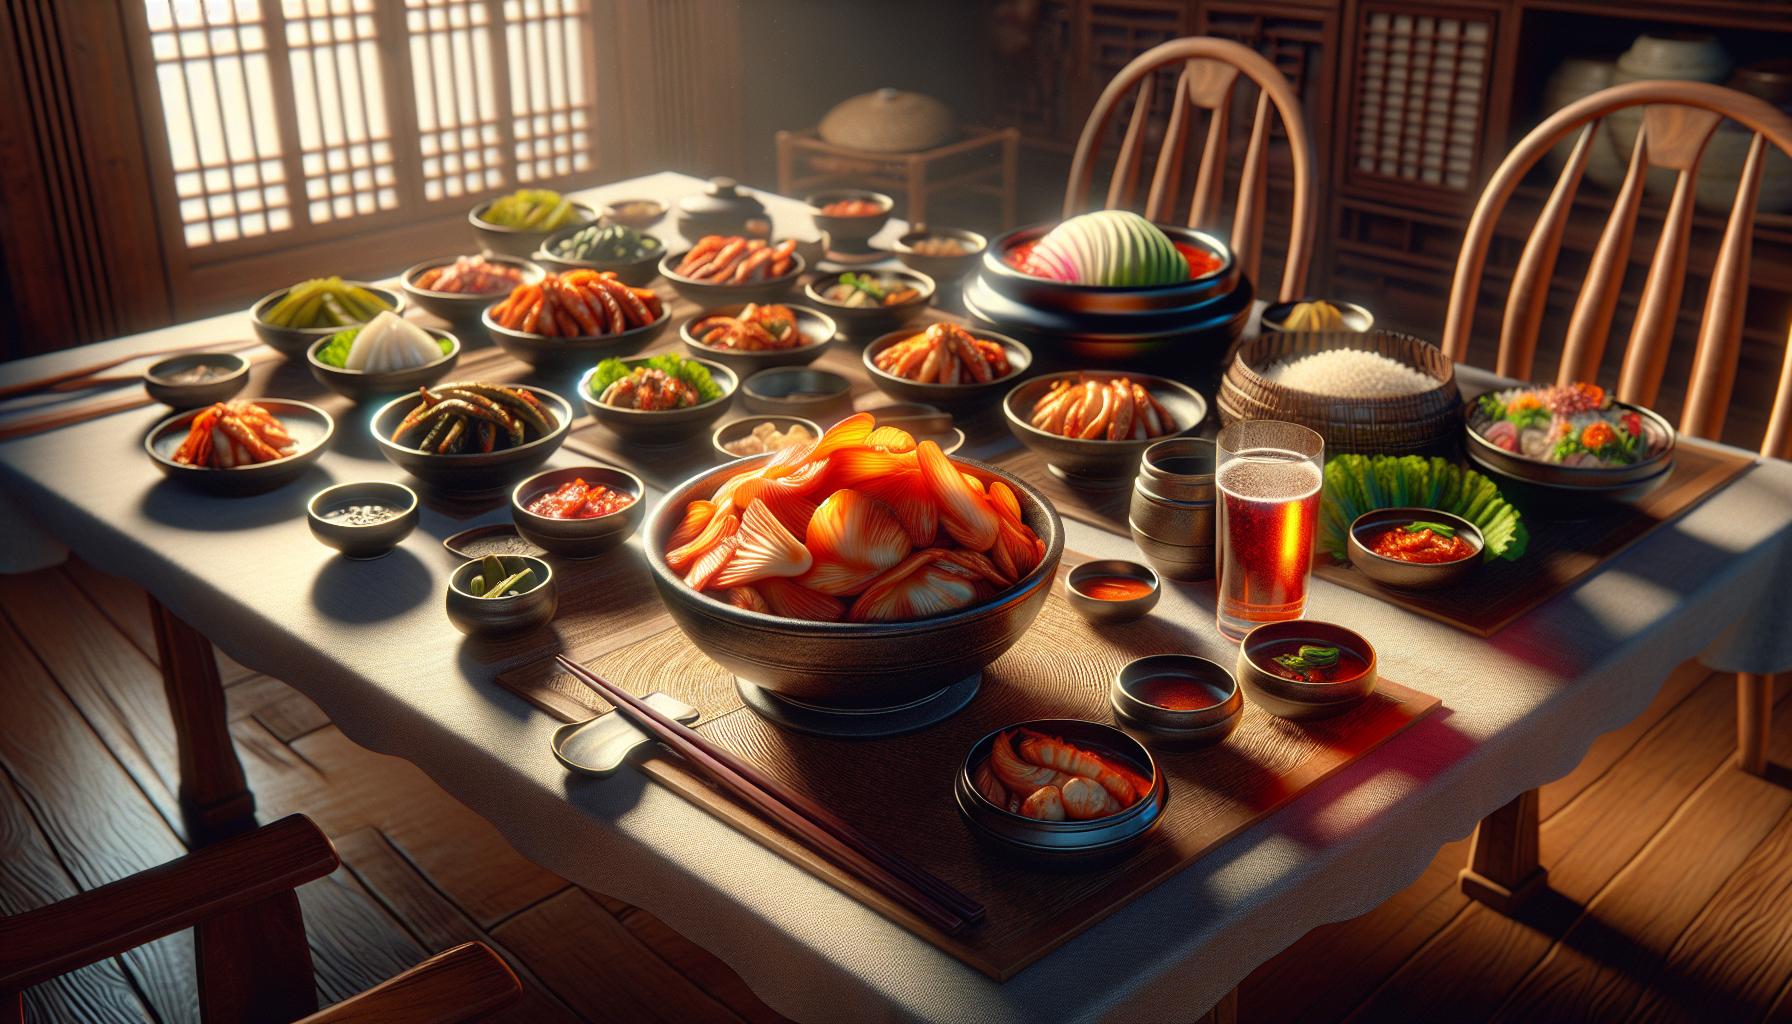
A traditional Korean meal generally includes a bowl of steamed rice, main dishes, side dishes, and a serving of kimchi. Remember, Baechu Kimchi can serve as a versatile addition to many dishes.
Experiment with these serving suggestions:
- As a piquant side dish to grilled meats or fish.
- Stirred into fried rice to give it a tangy, spicy twist.
- Chopped and added to your favorite noodle soups for a rich, warming flavor.
When it comes to pairing Baechu Kimchi with beverages, classic Korean drinks like Makgeolli (a sweet, sparkly rice wine) or Soju (a clear, distilled spirit) complement the taste excellently. Alternatively, a refreshing beer or a crisp white wine can be great options.
You might also be curious about the nutritional aspect of Baechu Kimchi. The holes in the cabbage can soak up the high-flavor, low-calorie spicy mix. When fermented, this vibrant dish is additionally enriched with fiber, vitamins B and C, as well as beneficial probiotics. Just remember that the sodium count can be high, so it’s wise to balance out intake with other low-salt dishes.
| Nutrients | Amounts per Serving |
|---|---|
| Calories | 23 |
| Protein | 1 g |
| Fat | 1 g |
| Carbs | 4 g |
| Fiber | 2 g |
| Sodium | 747 mg |
| Vitamin B | 0.2 mg |
| Vitamin C | 15 mg |
Preserve the crispness and flavor of your homemade Baechu Kimchi by taking care of the storage. In the end, savor the journey of making, storing, and enjoying your own Baechu Kimchi.
Conclusion
You’ve journeyed through the process of creating homemade Baechu Kimchi, a dish that’s not just delicious but also packed with health benefits. Remember to stir your kimchi before serving to balance those robust flavors. Don’t forget to pair it with your favorite Korean beverages or dishes like grilled meats, fried rice, or noodle soups.
The nutritional punch of fiber, vitamins, and probiotics in Baechu Kimchi is a bonus. Proper storage is key to preserving its crispness and flavor. So, take pride in your homemade Baechu Kimchi. Enjoy the process from start to finish, and savor each bite knowing you’ve crafted it with your own hands. Until next time, happy kimchi making!