Crispy Homemade Salt and Pepper Shrimp Recipe with Ginger and Garlic Tips
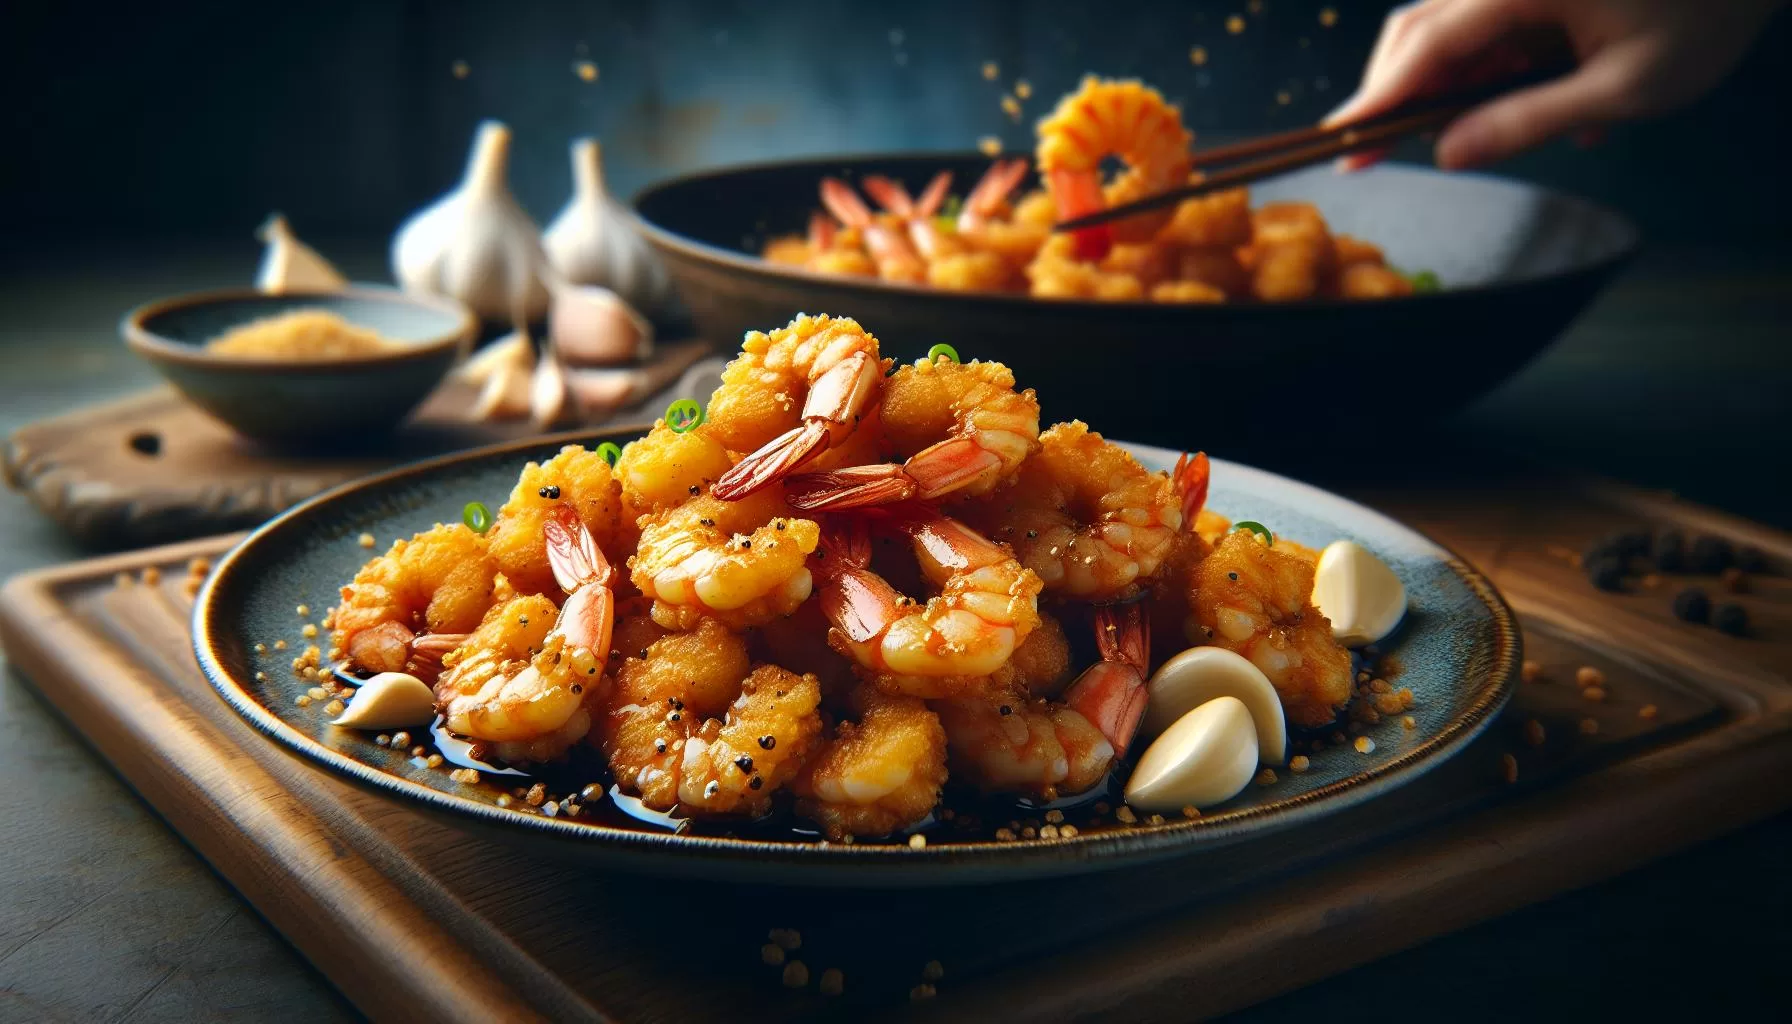
Ingredients for Homemade Salt And Pepper Shrimp
This zesty recipe calls for a few simple yet flavour-packed ingredients. Let’s delve into the list so you can be ready to awe your taste buds.
First off, you’ll need about 1 pound (450 grams) of large shrimp. Ensure they’re cleaned and deveined. If you like, you can leave the tails intact for easy handling and extra flavor.
Next up is the salt and pepper mix. You’ll need 1 tablespoon of sea salt and 1/2 tablespoon of white pepper. For an adventurous twist, substitute half of the sea salt with pink Himalayan salt. It’ll not only add a vibrant hue but also provide trace minerals not found in regular sea salt.
You’re also going to need 1 green bell pepper, 1 red bell pepper, and 2 scallions. These will add a burst of color and a delightful crunch.
Since you’re making this at home, it’s crucial to get that homely, rustic touch. Coarse grind 1 teaspoon of garlic and 1/2 teaspoon of fresh ginger. If you prefer heat, toss in a dried red chili.
For the batter, gather up 1/2 cup of cornstarch and 1/4 cup of all-purpose flour. Why cornstarch, you ask? It’s this magical ingredient that gives the shrimp a light, crispy texture.
To tie it all together, you’ll need 2 cups of vegetable oil for frying. Pick a neutral flavored one to let the main flavors shine.
Here’s a consolidated list of your ingredients:
| Ingredients | Quantity |
|---|---|
| Large Shrimp | 1 pound (450g) |
| Sea Salt | 1 tablespoon |
| White Pepper | 1/2 tablespoon |
| Green Bell Pepper | 1 |
| Red Bell Pepper | 1 |
| Scallions | 2 |
| Garlic | 1 teaspoon |
| Fresh Ginger | 1/2 teaspoon |
| Cornstarch | 1/2 cup |
| All-Purpose Flour | 1/4 cup |
| Vegetable Oil | 2 cups |
Step 1: Preparing the Shrimp

Begin by thawing your large shrimp. You can do this in a simple and safe way by placing them in a bowl of cold water. Ensure you’ve set aside enough time for this crucial step. If you’re using frozen shrimp, this process can take anywhere between 30 to 45 minutes.
Once thawed, you’ll need to peel and devein them. It’s crucial for the flavor and texture of your dish. If it’s your first time don’t worry, it’s easier than it may seem. Hold the shrimp in one hand, using your thumb and index finger to grip the legs. Pull them off along with the shell, but leave the tail intact. To devein, make a shallow cut along the back. You’ll see a dark line, remove it with the tip of your knife or a toothpick.
Now you’re all set to marinate the shrimp. The mixture of sea salt and white pepper will provide the fundamental taste to your dish. Opt for pink Himalayan salt if it’s accessible, it provides trace minerals not found in regular table salt – an added bonus. Aim for about 1/2 teaspoon of salt and 1/4 teaspoon of white pepper for every pound of shrimp. Gently mix it all together and let it sit for about 10 to 15 minutes to soak in all the flavors.
After the marinating process, the role of cornstarch and all-purpose flour come into the picture. This blend is not just typical flour coating, it gives the shrimp that crispy texture you’re craving. You will need to use about 1/3 cup of all-purpose flour and 2 tablespoons of cornstarch for a pound of shrimp. Ensure each shrimp is lightly but completely covered.
And there you have it, your shrimps are ready to jump into the sizzling pan of oil! The process is uncomplicated and worthwhile. Remember, don’t skip any steps or rush through them, careful preparation is what turns this simple combination of salt, pepper and shrimp into a masterpiece of flavor.
Stay tuned to proceed with the next steps, including the art of frying your shrimp and preparing your distinct aromatic toss mixture filled with bell peppers, scallions, garlic, and ginger.
Step 2: Making the Salt and Pepper Seasoning

After you’ve prepped and marinated your shrimp, it’s time to get cracking on that standout feature of this dish. Yep, you guessed it – we’re talking about the homemade salt and pepper seasoning.
Start by taking out a saute pan and heat it up over medium flame. Toss in a tablespoon of whole black peppercorns. You should hear a gentle, yet satisfying sizzle. That’s when you’re doing it right!
Keep the peppercorns moving for about 3 minutes, or until they’re toasted. Your senses will let you know what’s up – your kitchen will be full of a delicious, enticing aroma. Pop the toasted peppercorns in a grinder and pulse it till you have a rough powder.
It’s on to the salt. Our secret – for that extra kick of authenticity and taste – is to use pink Himalayan salt. You’ll need 2 tablespoons. This salt isn’t just trendy, it also packs a mineral punch that elevates the dish. Toast the salt in the same pan, around 2 minutes should do.
Once you’ve got your pepper and salt ready, mix them together in a bowl. Give it a good stir. Yeah… that’s the stuff. Your homemade, flavorful salt and pepper mix is ready. It’ll be the star in your shrimp show for sure!
But wait, there’s more for our seasoning. We’re not done yet! This is where we introduce an unexpected twist. A half teaspoon of five-spice powder. It’s not traditional – but boy does it take this simple salt and pepper shrimp to another level!
Adding this to your salt and pepper blend will lend your dish a depth of flavor, a complexity, that’s unique and memorable.
And there you have it! The secret to your star-quality, home-made salt and pepper seasoning. Next up – frying those bad boys and adding the aromatic toss! Remember, the best dishes are about balance – and this one is a delicious dance of flavors and textures. But for now, leave the seasoning aside and get ready to deal with the shrimp.
Step 3: Coating the Shrimp

Now that you have the unique seasoning prepped, it’s time to move on to prepping the shrimp itself. This part of the process is pretty straightforward, but do pay close attention because it’s the step that decides the flavor potential of your shrimp.
To start off, ensure that the shrimp are properly cleaned. Whether they’re fresh or frozen, it’s a must to thoroughly wash and devein them. Having clean shrimp doesn’t only allow for hygienicism but gives a better dining experience without the bitterness of the vein.
Post washing, pat them dry. Remember, you want the shrimp as dry as possible. This is because a dry surface better absorbs the seasoning, which in turn highlights the flavors.
To coat the shrimp, you won’t simply toss them into the seasoning mix. Instead, you’ll need to create a thin batter as a base. Your batter ingredients are simple – add 1/2 cup of cornstarch into a mixing bowl along with a pinch of salt and 1/4 cup of water. The cornstarch makes the shrimp extra crispy; the very texture we’re after!
Dip each shrimp into this cornstarch batter, and ensure a thin, even coating. Once that’s done, roll them into the toasted pepper-salt mixture from step 2. Make sure your shrimp is now sporting a good covering of your special seasoning.
| Cornstarch | Salt | Water |
|---|---|---|
| 1/2 cup | 1 pinch | 1/4 cup |
In case you’re interested in mixing things up, you could include a hint of finely grated lime zest or a small dash of cayenne pepper in your batter. This tweak will give your shrimp a zesty kick or a spicy heat, adding another layer to the flavor complexity of your dish.
In the nutrition bracket, shrimp is pretty hefty. You’re looking at roughly 99 calories, 24g of protein, and 0.3g of fat per 100g serving. These numbers change based on the specific type and size of your shrimp, of course, but are useful general guides to keep in mind.
| Shrimp Nutritional Value per 100g | Value |
|---|---|
| Calories | 99 |
| Protein | 24g |
| Fat | 0.3g |
Step 4: Frying the Shrimp

It’s now showtime! You’re ready to fry your coated shrimps. Fire up your stovetop, set your pan, and pour in your oil – the pan should contain enough oil to fully submerge the shrimp. Heat the oil to around 350-375 degrees Fahrenheit. Be sure – safety is paramount! If you’re not sure, use a thermometer to check the heat.
Once it’s at the right temperature, gentle is the game. Carefully lower in your beloved shrimps into the sizzling oil, doing your best not to splash or overcrowd the pan. Overcrowding causes the oil’s temperature to drop sharply, messing with your cooking time and the crispiness of your shrimp. That’s not what you want.
Your shrimps don’t need much time in this hot-oil bath – usually around 2-3 minutes each side should do. They should turn a delightful golden shade, indicating they’re done to perfection.
Remove the shrimp from the oil using a slotted spoon, draining as much oil as possible. Transfer them onto a plate lined with paper towels to absorb any excess oil. Remember to keep watch on your oil temperature, ensuring it maintains the sweet spot before adding the next batch of shrimp.
In the meantime, let’s talk about a quick tip to take this dish to another level. Adding a few thin slices of ginger and some minced garlic to the oil emits an intoxicating aroma and infuses the shrimp with extra depths of flavor. But it’s your call – feel free to experiment!
It’s important too to remember that shrimp, when prepared correctly, offer great nutritional value. The below table presents nutritional information for a 100g shrimp serving:
| Nutrient | Value |
|---|---|
| Calories | 106 |
| Protein | 20g |
| Fat | 1.5g |
Conclusion
So, you’ve now learned the art of making homemade salt and pepper shrimp. Remember, it’s all about frying the shrimp just right and adding that hint of ginger and garlic for an extra kick. Keep in mind the nutritional benefits too. With each 100g serving, you’re packing in protein and keeping the calorie and fat count in check. Now, it’s your turn to whip up this dish and impress your friends and family. Trust me, they’ll be asking for seconds. This recipe isn’t just about cooking, it’s about creating unforgettable culinary experiences right at home. Happy cooking!
