Making Mochi Waffles Perfectly Crispy and Chewy Easy Recipe
Crunchy on the outside and soft and chewy on the inside, mochi waffles are delicious treats that you can serve to your family and friends at home. Compared to other regular waffles, mochi waffles have a taste and texture that goes beyond what you expect. This could be your new favorite if you haven’t tried it yet.
Lining up at a specialized cafe to get mochi waffles can be time consuming. Whereas making them at home might only take 15 minutes. You’re in for a treat of these unique and delicious mochi waffles in no time.
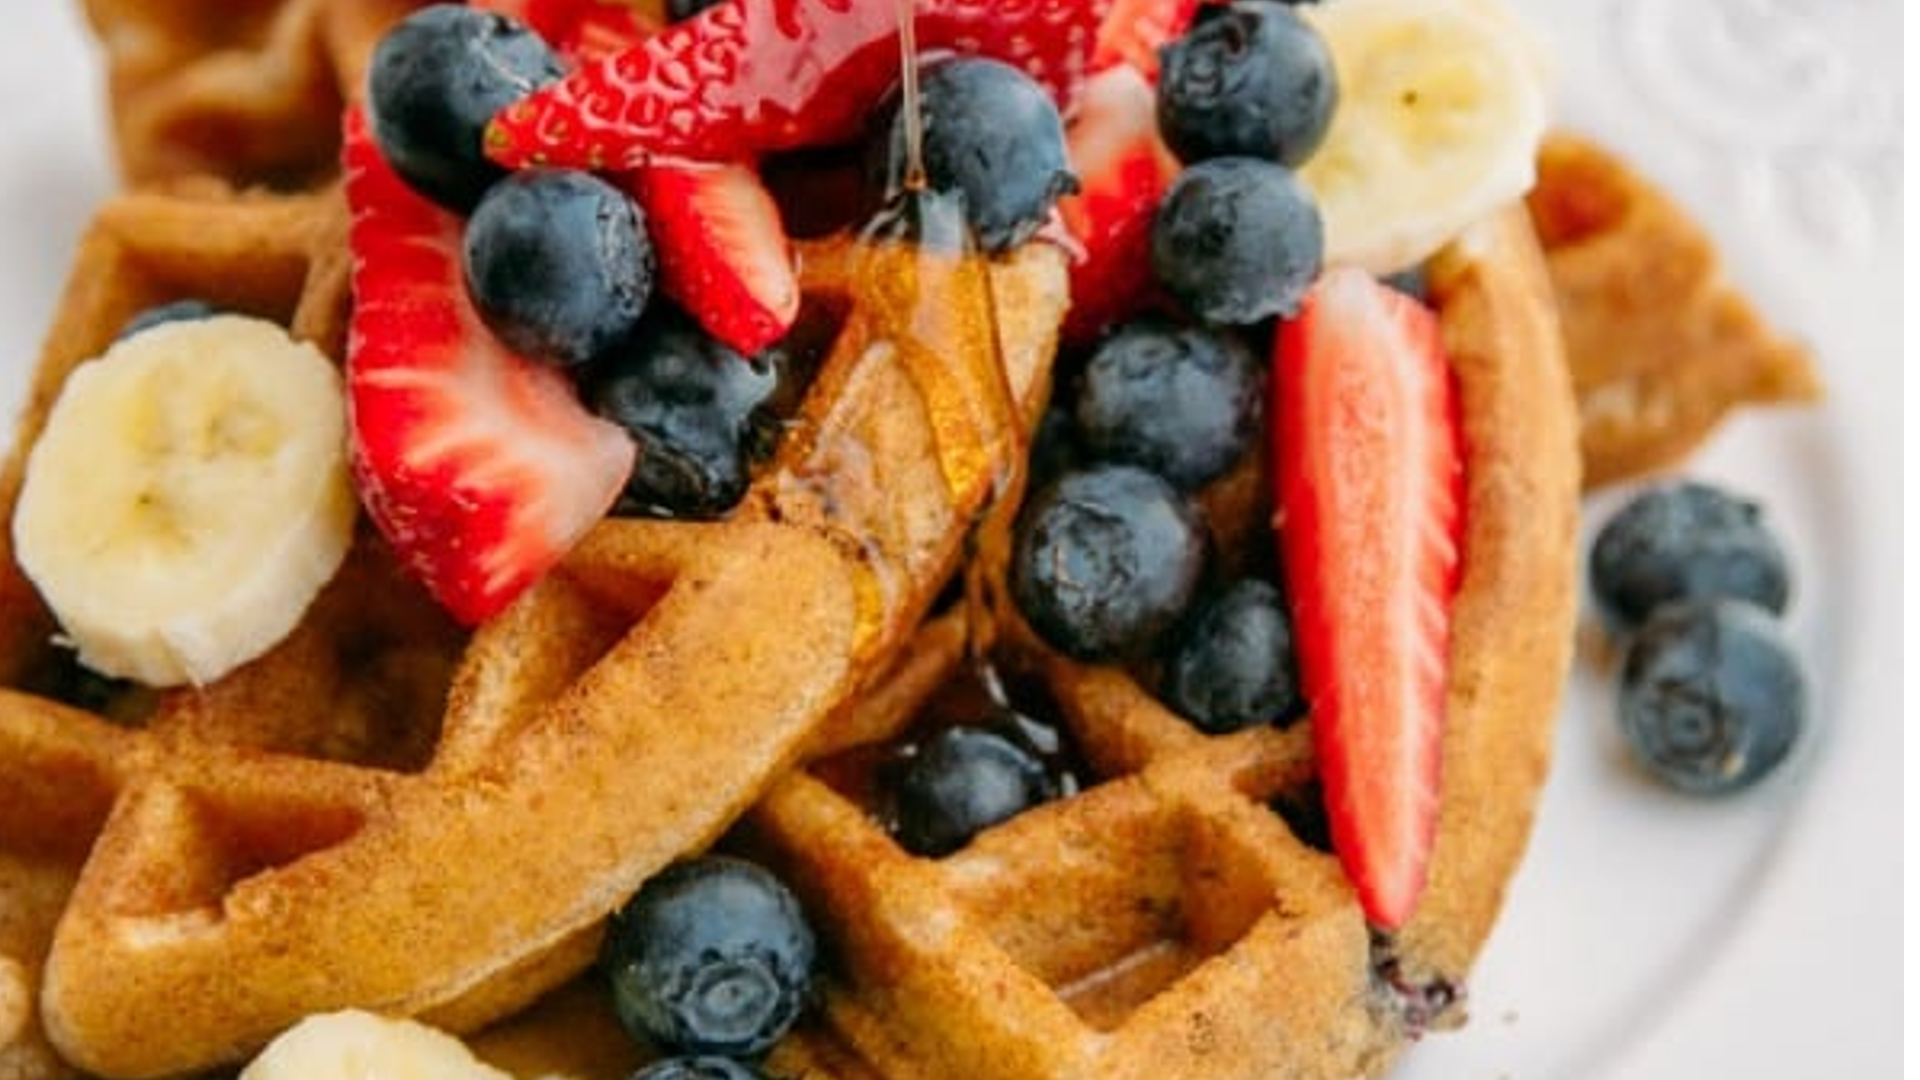
Making them for breakfast would be perfect as they provide balance through its texture that can be paired perfectly with some fresh fruit. Let us check the mochi waffle recipe that would deliver mochi waffles that are super crisp on the outside and have a great chew on the inside. It goes well with the silky smooth dulce de leche topping.
Homemade Mochi Waffle Recipe
This mochi waffle recipe will provide chewy mochi waffles with a crispy exterior. To make mochi waffles, prepare a waffle maker or waffle iron. Once you have that, get these ingredients:
- ¾ cups of nonfat/non dairy milk (or plant-based milk for gluten free waffles)
- 1 egg
- 1 ¼ cup of mochiko flour (also known as sweet rice flour)
- ¼ cup of powdered sugar or regular sugar
- 1 ½ teaspoon of baking powder
- 1/2 teaspoon vanilla extract
- ¼ teaspoon of salt
- Dulce de leche (optional, for toppings)
- Fresh fruit (such as blueberries, strawberries or your preferred fruit)
Procedures to make mochi waffles:
- In a large mixing bowl, combine all the ingredients (except for the toppings and fresh fruits) and whisk until a batter fully forms. Set aside.
- Using a baking spray or nonstick cooking spray, grease the waffle maker and allow it to get very hot. Pour your mochi waffle batter into the hot waffle maker.
- Close your waffle maker and cook the waffle batter/mochi batter for 5-10 minutes or until the color golden brown is achieved. Repeat the process until all mochi batter has been cooked.
- Serve the chewy mochi waffles with your favorite toppings such as whipped cream, dulce de leche or throw a fresh fruit like strawberries on top of the cooked waffles. Enjoy it during breakfast meals or during afternoon snacks.
How To Make Mochi Waffles (Homemade Mochi Waffles Recipe Guide)
Now that we have provided you with the basics of making mochi waffles through the waffle recipe provided above, let us talk about some detailed information about making them.
Let’s start with the first step of mixing the flour, sugar, baking powder, salt, and milk. Make sure you use a large bowl enough to cater these ingredients. Just mix the ingredients until everything combines and don’t overmix them. Simply set aside your mixed batter while waiting for the waffle iron to get very hot.
Note: If you are asking where to buy them, they are usually available at Asian grocery stores, especially the mochiko flour that is called glutinous rice flour. This flour gives your mochi waffles that perfect sticky and chewy texture.
Prepare your waffle iron and grease it well to avoid the waffle batter from sticking on it. You may use any kind of waffle maker such as the common bubble waffle maker or Belgian waffle maker used to make Belgian waffles. Let the waffle iron get very hot. This can be checked through the light indicators, if your waffle iron has one. Once the waffle iron gets hot enough, pour the right amount of mochi waffle batter into the waffle iron to cover the surface. Close the lid and cook the mochi waffles for about 5-10 minutes. It is achievable, especially if you are using a small waffle iron. Check if the mochi waffles are golden brown and slightly crispy.
Just repeat the process with the remaining batter until none is left. Grease your waffle iron during each batch to ensure your mochi batter won’t stick.
Now, the last part is to serve your homemade waffles. That’s the easiest part as you will only need to choose based on your personal preferences. If you are serving these mochi waffles to guests, simply ask them what their favorite toppings are. You can keep it plain and simple through the classic toppings – butter and maple syrup.
How To Elevate Your Mochi Waffle Recipe
Having your regular mochi waffles as one of your breakfast recipes can be boring. But there’s nothing to worry as there are few options that you can do to elevate the flavors of your homemade mochi waffles.
Try some other mochi waffle flavors such as red velvet or ube. You can also have matcha mochi waffles or chocolate mochi waffles with that perfect chewy texture. There are a lot of flavors that you can still explore.
There are also other popular mochi recipes like traditional chichi dango style mochi, butter mochi, poi mochi, and ozoni (mochi soup).
FAQs on Mochi Waffles Recipe
You have the liberty of what kind of milk that you will use on your chewy mochi waffles recipe. For gluten free waffles, swap the dairy milk out for your nut milk or other non-dairy milk alternative of choice. Almond milk or coconut milk might work pretty well for you.
If there are unfinished mochi waffles that can still be eaten later, you may freeze those mochi waffles. To properly freeze them, let the mochi waffles cool down completely.
Put the cooked mochi waffles on a baking sheet and freeze them. Once frozen solid, put the mochi waffles in an airtight container freezer-safe bag, squeezing out extra air.
You can store them for up to 3 months in this state. Once you’re going to eat the frozen mochi waffles, thaw them in a toaster oven until they are hot. You can also toss them back in the pan on medium to medium high heat.
Regular waffles are commonly made of baking powder, eggs, and milk. The main difference with mochi waffle is that it uses a special kind of flour called mochiko flour that is made of glutinous short-grain Japanese rice.
You might be worried if you are on a gluten-free diet since the mochi waffles use mochiko flour, also known as glutinous rice flour or sweet rice flour. Don’t worry as this flour is naturally gluten-free flour.
Contrary to its other name, glutinous rice flour, mochiko flour has no gluten and is gluten free. Just buy them at your local Asian Market.
Summary
Making mochi waffles that are perfectly crispy on the outside with chewy texture on the inside is very easy and won’t take so much of your time. You also have the liberty to use your preferred type of milk, may it be dairy free or nonfat milk.
Homemade mochi waffles are great to be served on breakfast and can be topped with almost everything that you like. It is surely a perfect treat for your family and friends.